Blog Post

China Cabinet Makeover

  • By Tammy Fiddie
  • 23 May, 2019

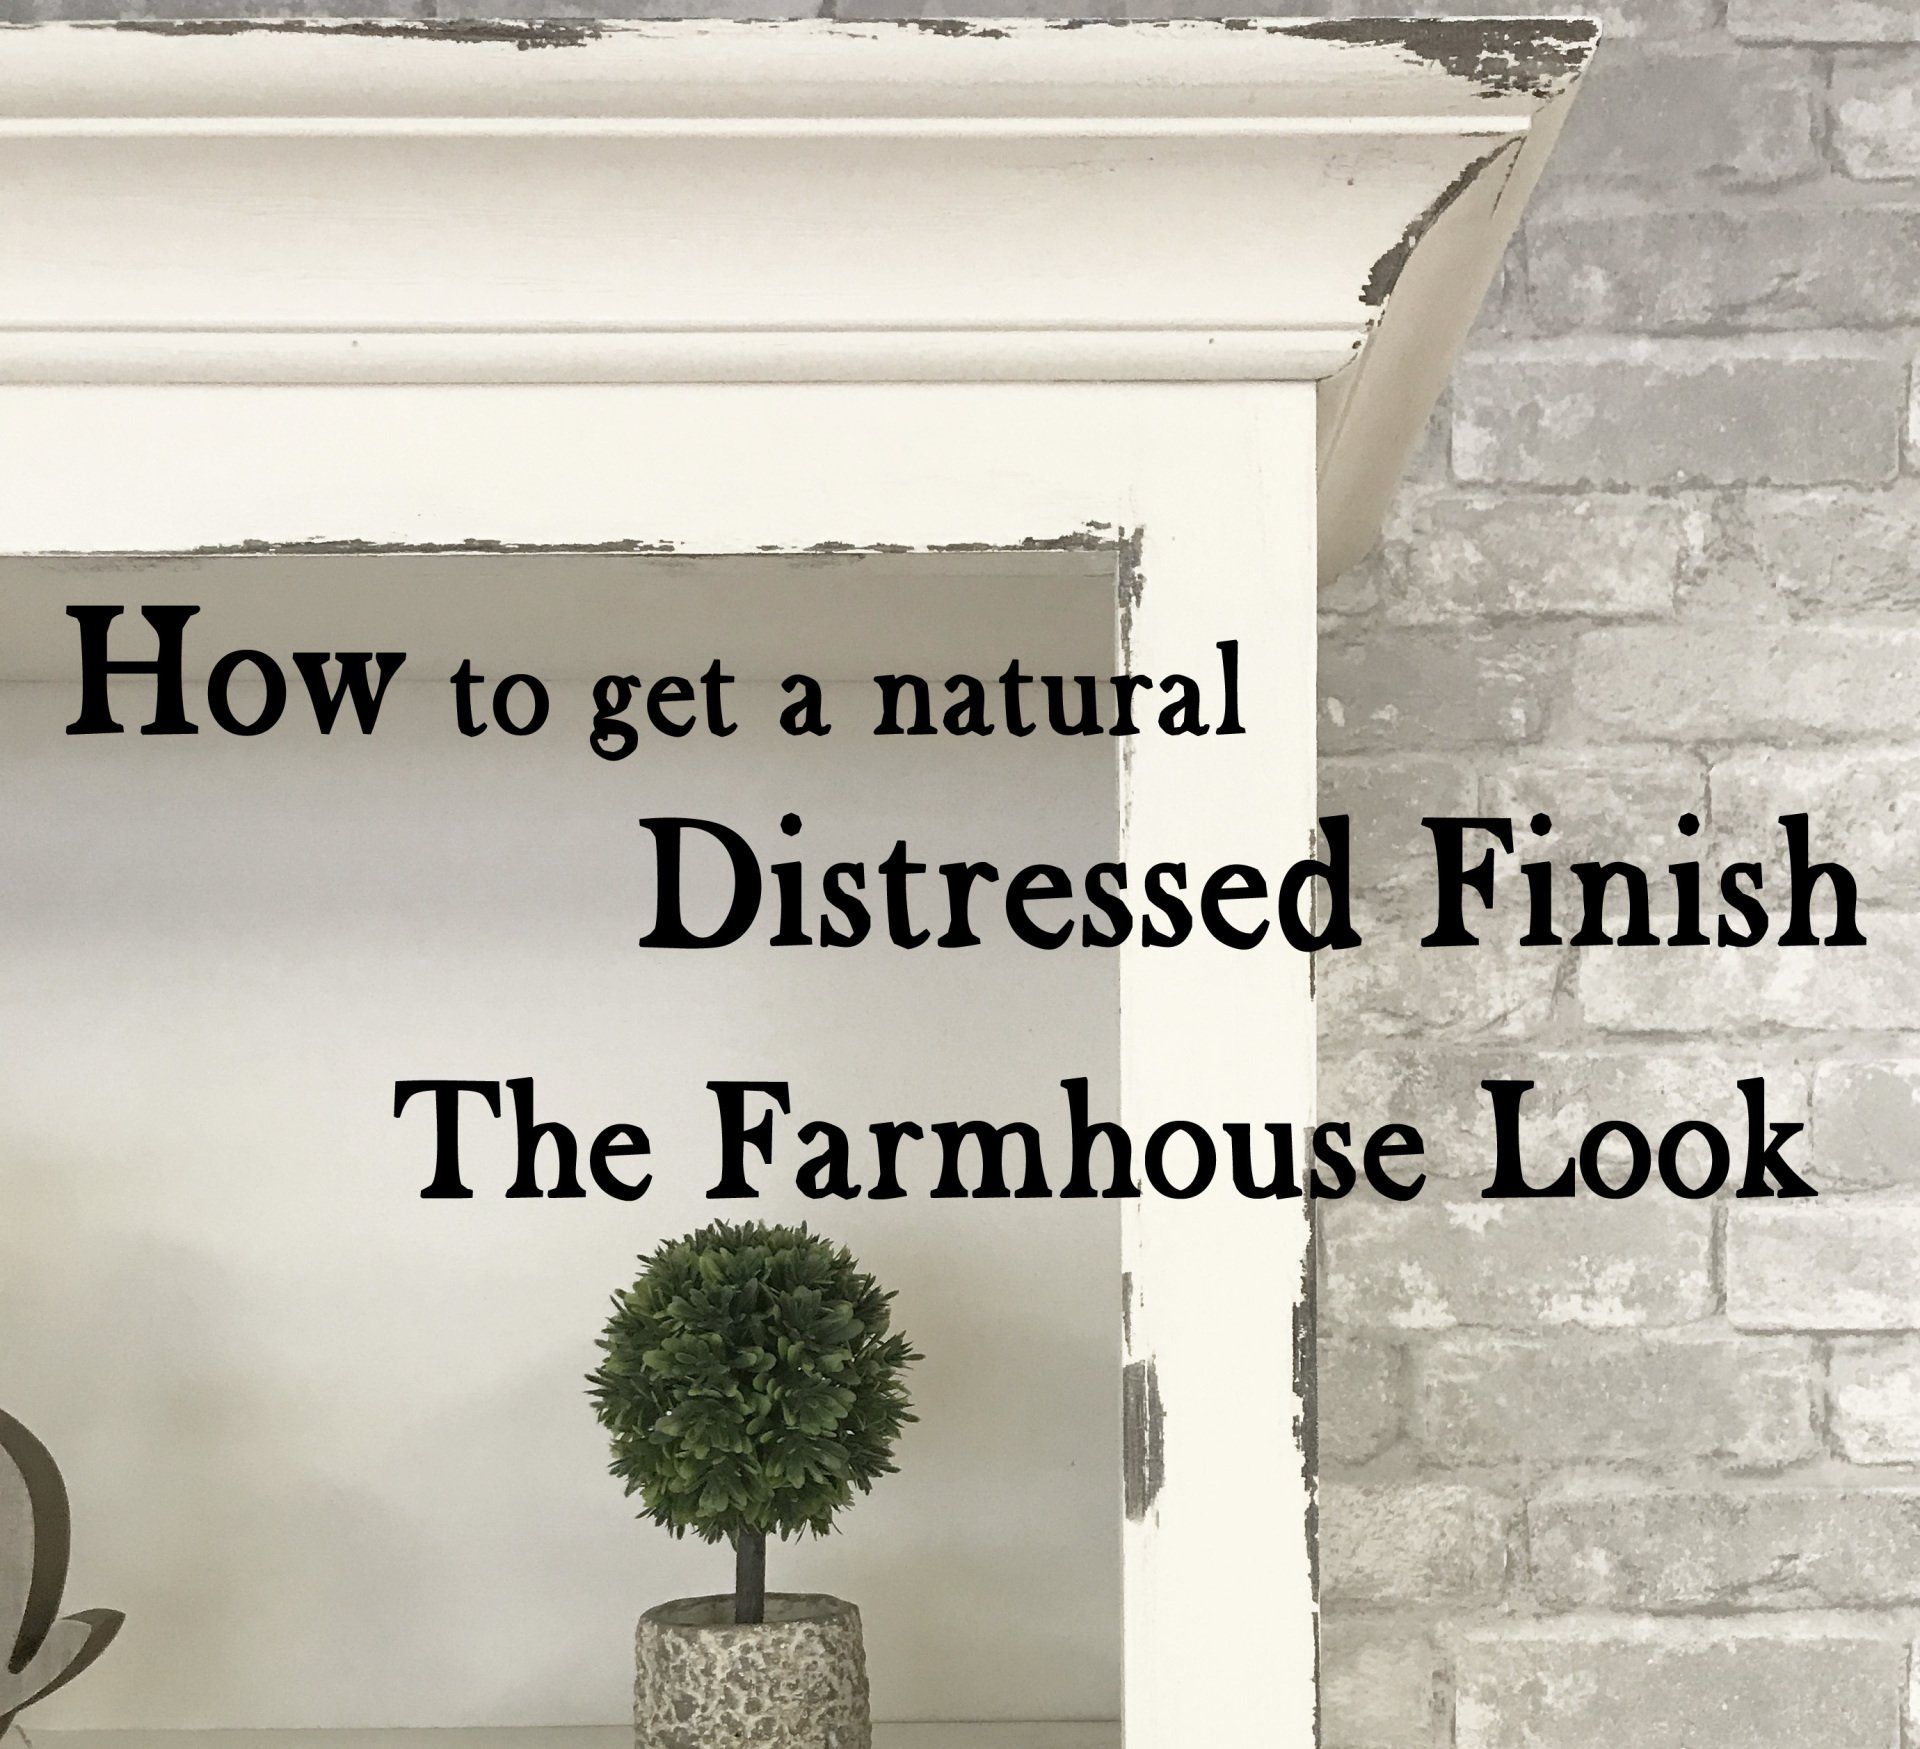
How to give an outdated china cabinet a new look

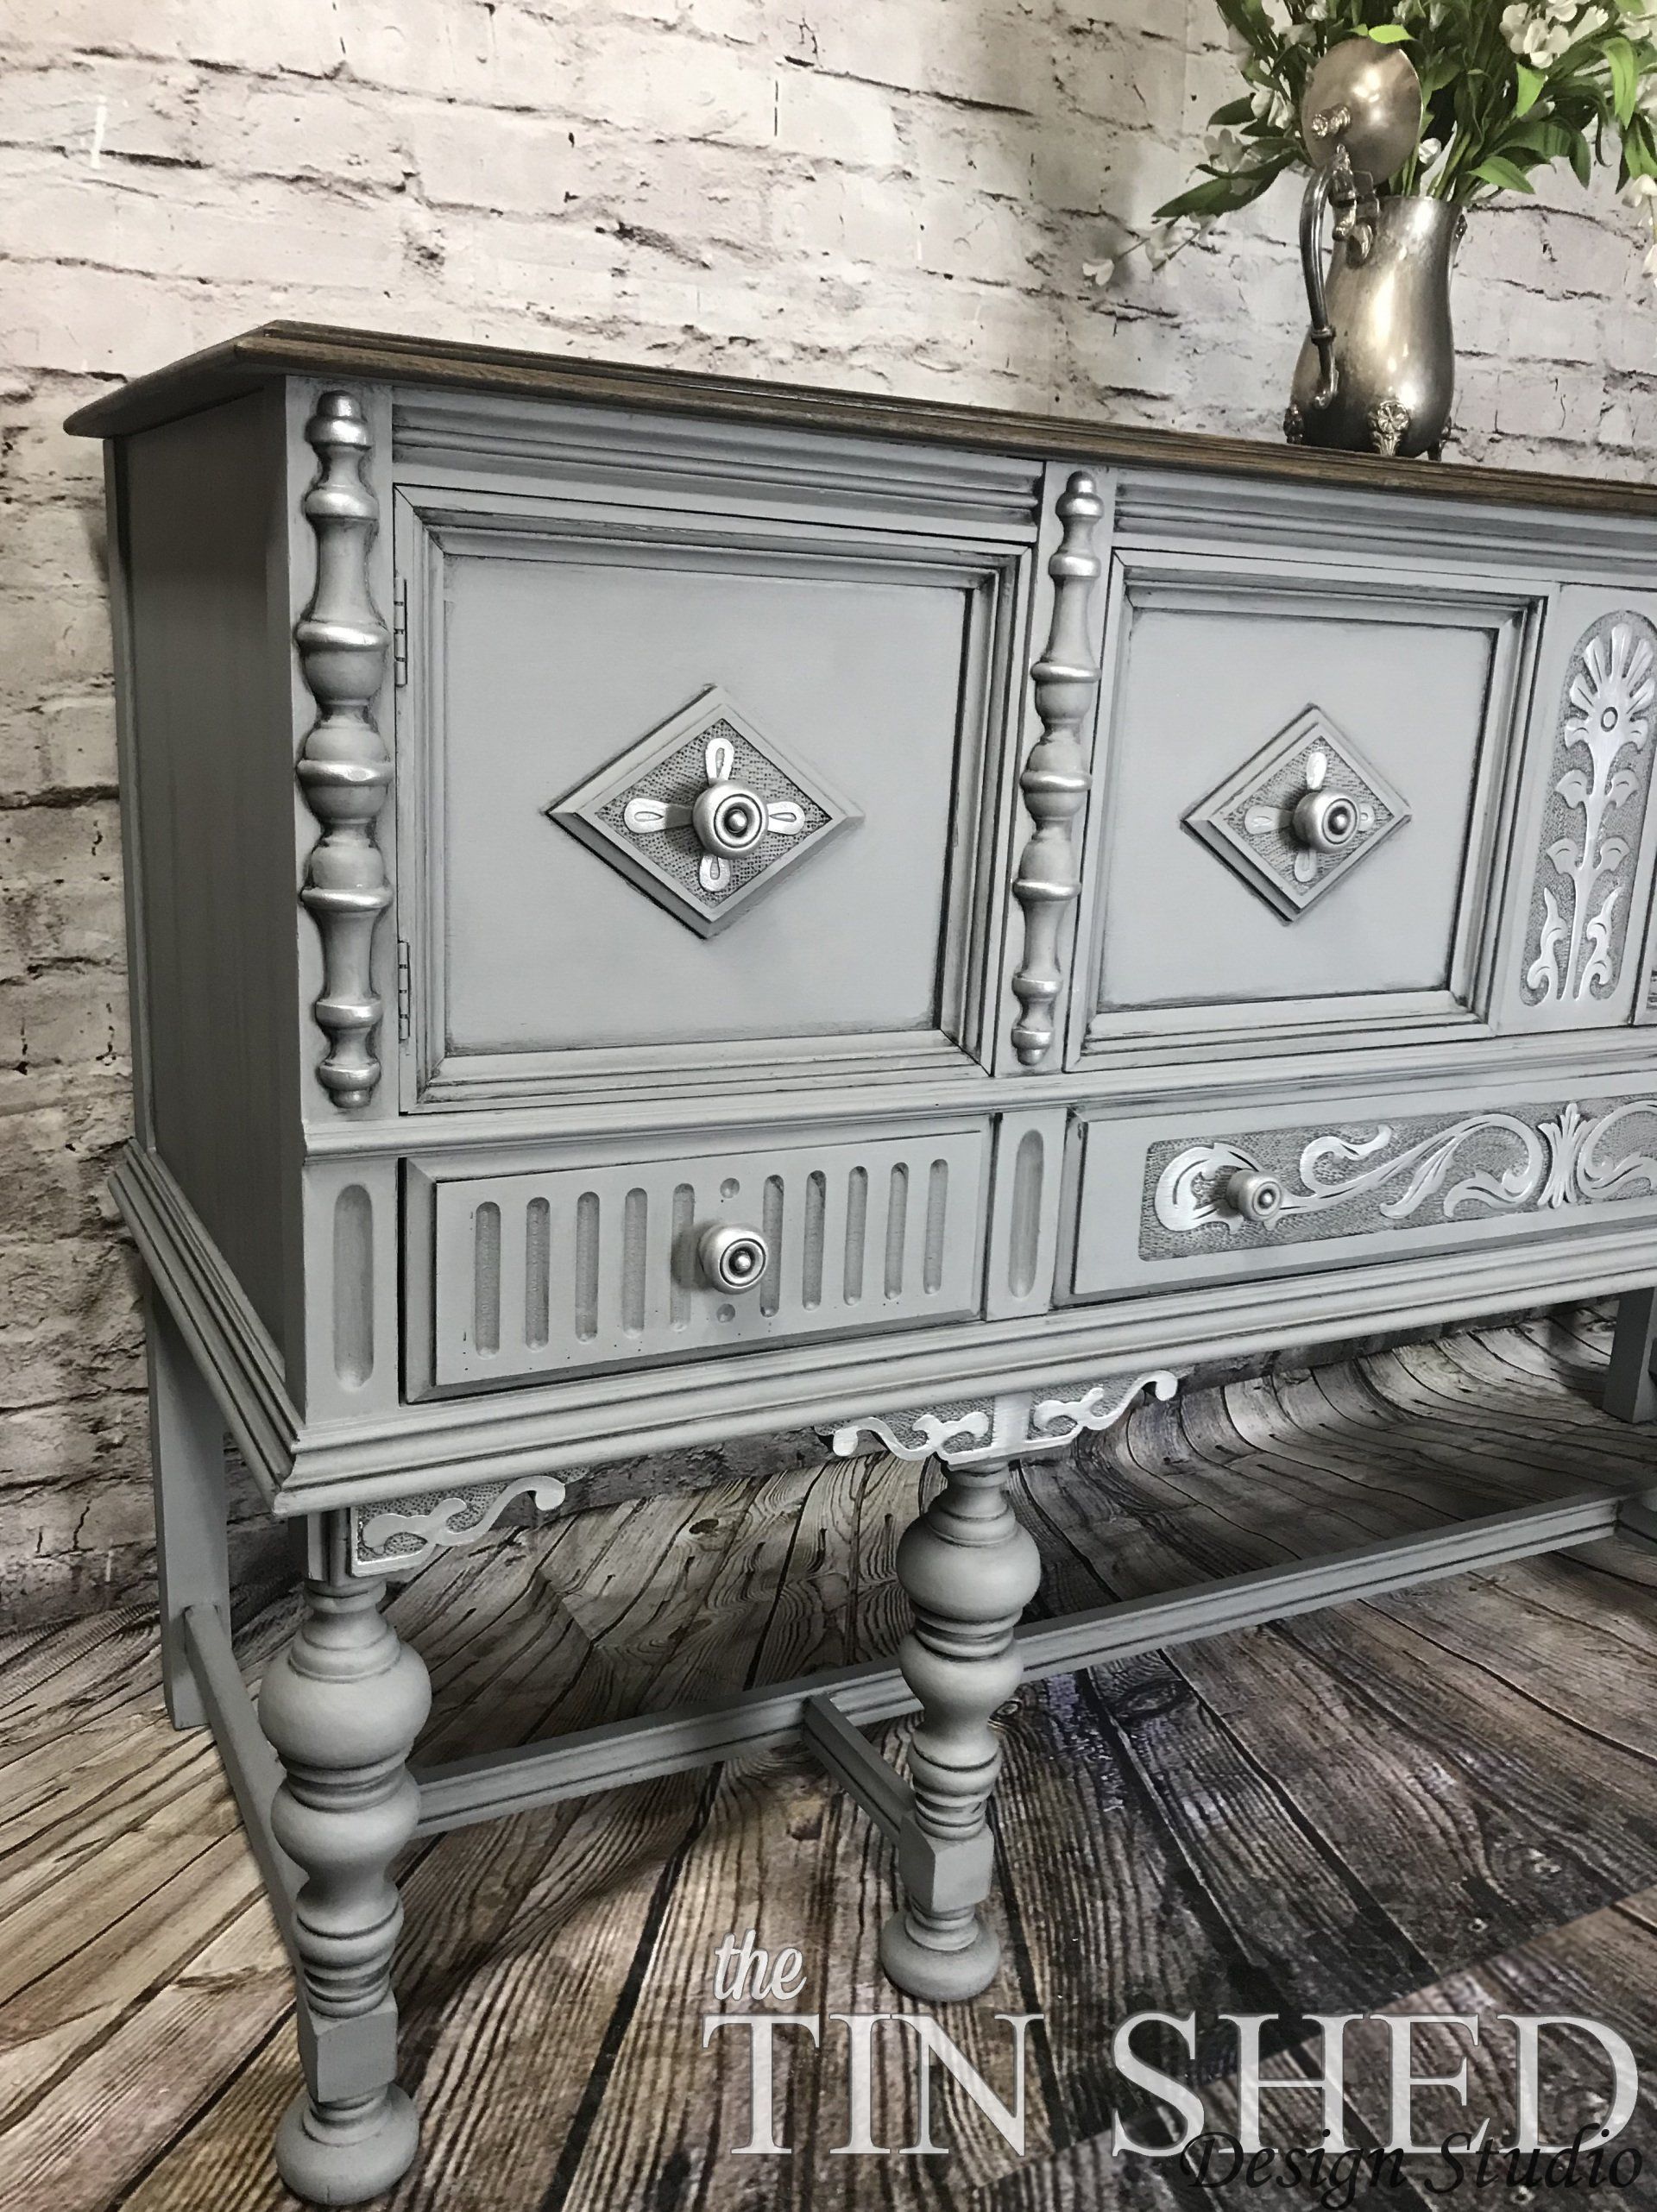
 These older pieces of furniture are a super inexpensive way to update and customize your home. Not to mention, they are usually high-quality, and well built to boot!

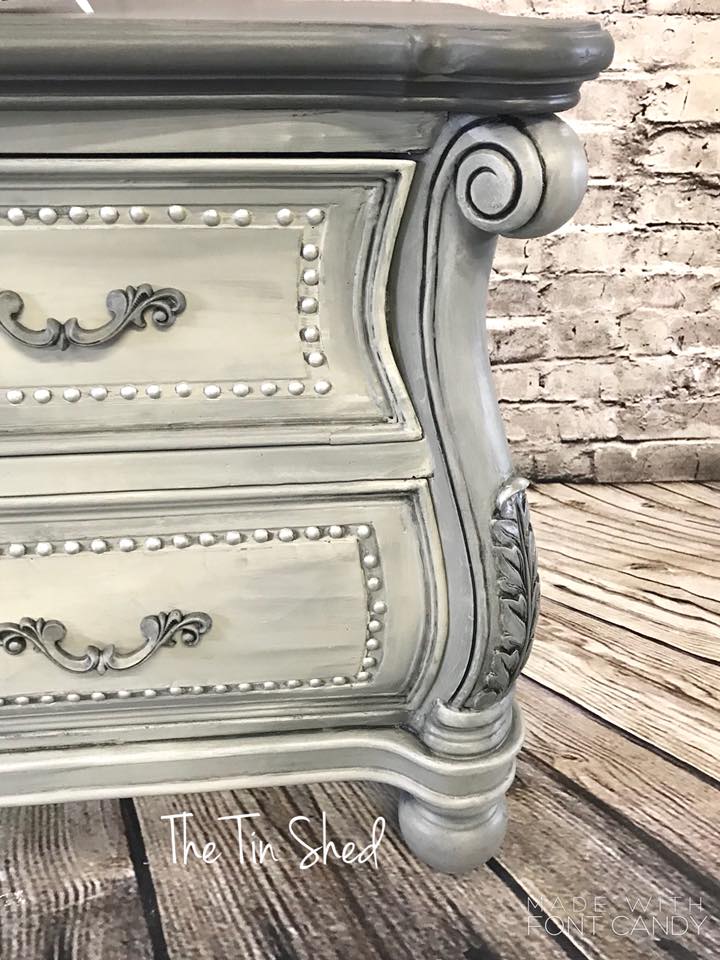
 Giving an outdated piece of furniture a makeover can be a fun way to add personality to any space in your home. Whether you are looking for a pop of color or a classic neutral finish, you can get just the right look with a little time and effort!

 LET'S GET STARTED!!

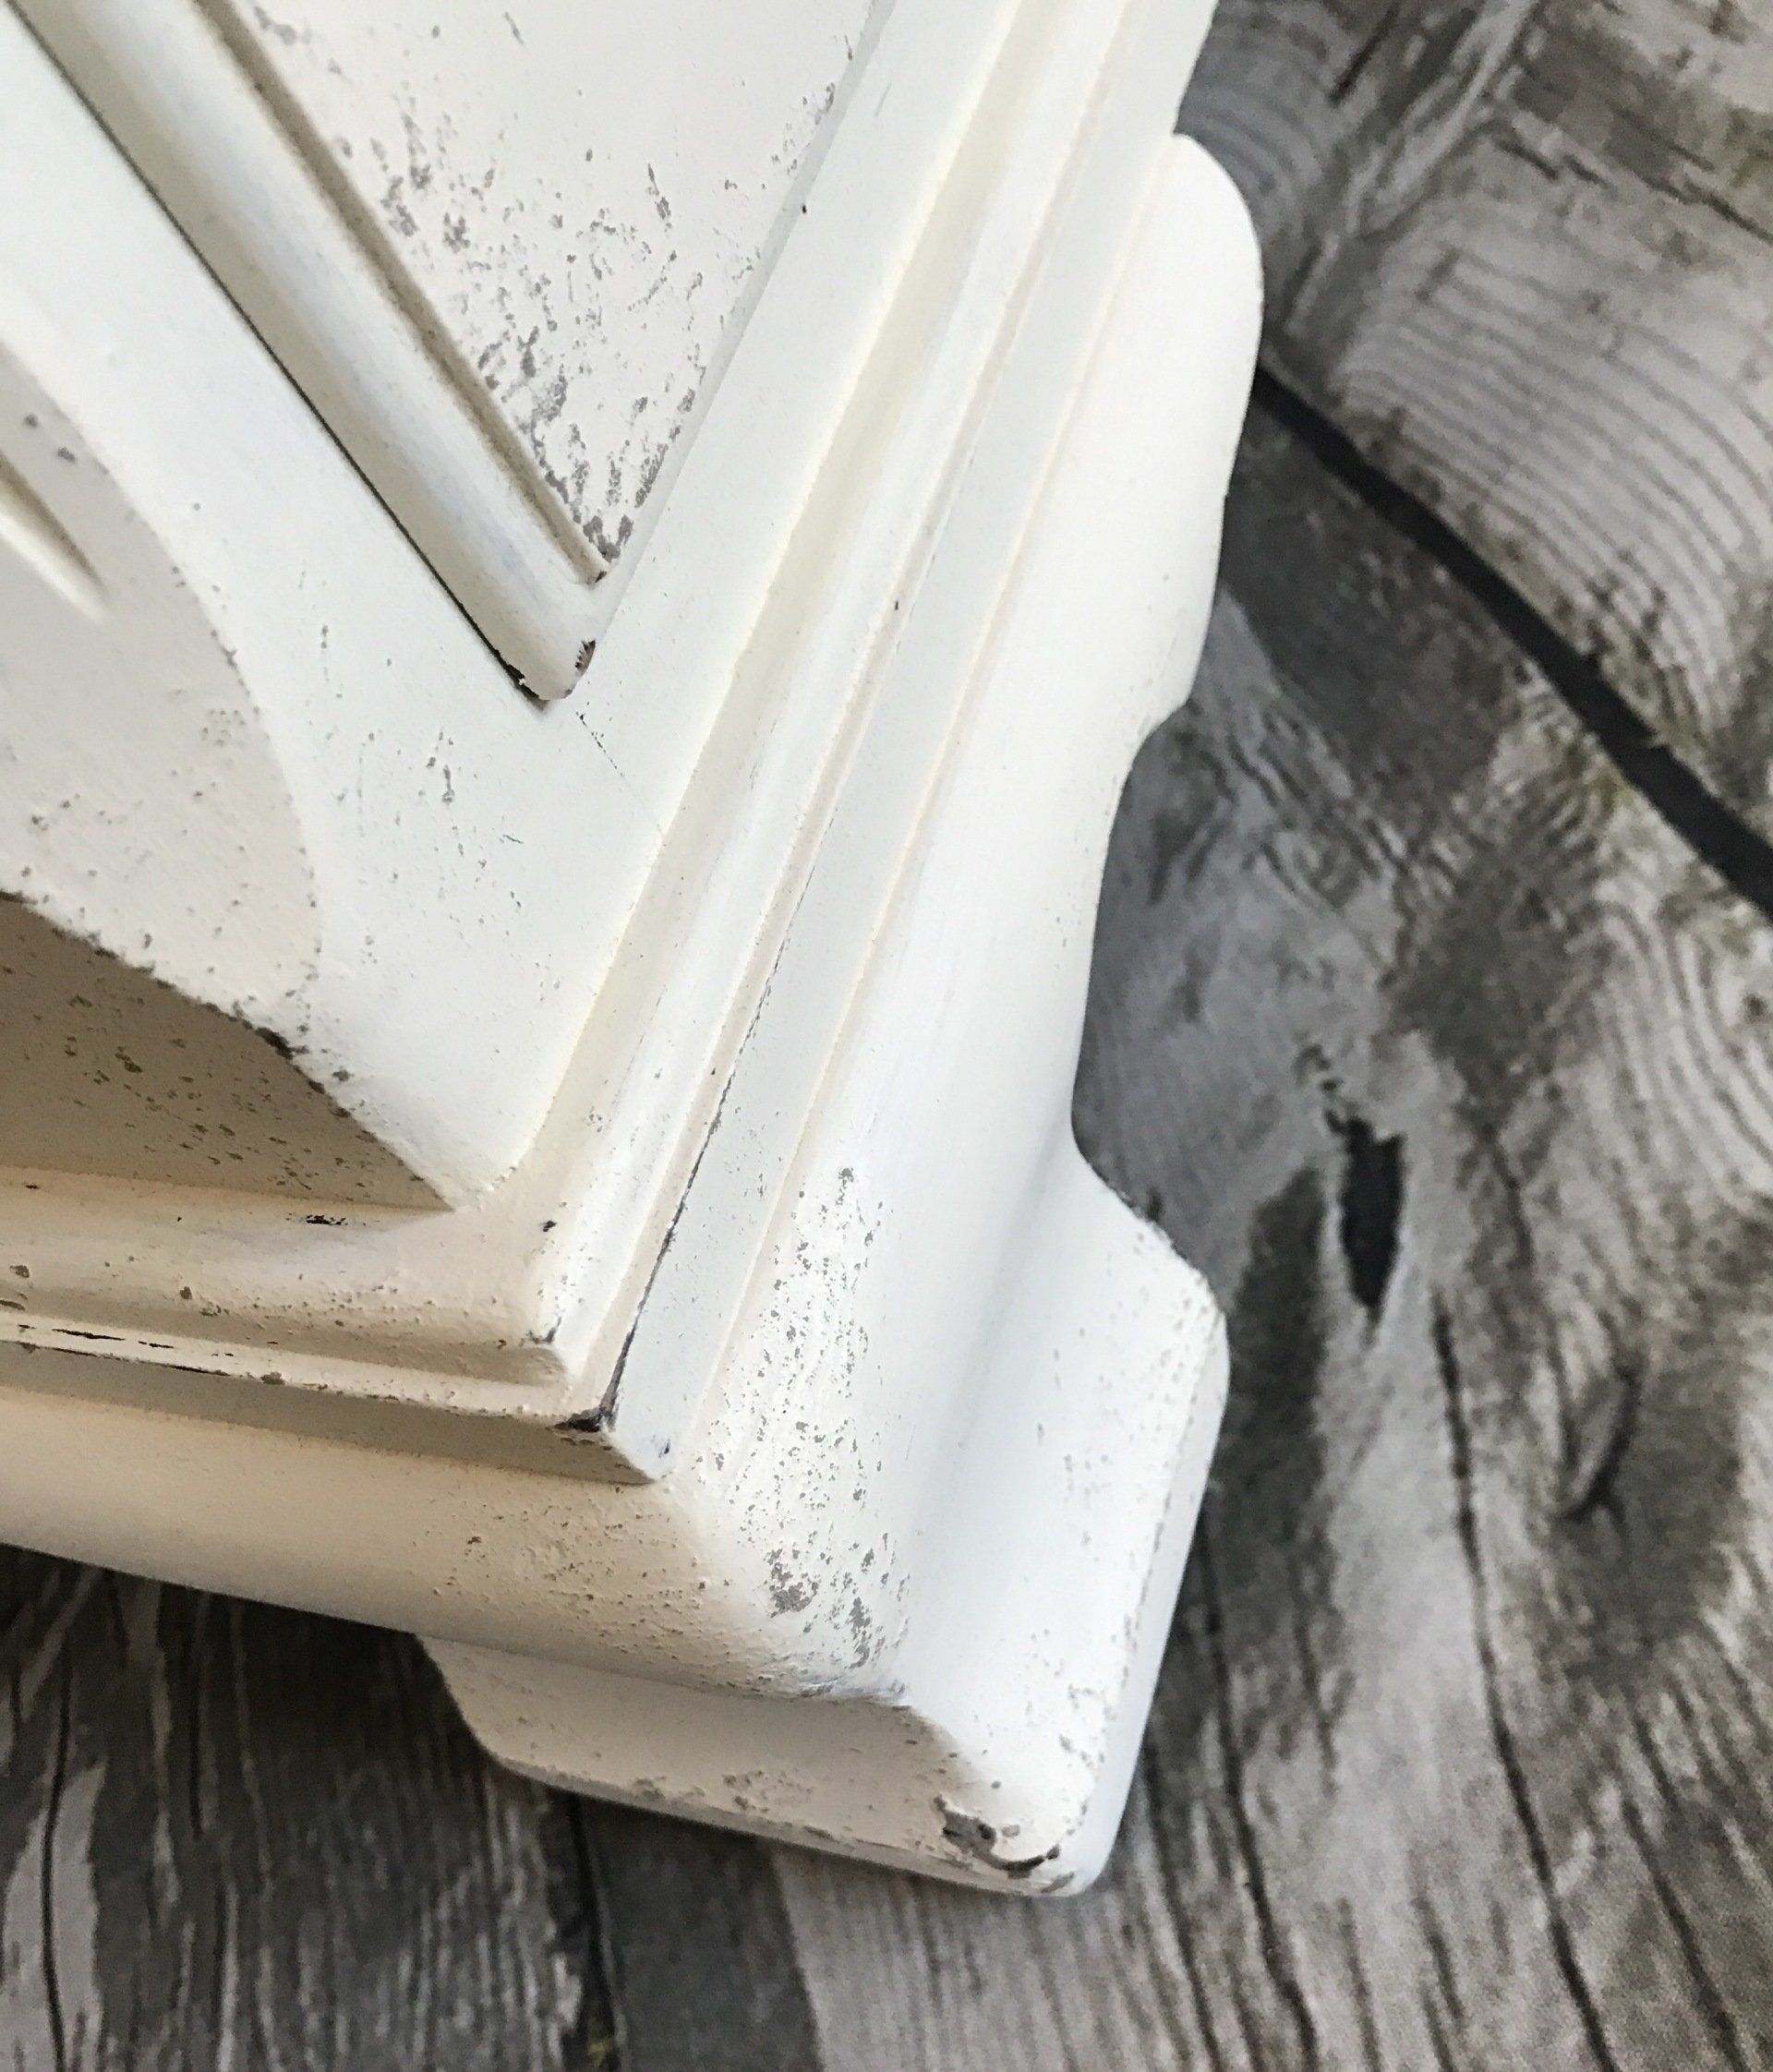
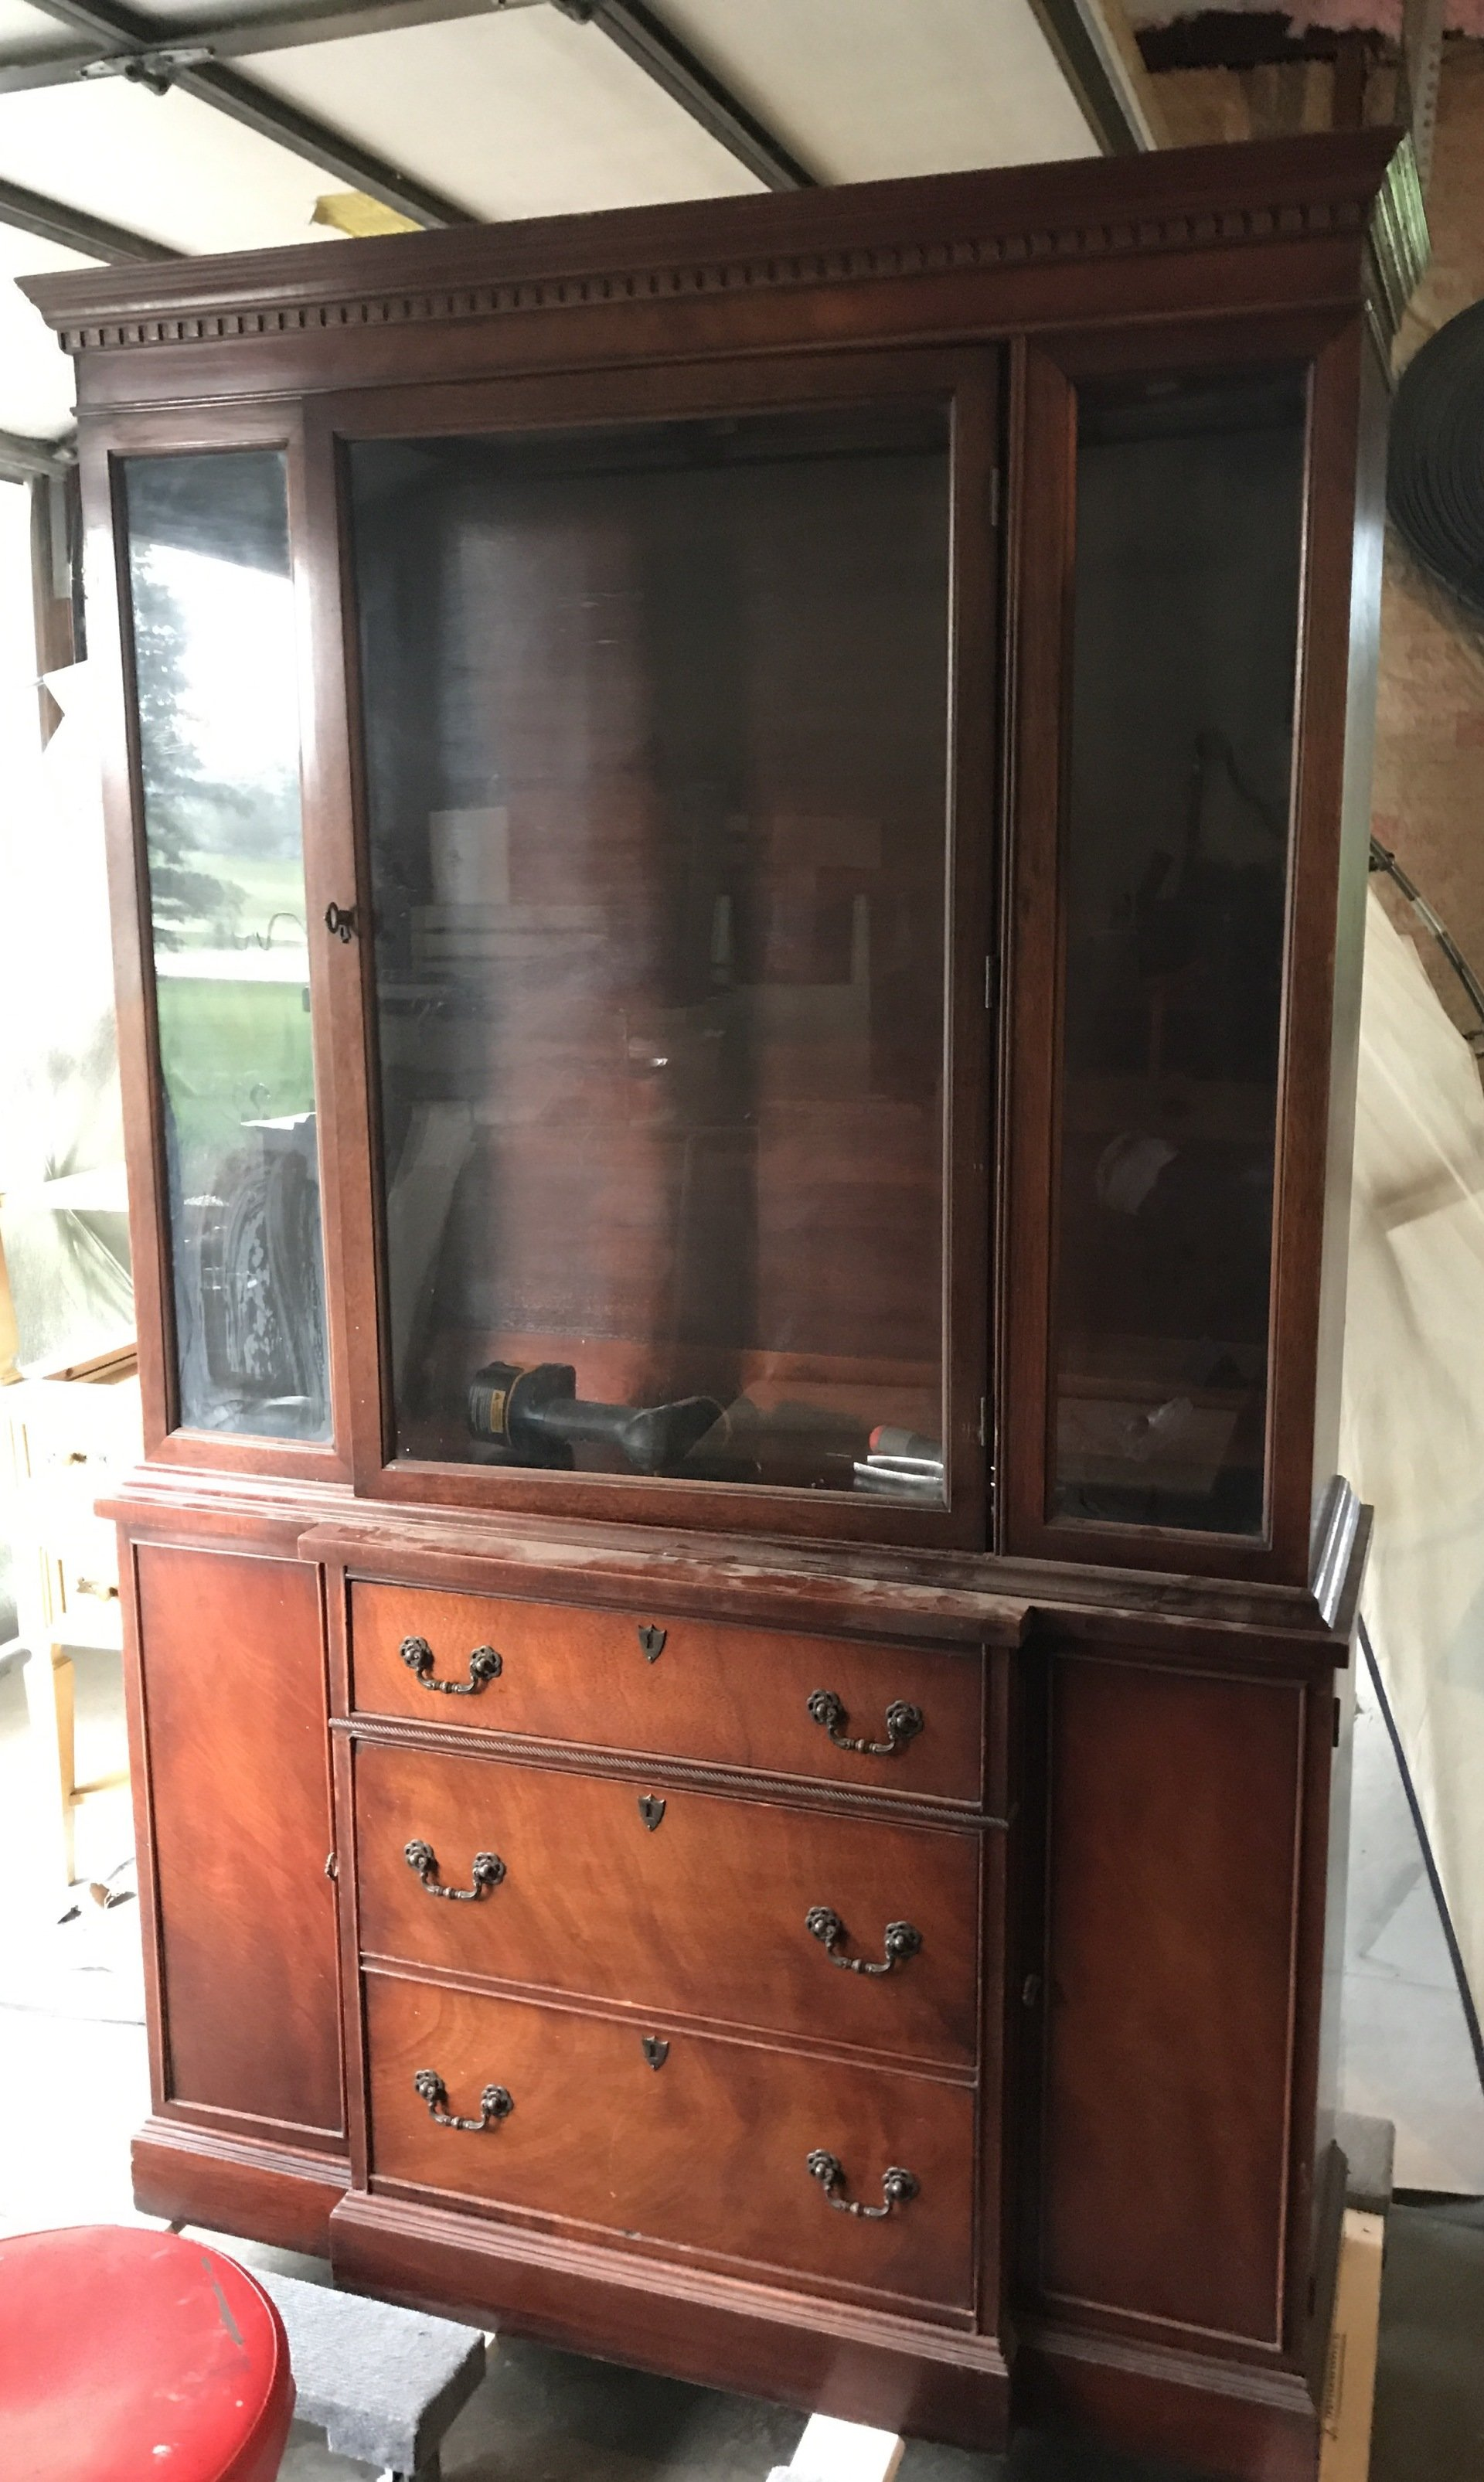
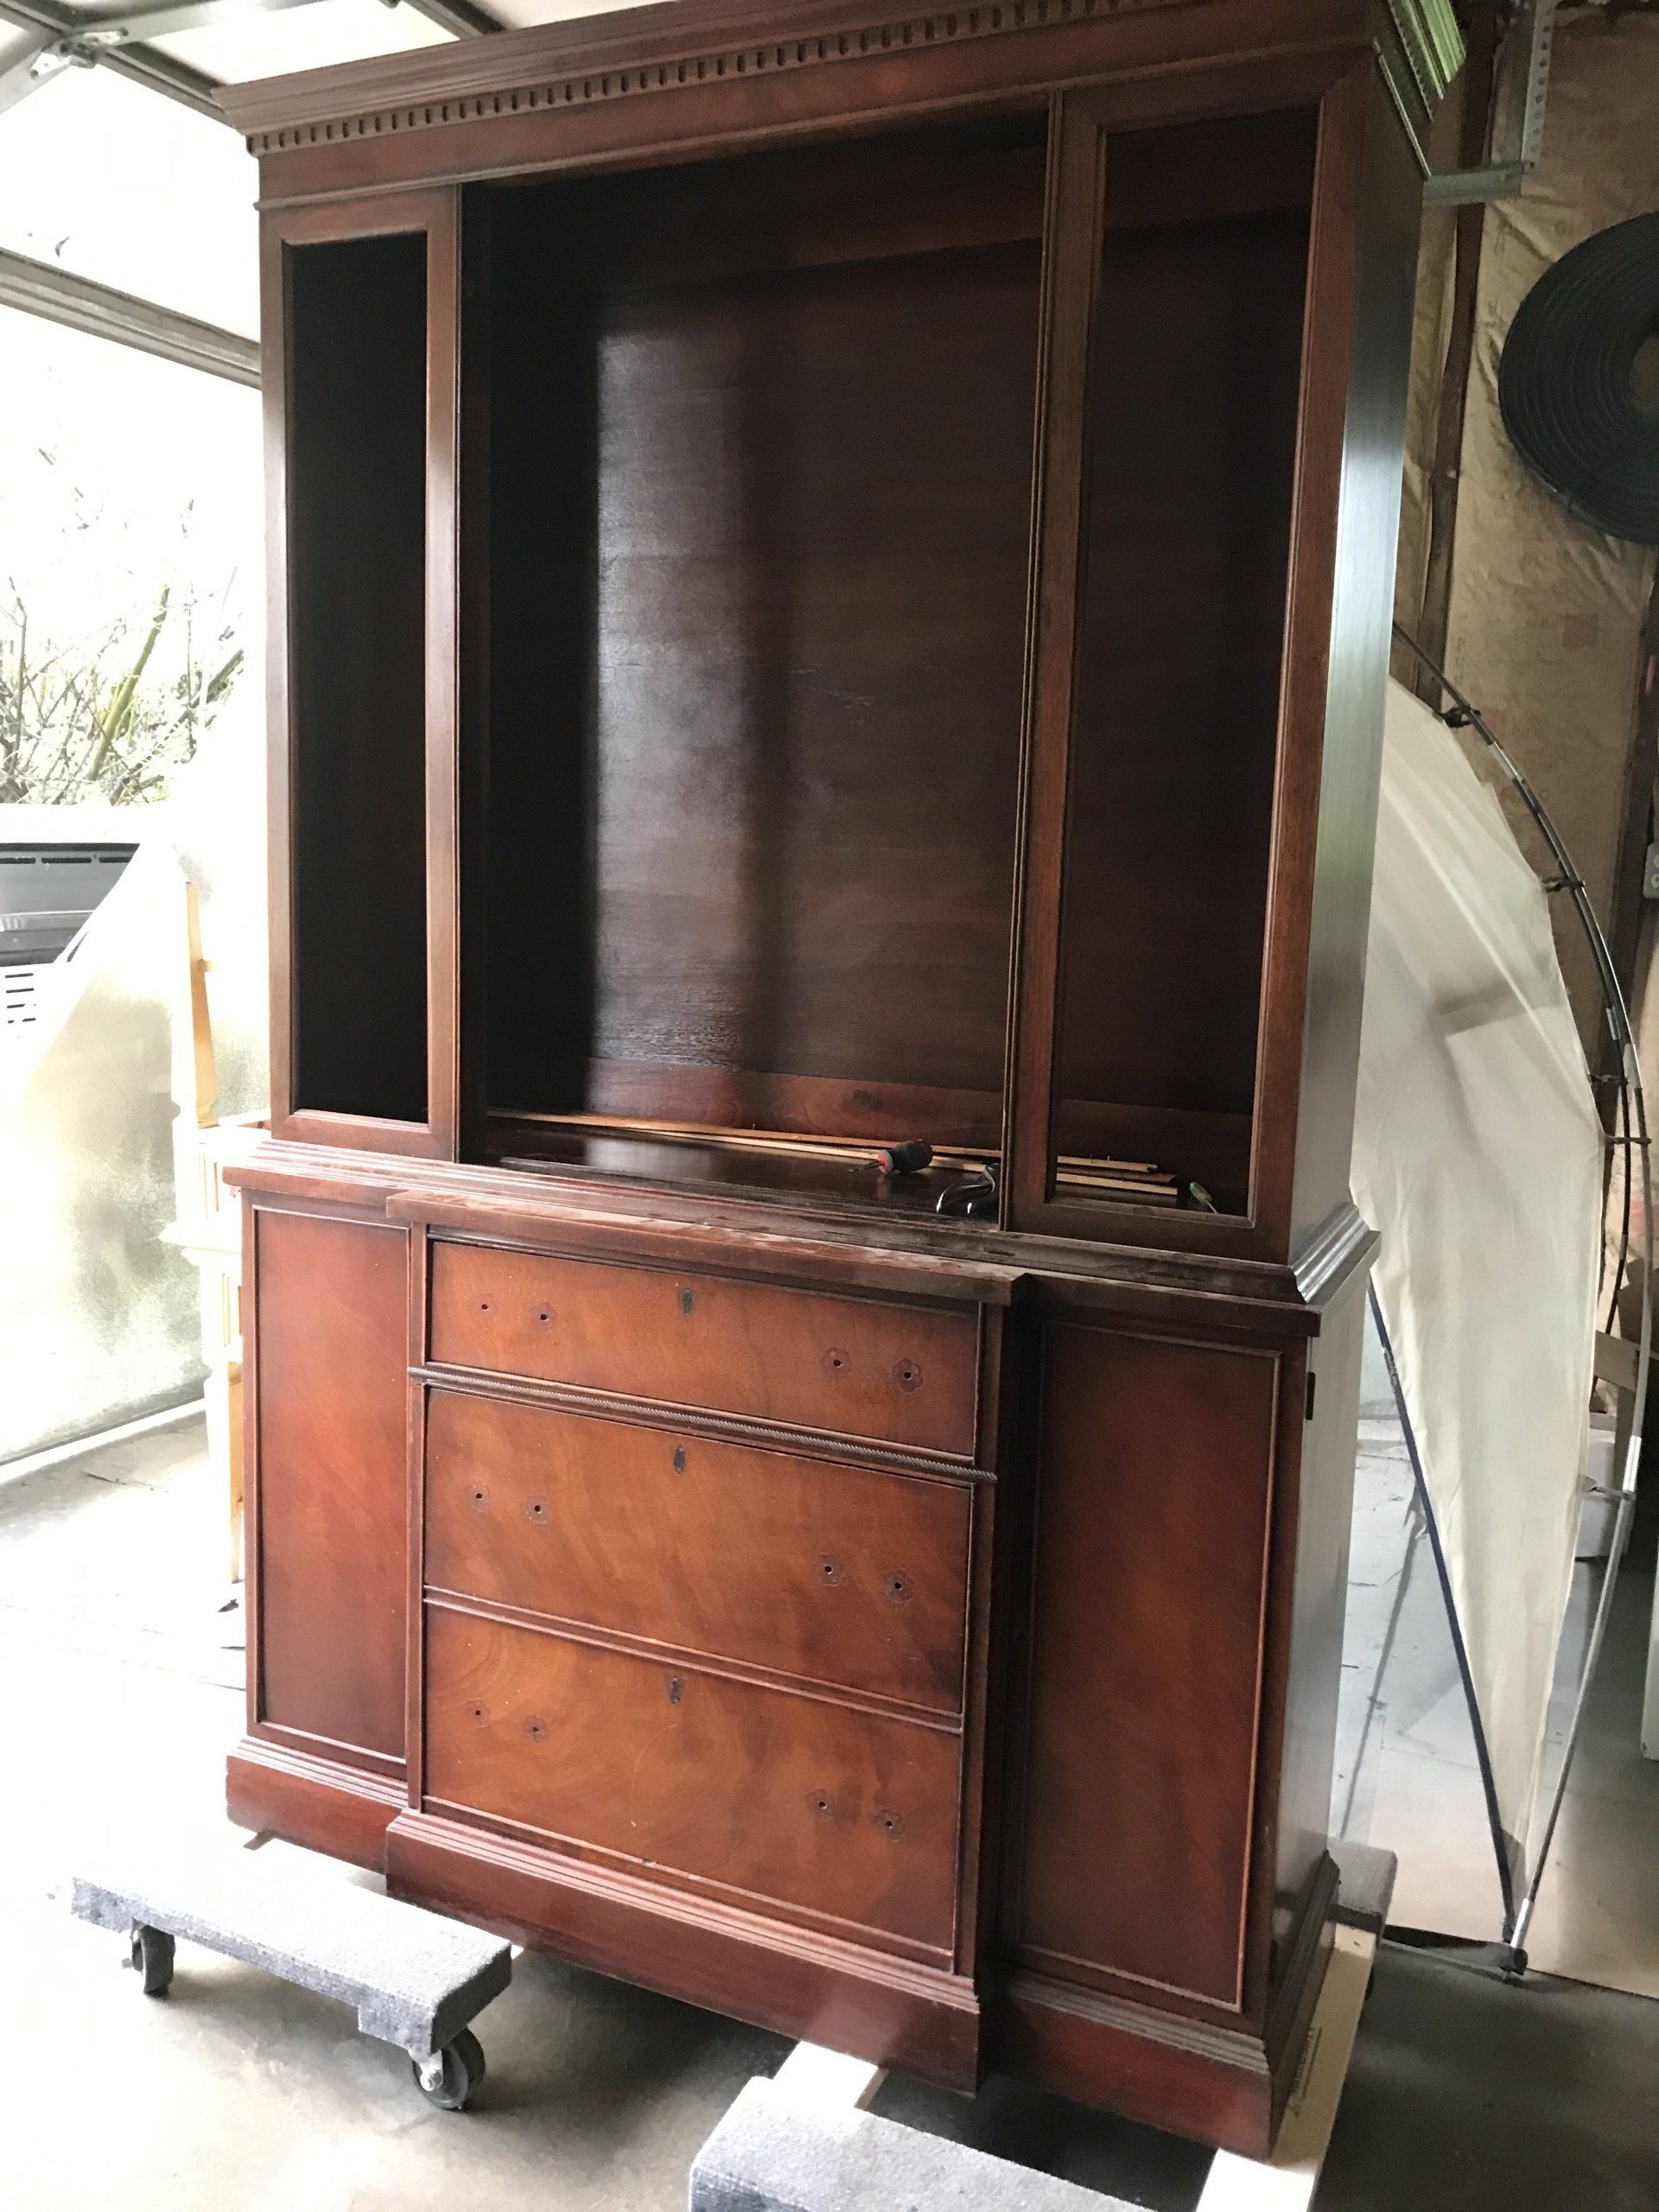
 Always start with a piece of furniture that appeals to you. Not in the finish and/or color, but the shape and the details.....and look at that dental molding at the top!

China cabinet
 I really wanted to make this look more like a hutch than a china cabinet, so I started by removing the large glass door and the side glass pieces to make it more open. The interior wood and shelves had an awesome wood grain and the original finish was not perfect, but better than I usually find! With that being said, I decided to do something different than I normally do, and leave the original color and finish on the inside.
The whole piece was thoroughly cleaned and the outside was scuff sanded and wiped again with a tack cloth.....And now, the covering and taping begins...
 (This post may contain affiliate links for the products I use and LOVE....for your shopping convenience)

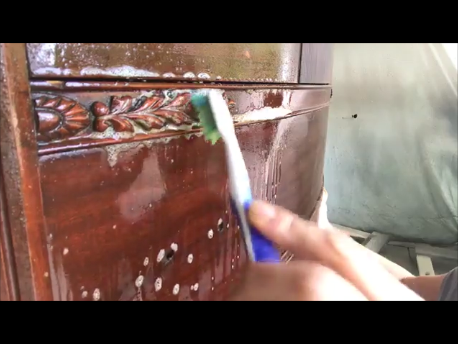
 I always like to give these older pieces a couple of coats of a shellac based primer to make sure there is no bleed through. Especially when I'm painting in lighter colors. I use my handy, dandy HomeRight sprayer to apply my primer coats.

Once the primer dries IT'S TIME TO PAINT! I used a chalk-type paint in a color called heavy cream. It's a soft creamy white, so it's not a stark bright white that might be too much of a contrast against the darker original finish of the inside. My ALL TIME favorite brush to apply paint is a ClingOn brush. There is NO comparison in my opinion!
Here is where I hold my breath for a minute or two.....removing the tape and paper! Did any of the paint bleed through under the tape?? Did I not secure the paper down tight enough and the spray primer is going to be all over under the paper?? Here goes nothing! LOL ..............

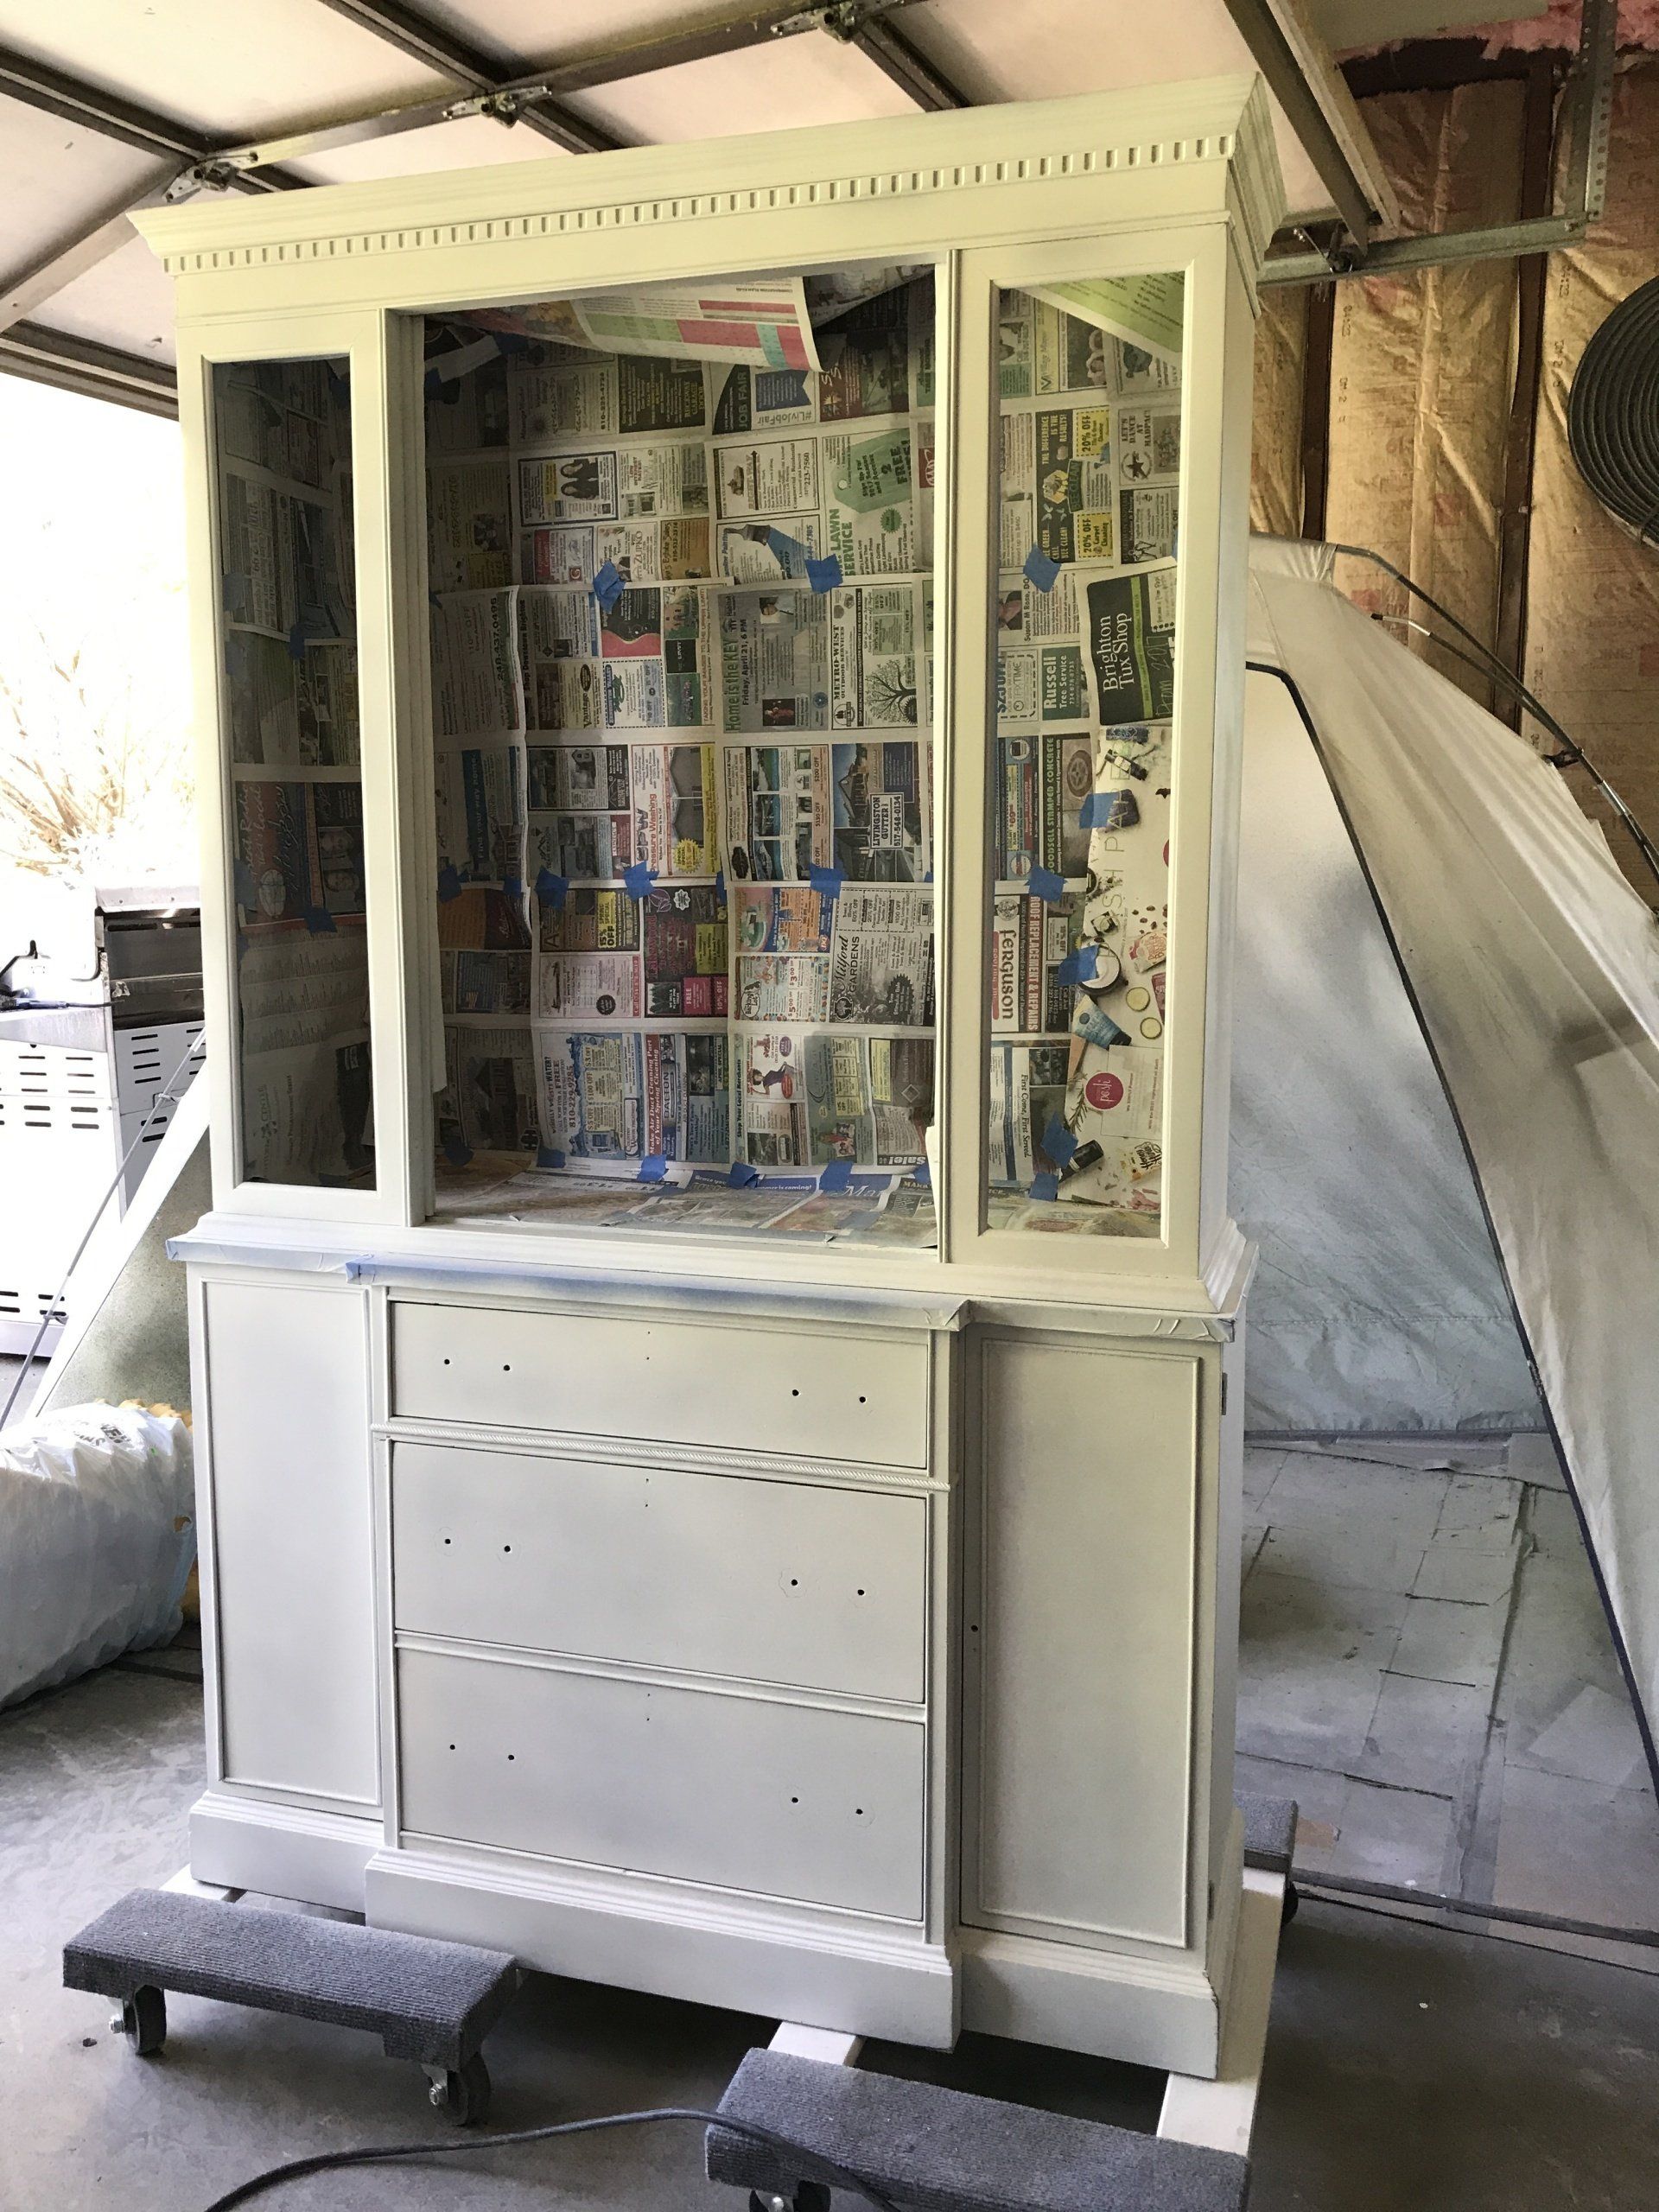
PHEW! All of the paint is where it is supposed to be!

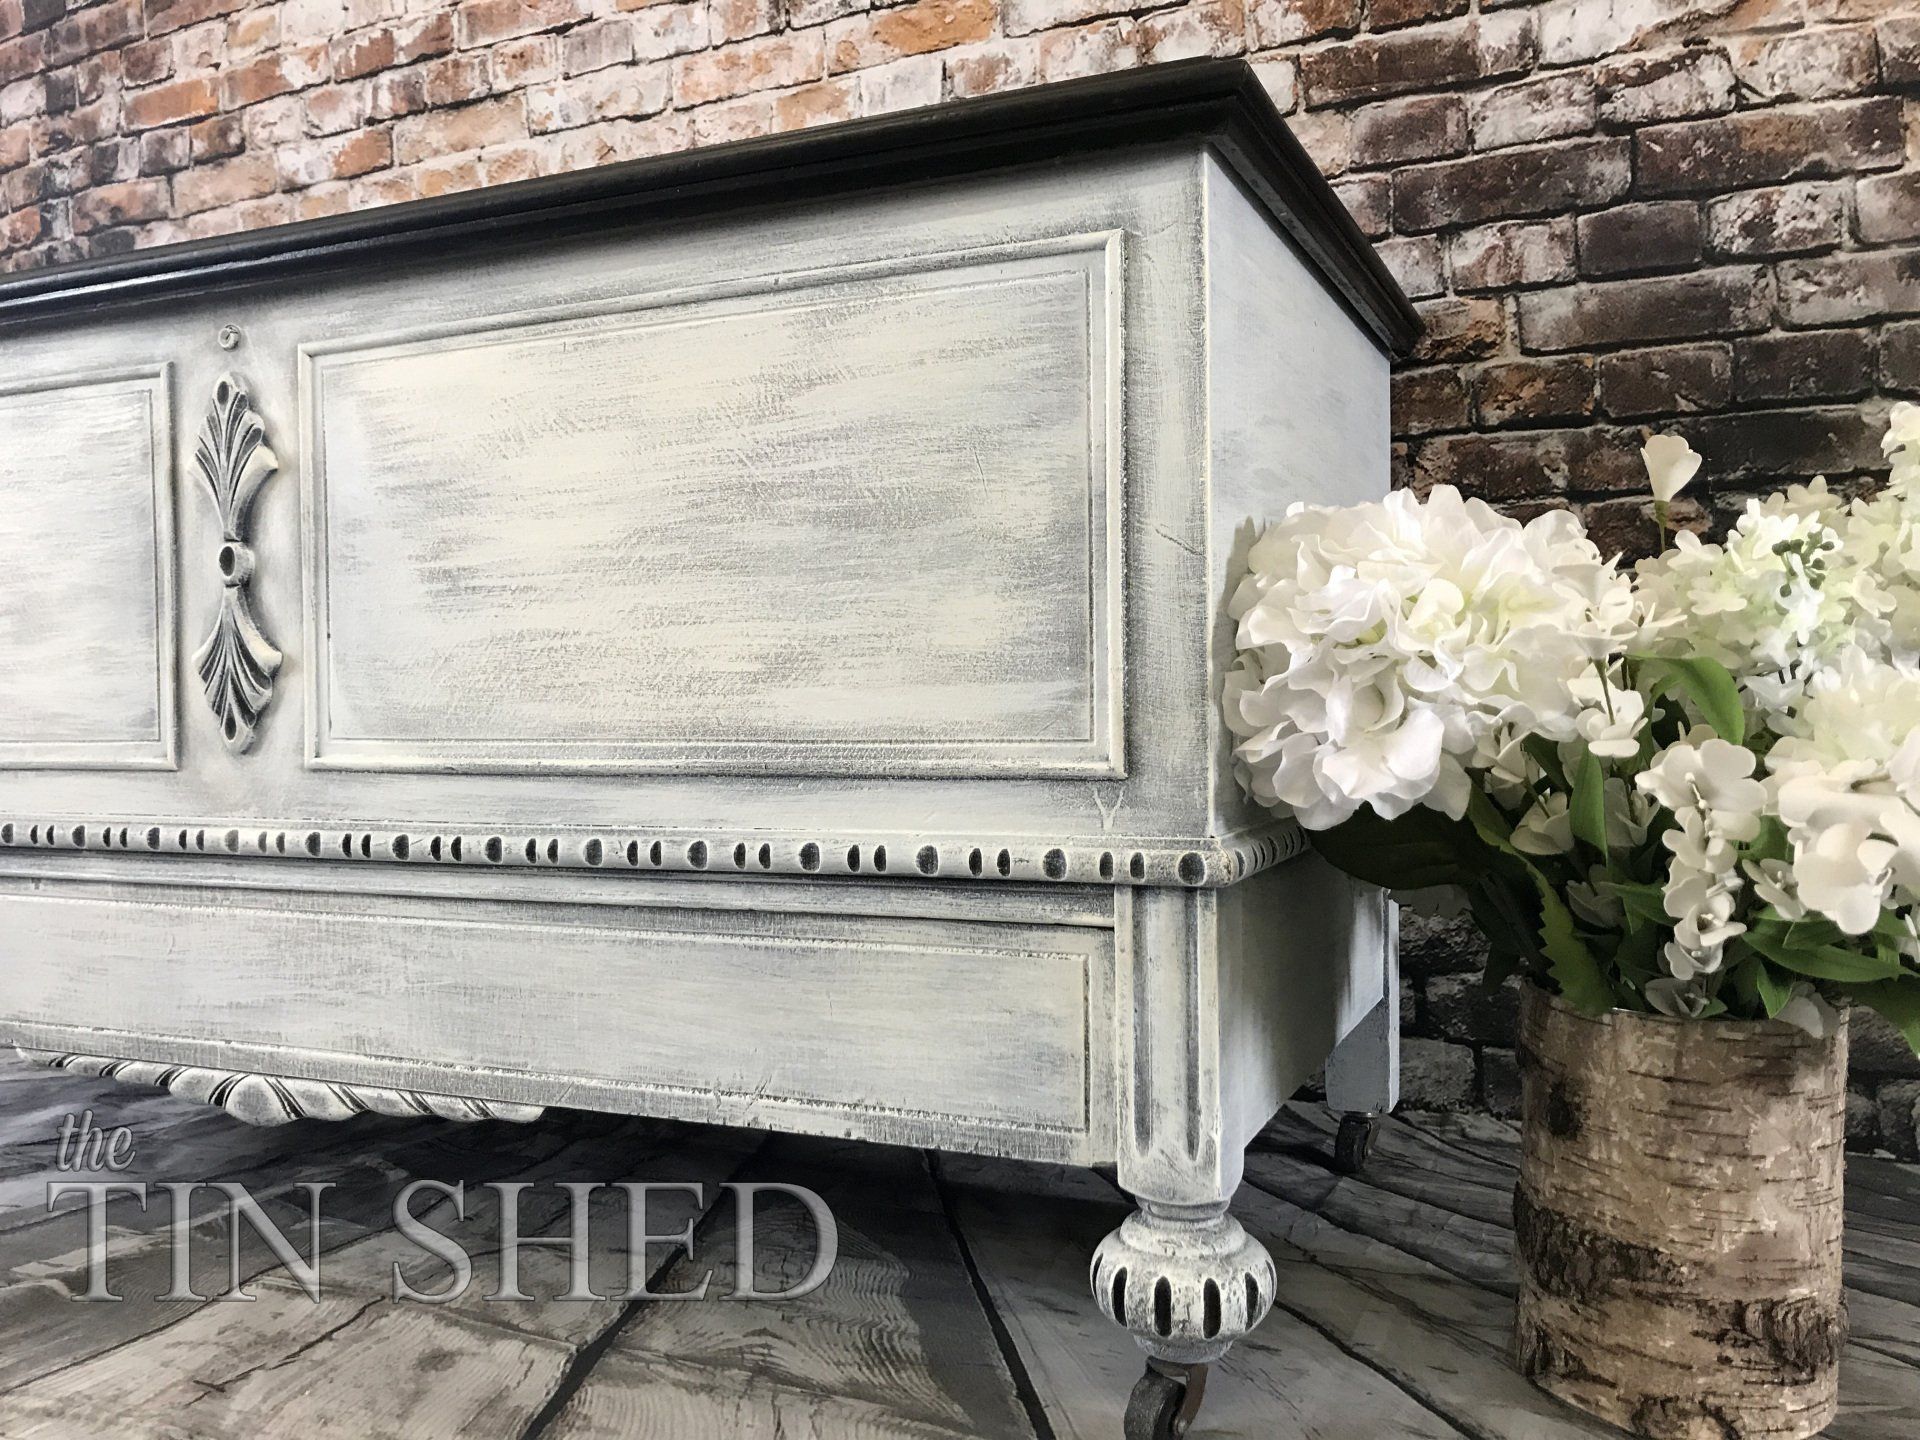
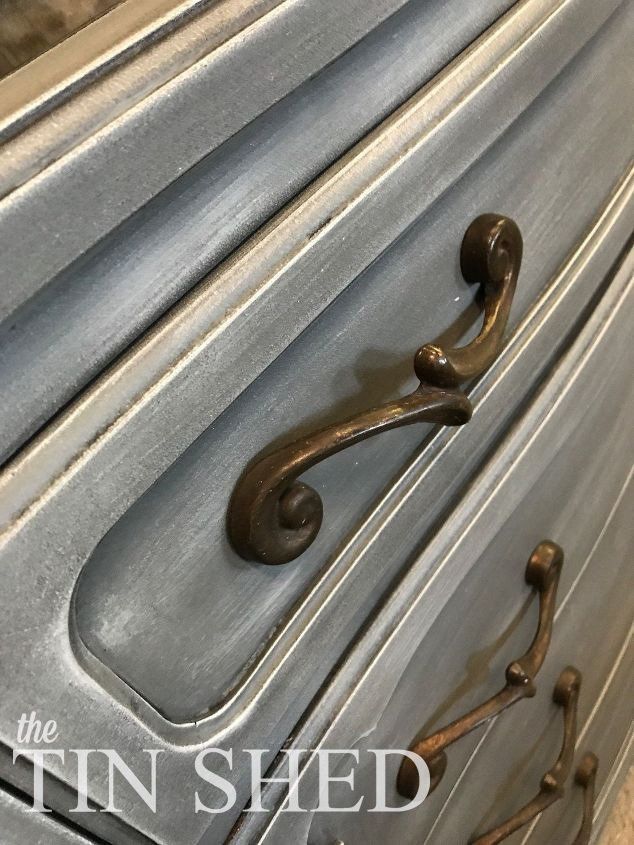
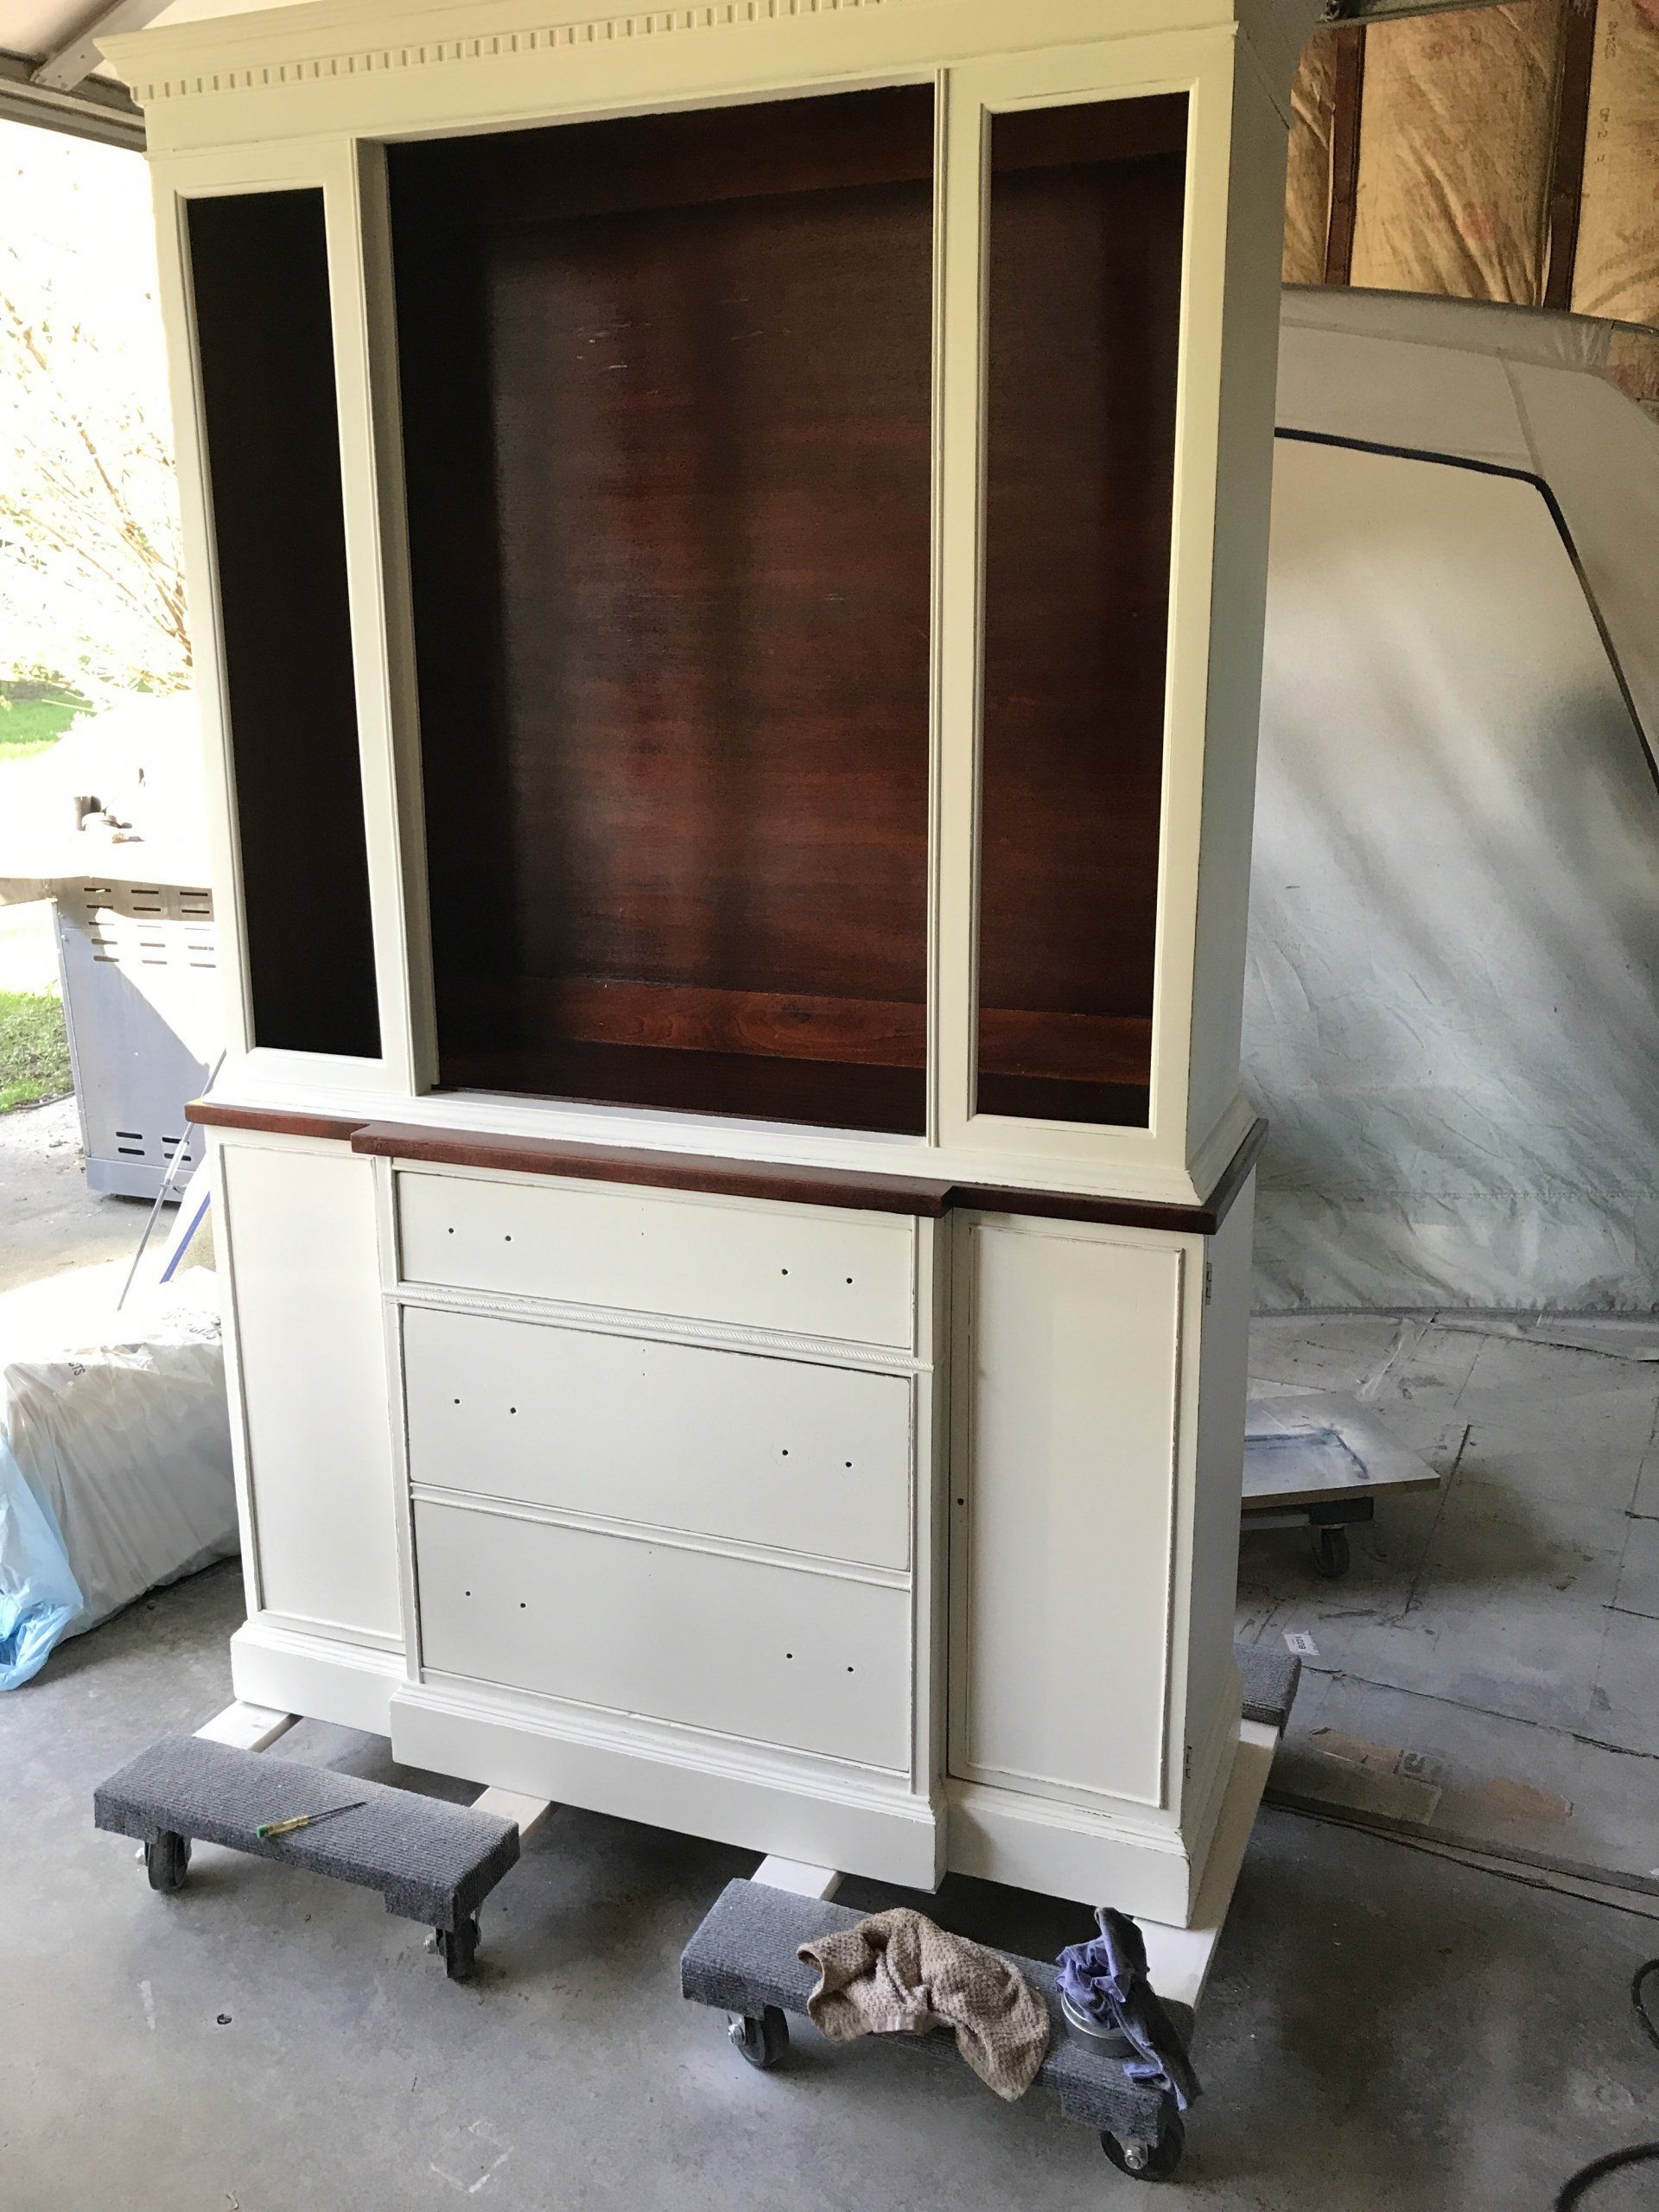
 Now it's time to think about a sealer. My go to topcoat is almost always Polyvine Dead Flat. I love the way it goes on and the low sheen of the finished product (AND IT DOESN'T YELLOW!). I also gave the original wood finish a little love by rubbing on a product by Wise Owl called Furniture Salve. It made the wood look like new!


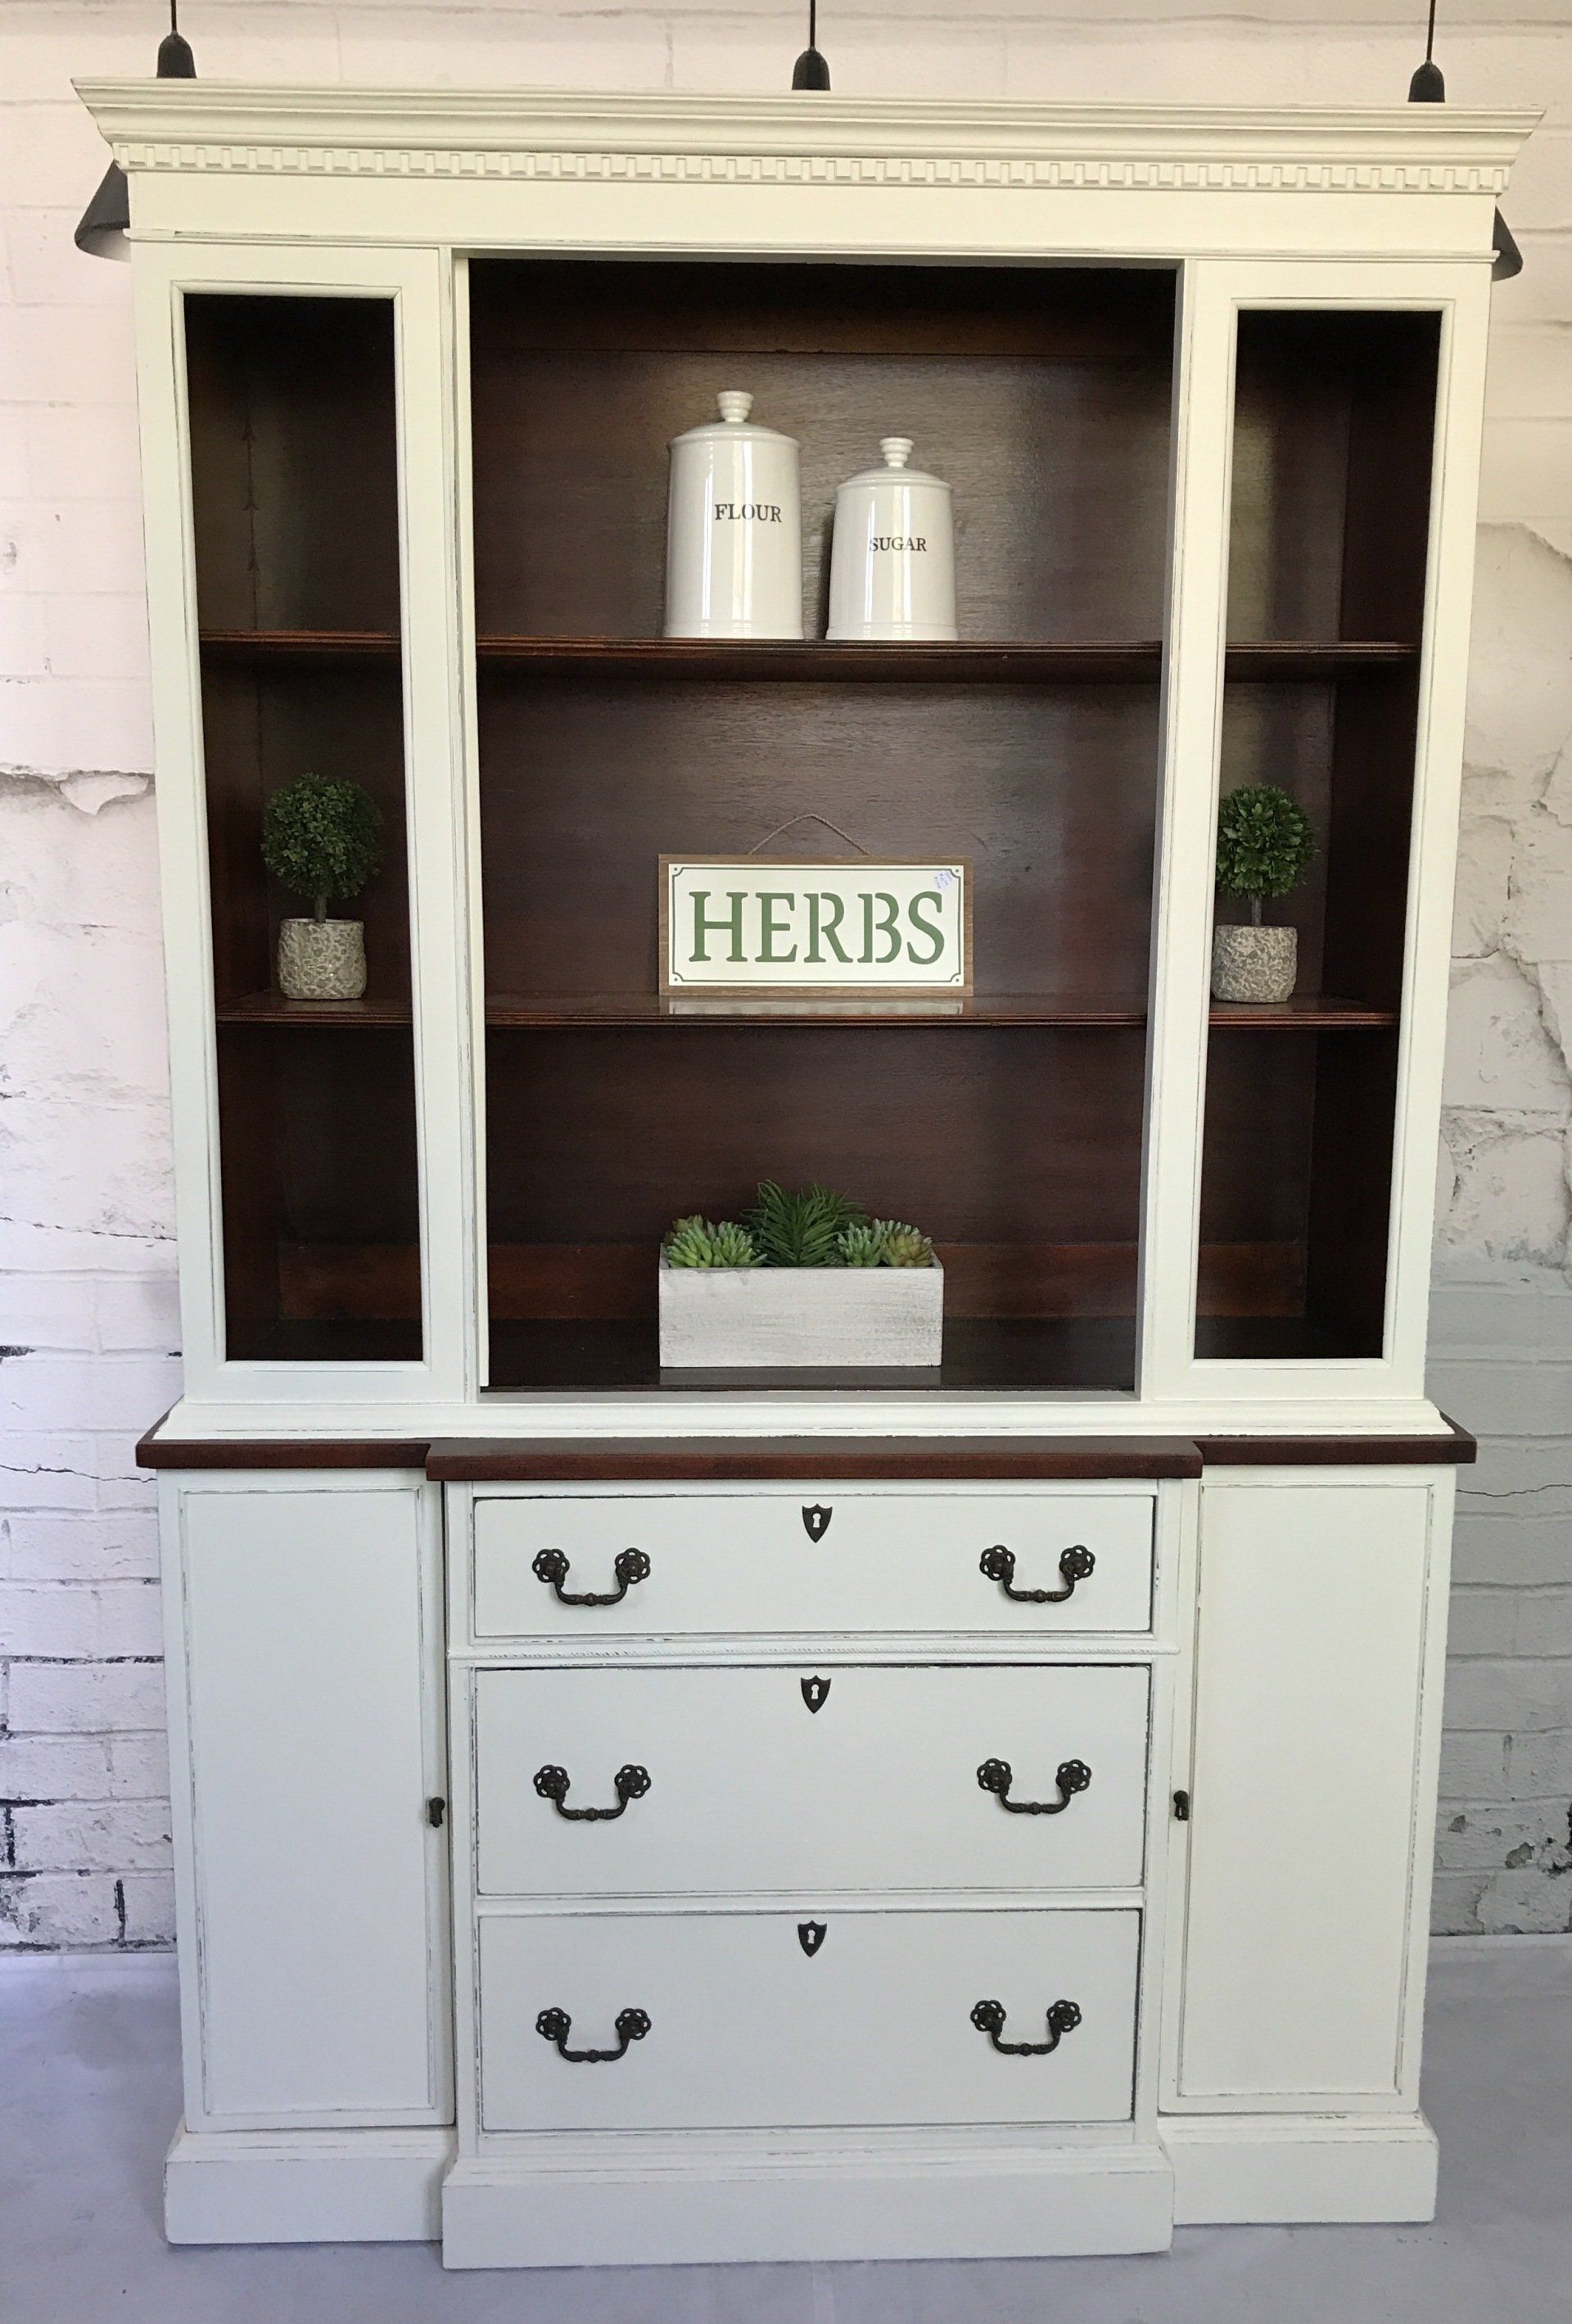
And there you have it! A TOTAL transformation!

  Happy painting!

Tammy

By Tammy Fiddie 25 May, 2019
Creating a layered look on furniture with paint
By Tammy Fiddie 25 May, 2019
Create a chippy farmhouse finish on furniture using paint
By Tammy Fiddie 25 May, 2019
A video tutorial for painting furniture
By Tammy Fiddie 23 May, 2019
Updated with metallic paint and glaze
By Tammy Fiddie 23 May, 2019
Two-color blending technique for painted furniture
By Tammy Fiddie 23 May, 2019
Prep is a must when refinishing furniture!
By Tammy Fiddie 23 May, 2019
Use dry-brushing & glaze to create interest when updating furniture with paint
By Tammy Fiddie 23 May, 2019
How to get a worn chippy look using Saltwash
Share by: