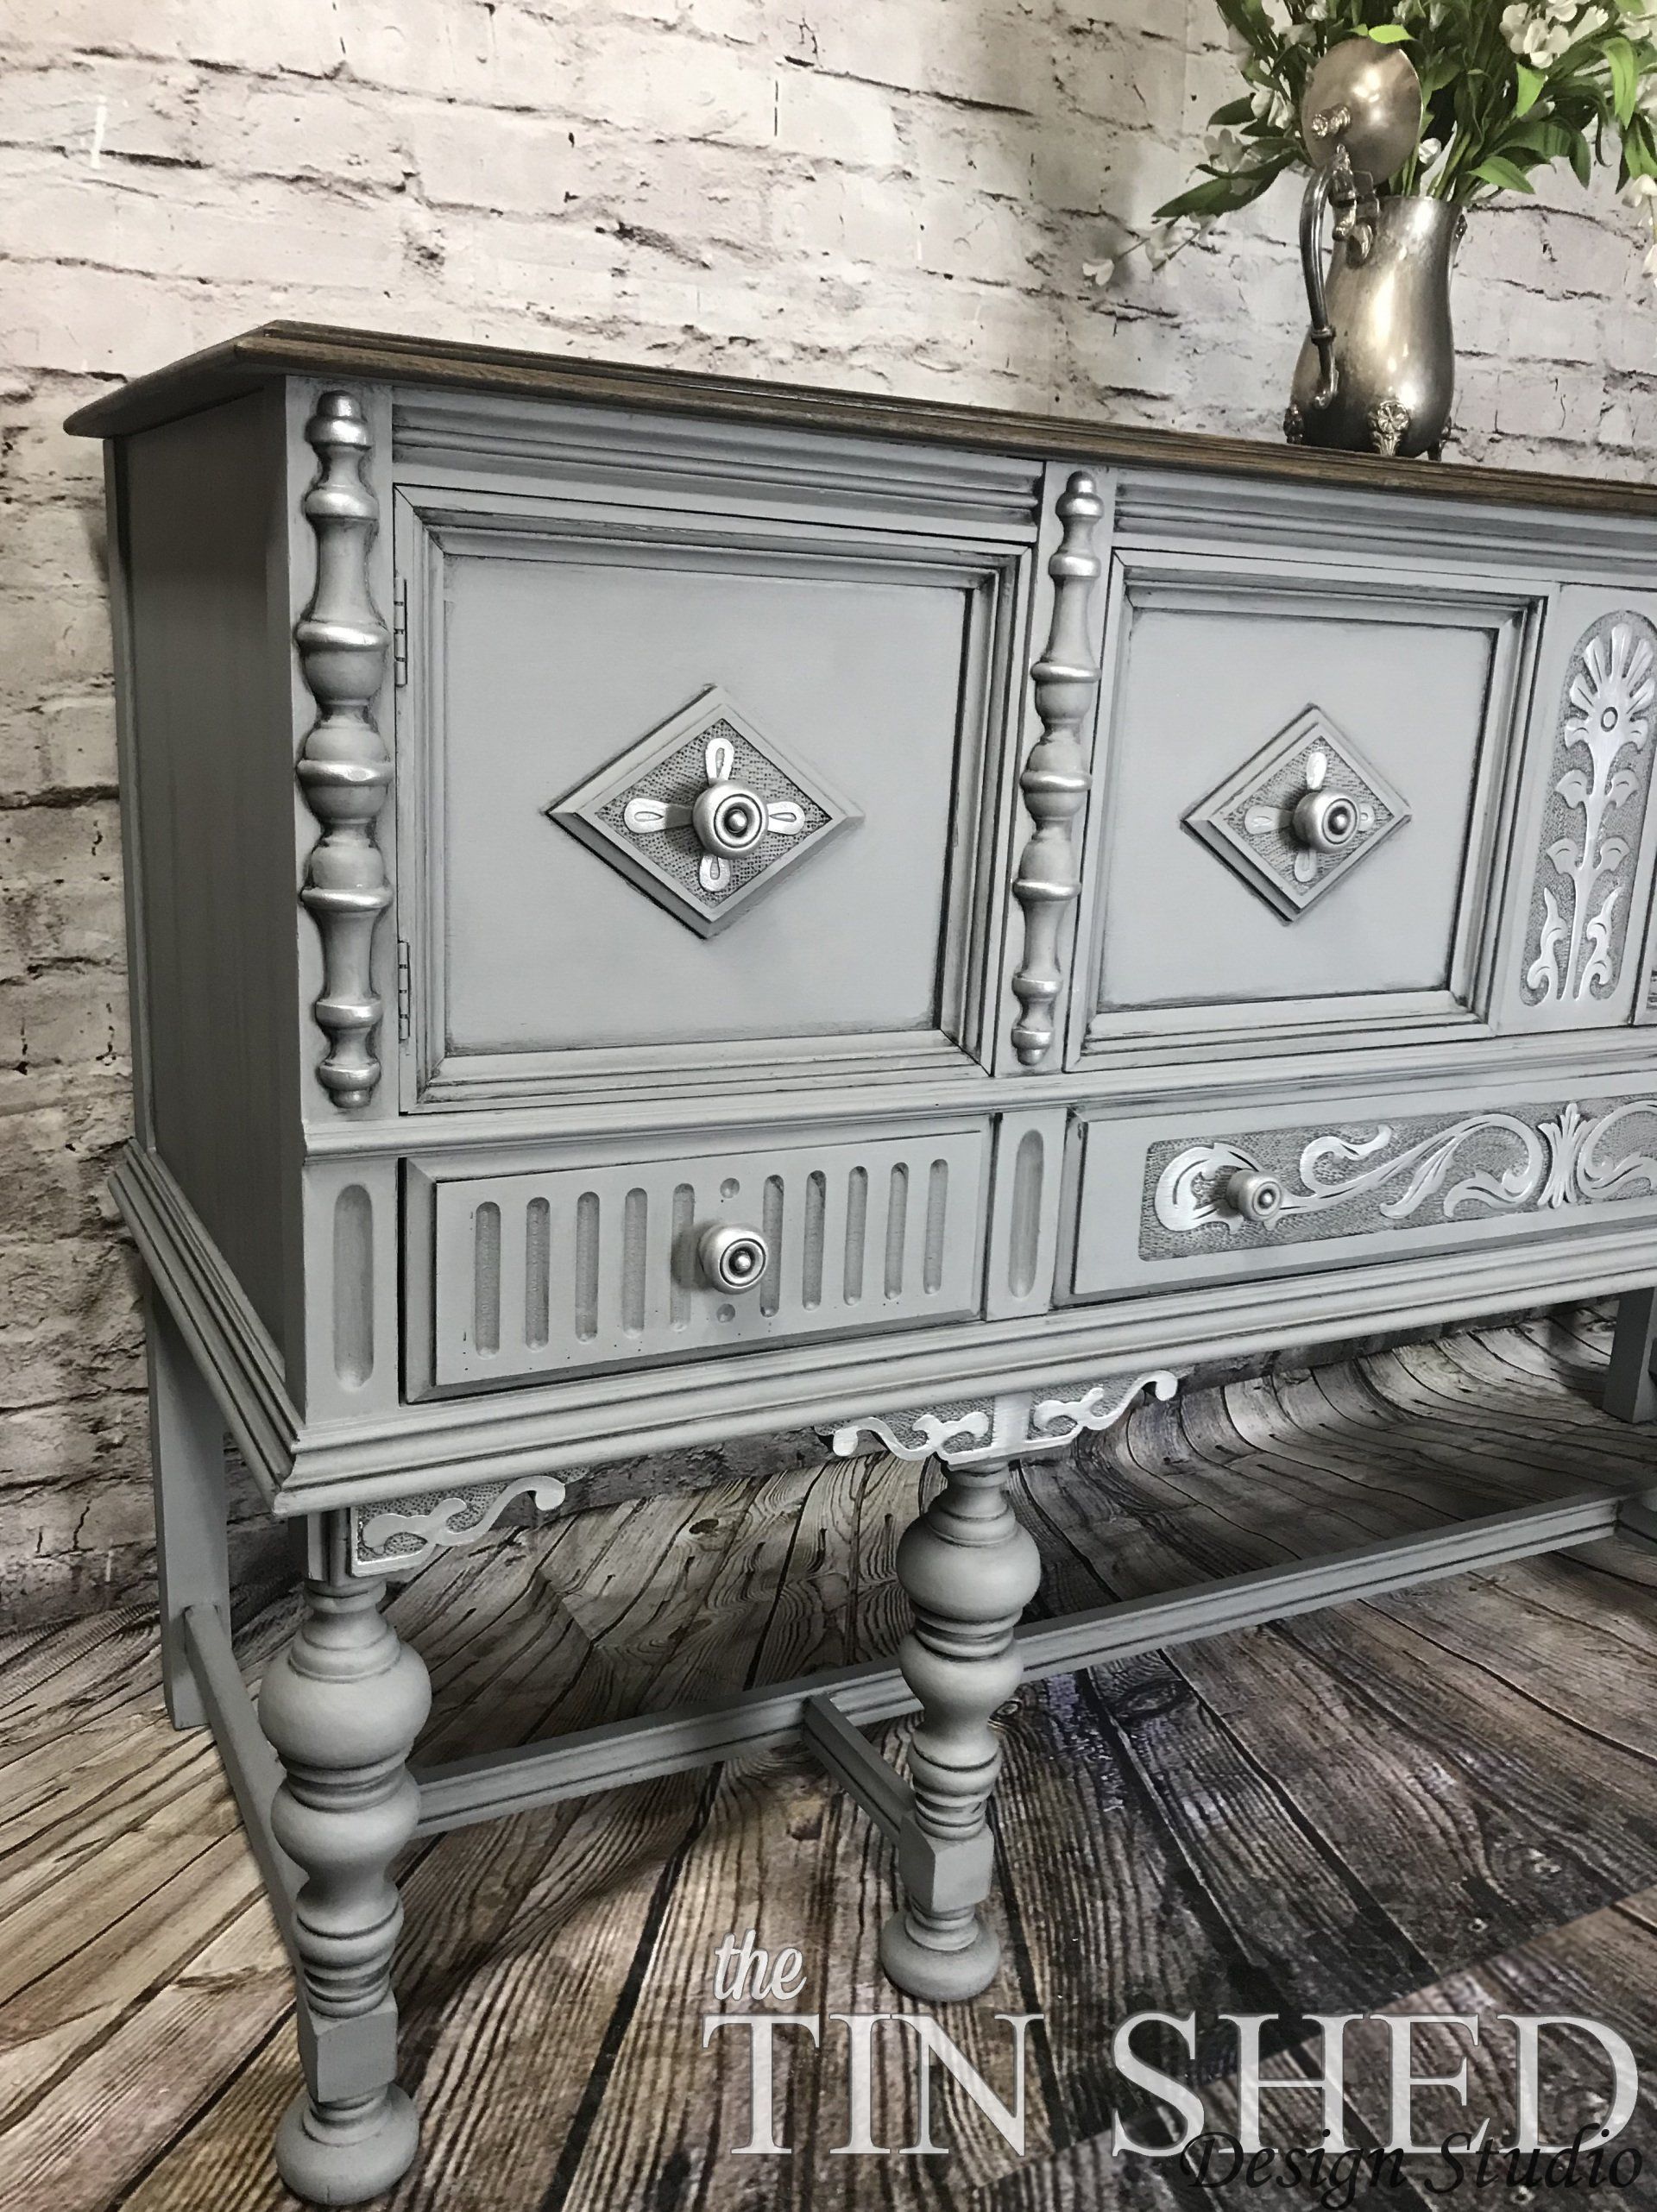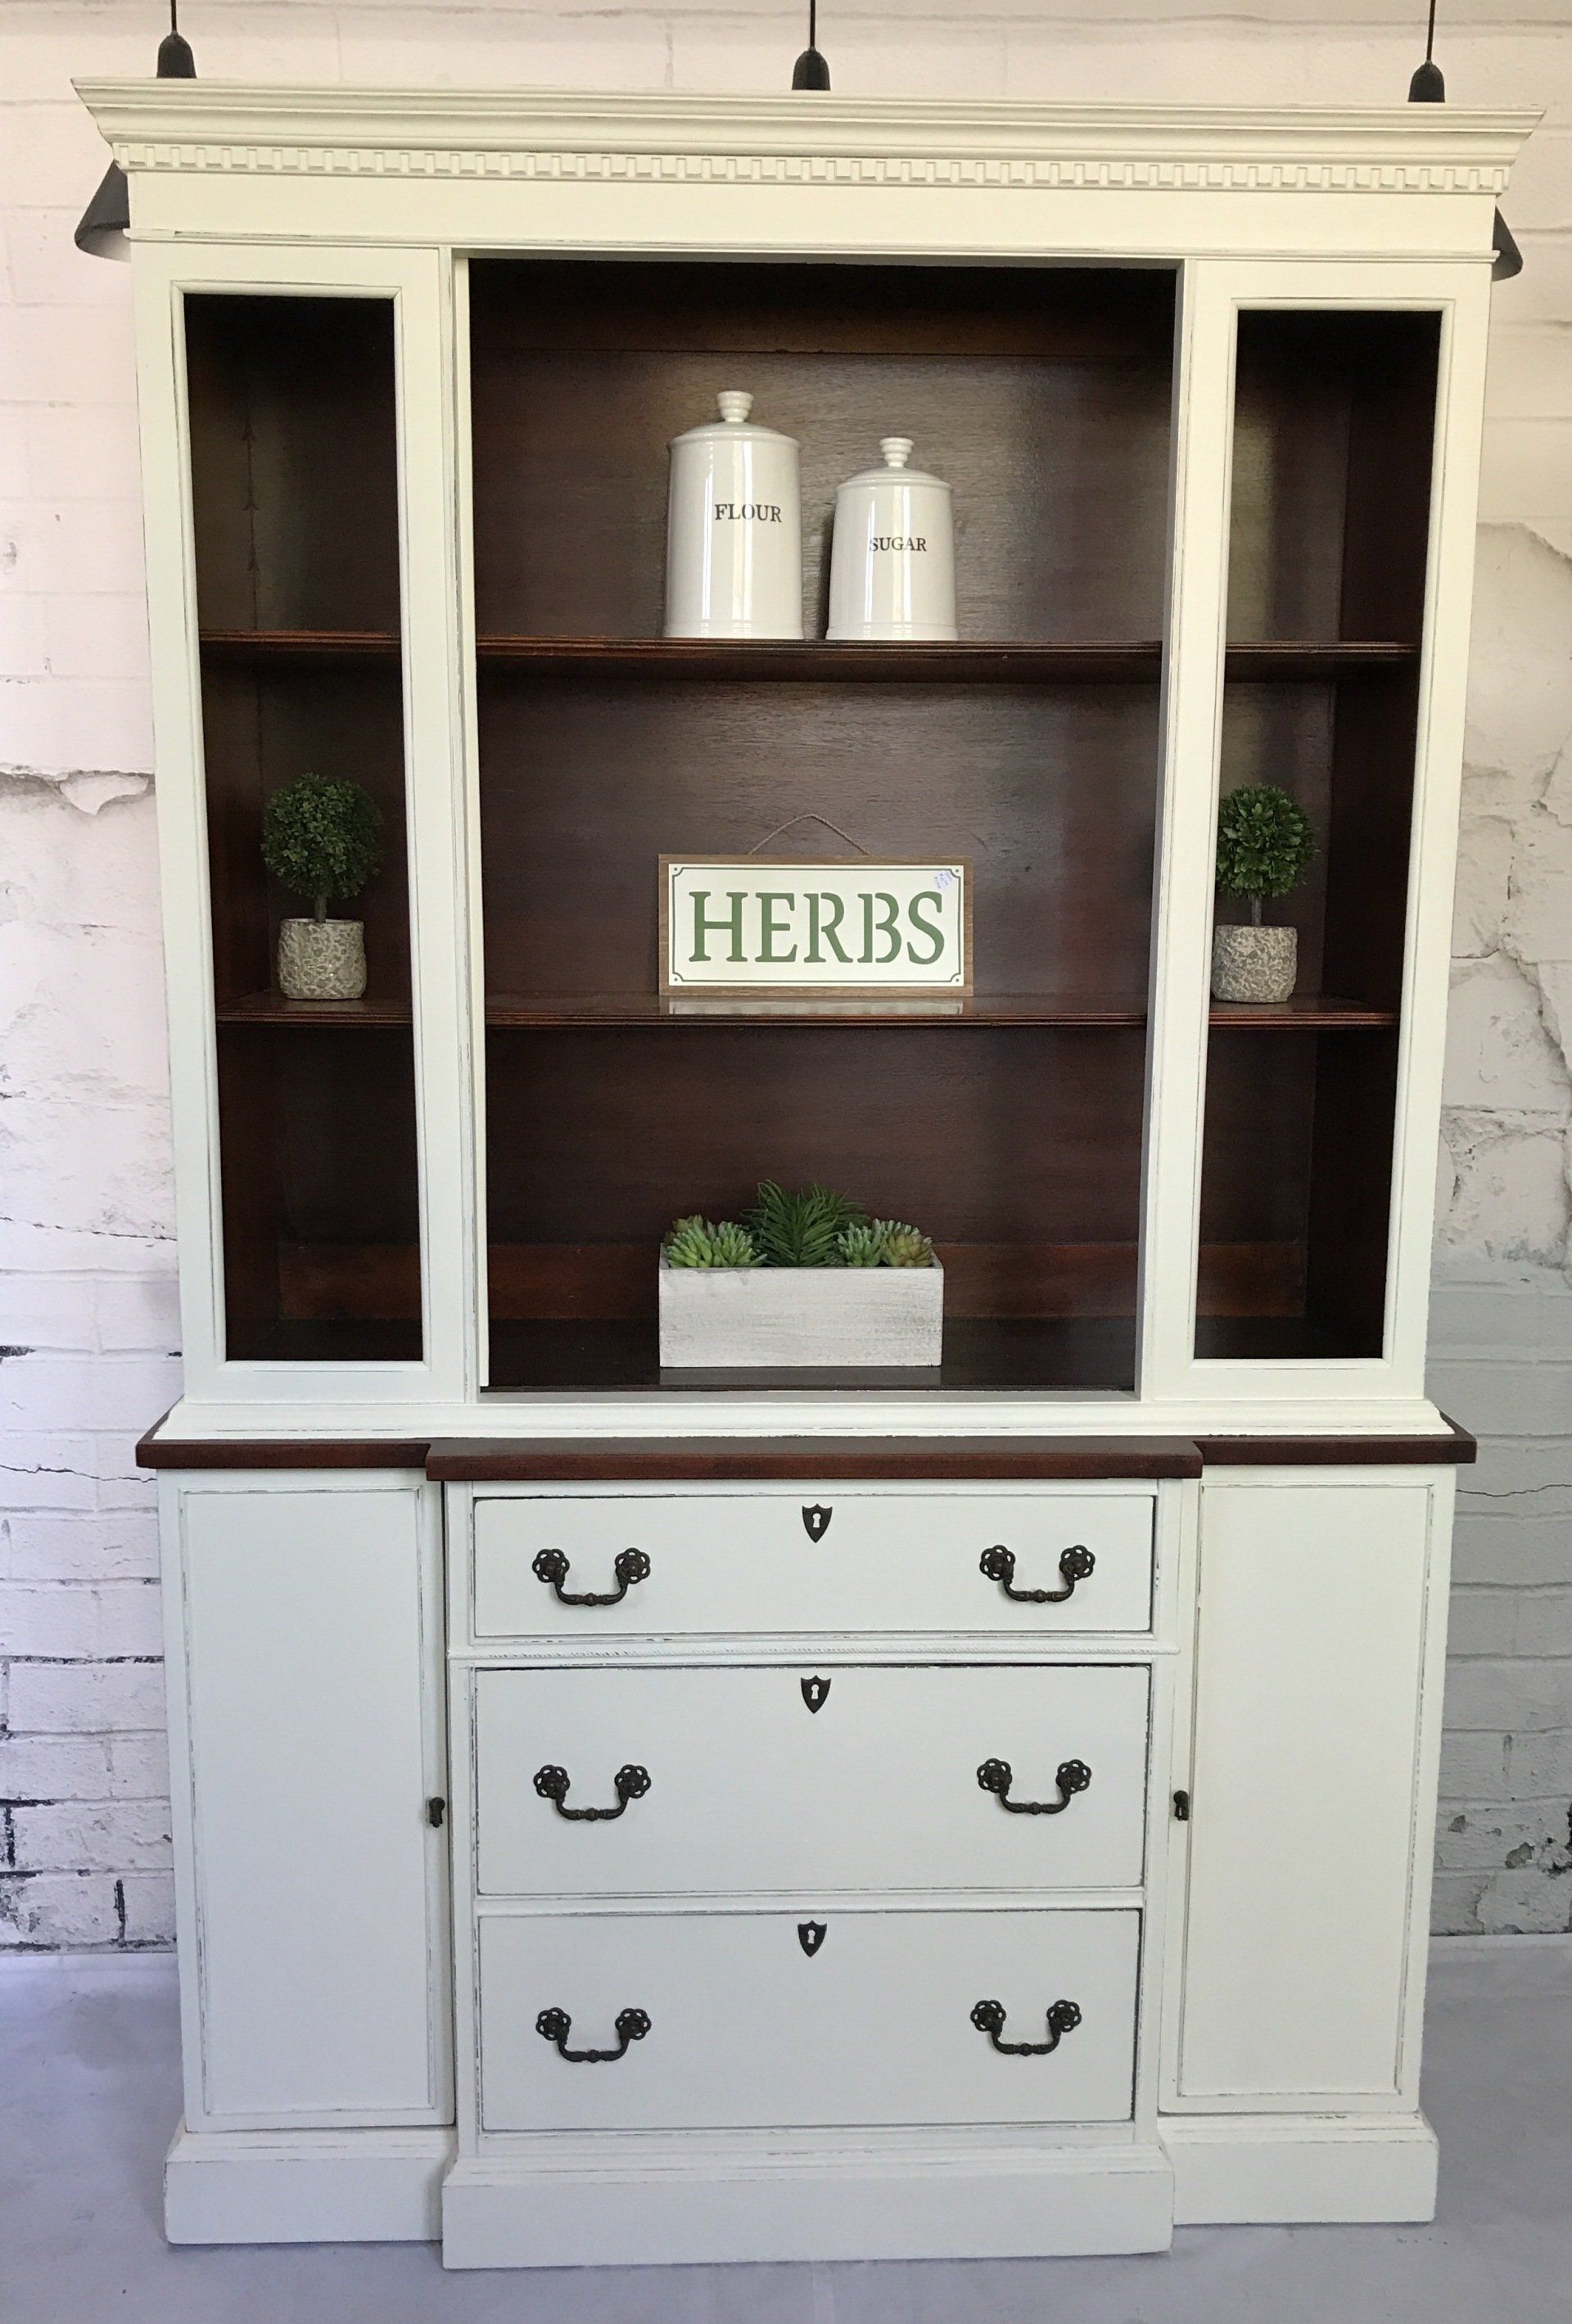
Charcoal Gray Buffet
- By Tammy Fiddie
- •
- 23 May, 2019
- •
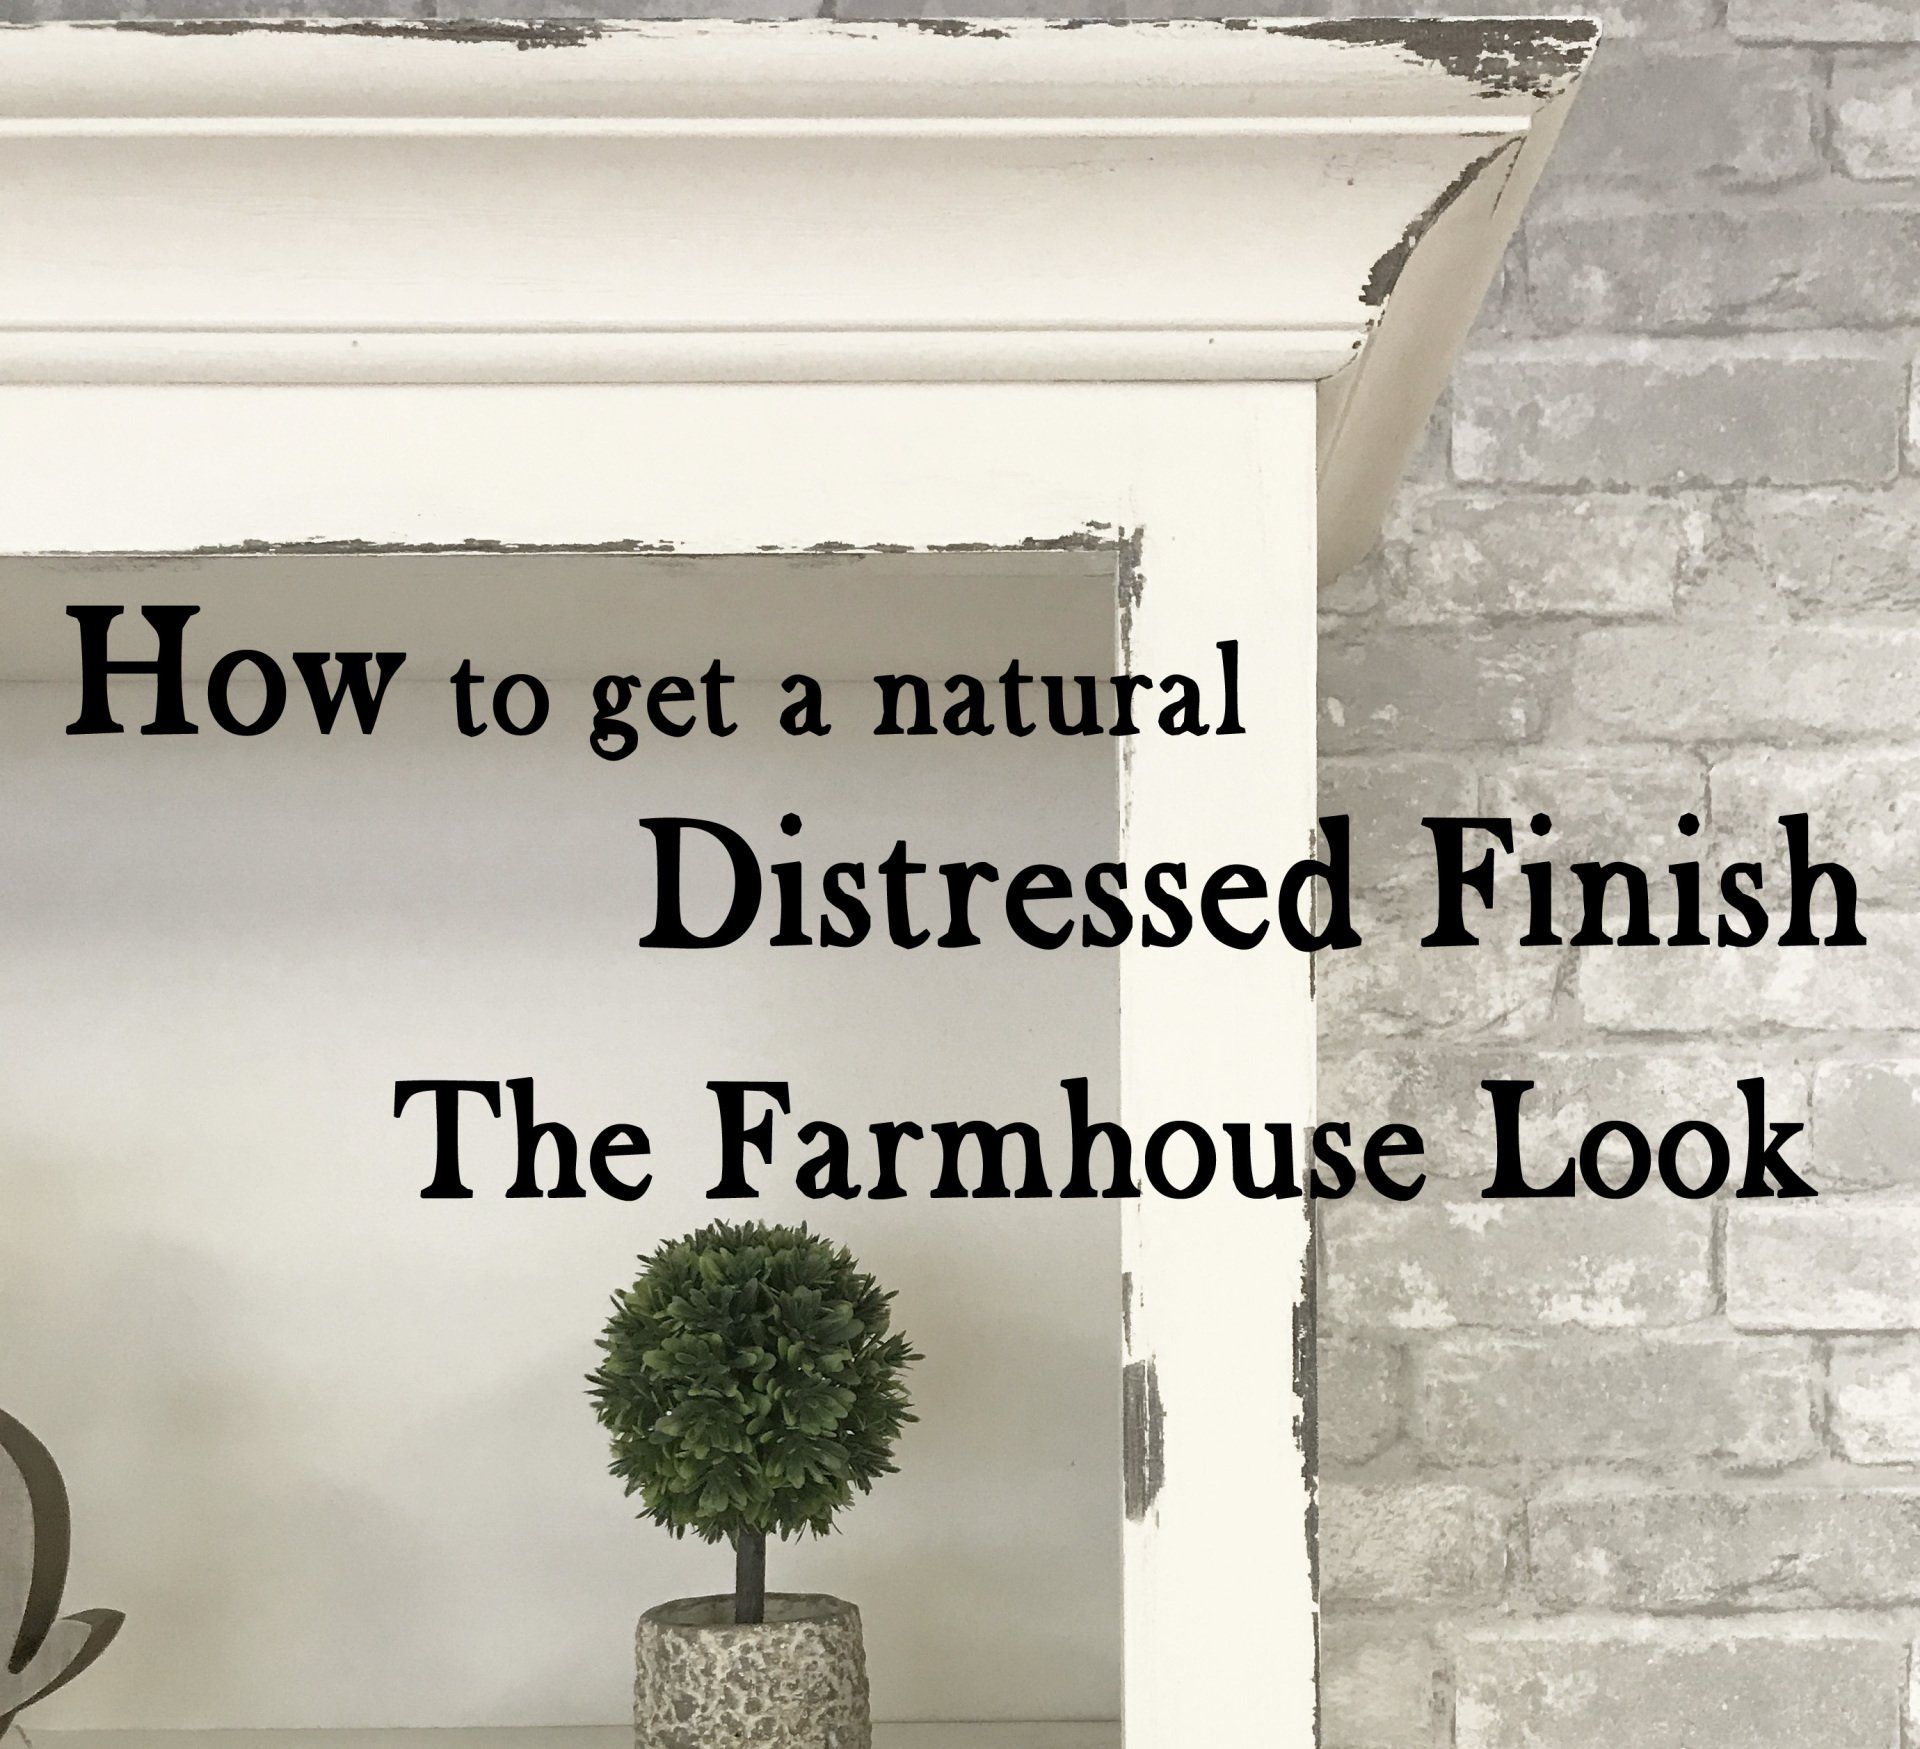
Use dry-brushing & glaze to create interest
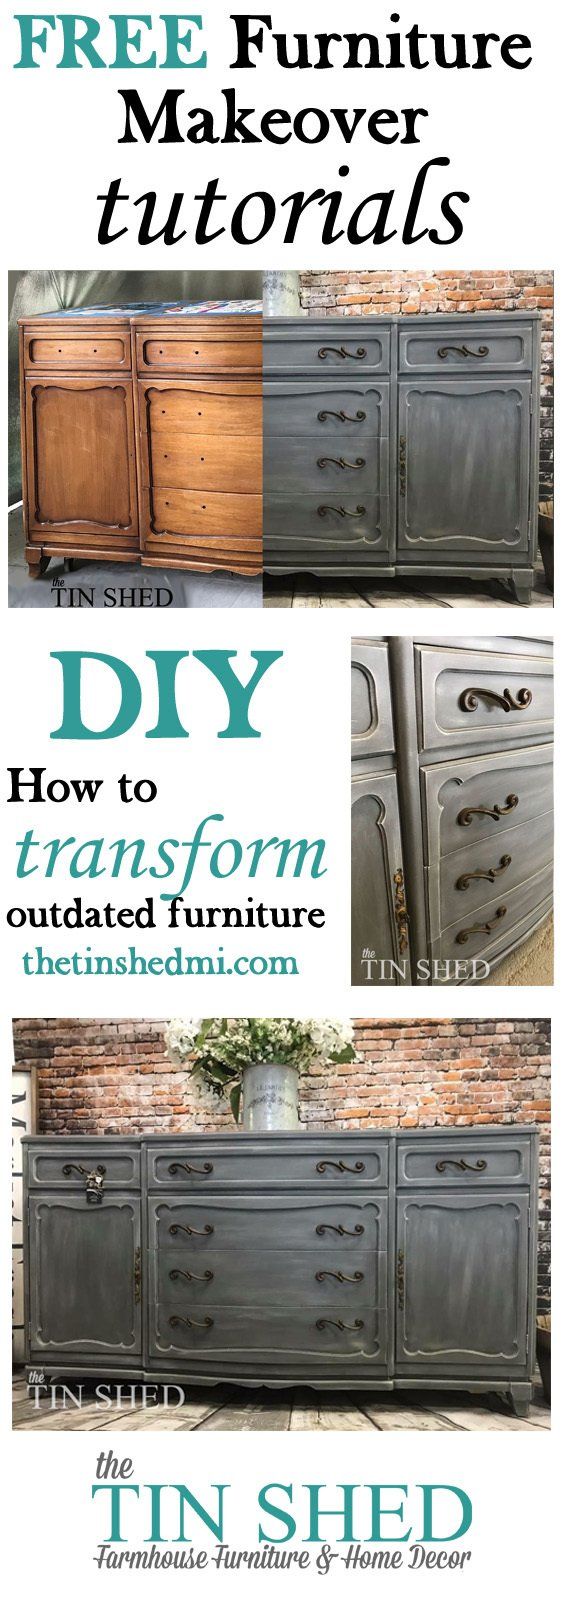
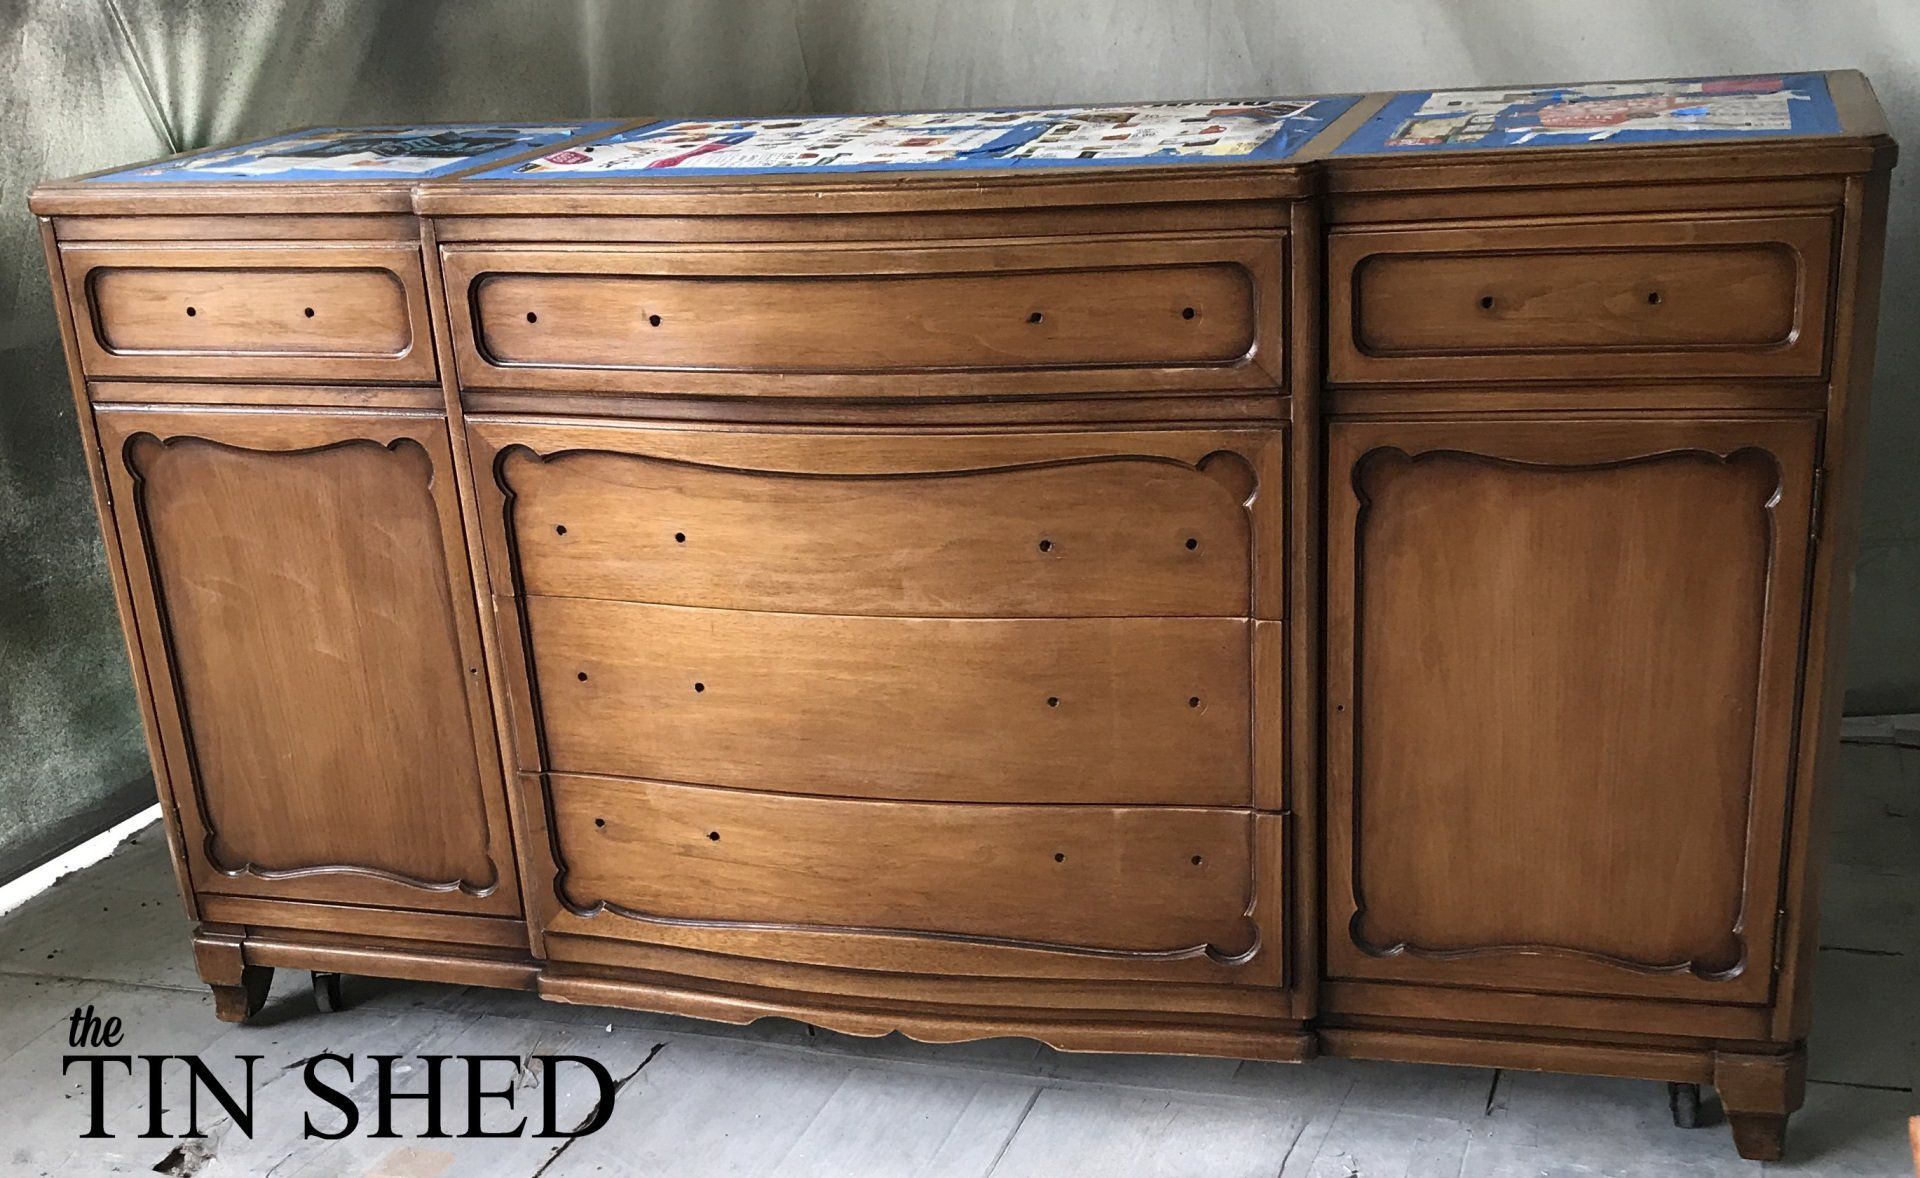
It had these grayish, smoked look, glass inserts on the top that I wasn't crazy about (so I didn't even get a pic), but I knew with this color and paint technique they would blend in a little more and maybe not be so terrible!
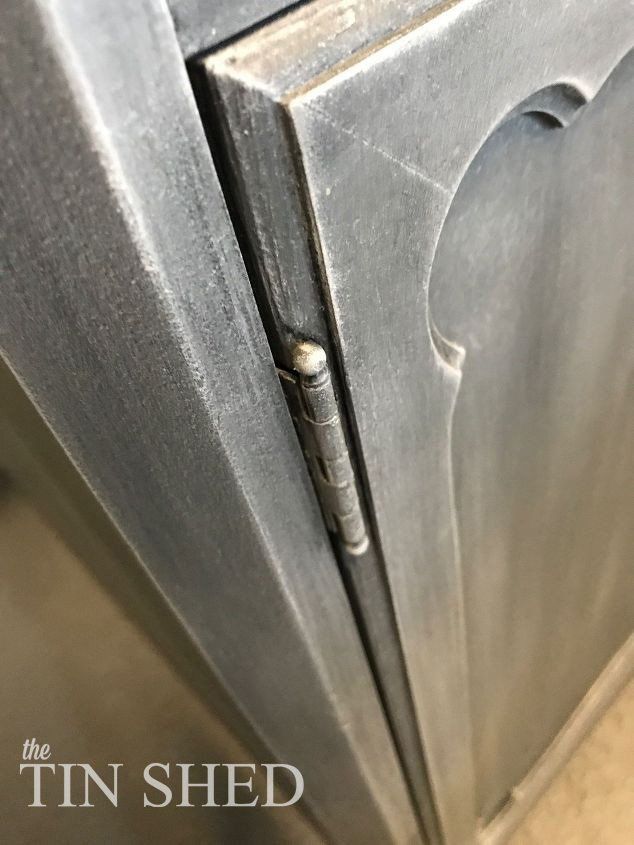
Disclaimer....I always get so excited to start a project that I forget to take some of the pics I need! ^^ Example, the first pic already has the hardware remove and the glass inserts covered with paper. LOL
Let's get the boring stuff quickly out of the way! LOL....I started by giving it a good cleaning with a 50/50 vinegar and water solution. I did a quick scuff sand and wipe down and then sprayed on the primer with my HomeRight sprayer. After the primer dried, I sanded with 400 grit sandpaper and wiped down with a tack cloth.
Ok, now that that's out of the way, let the fun begin!
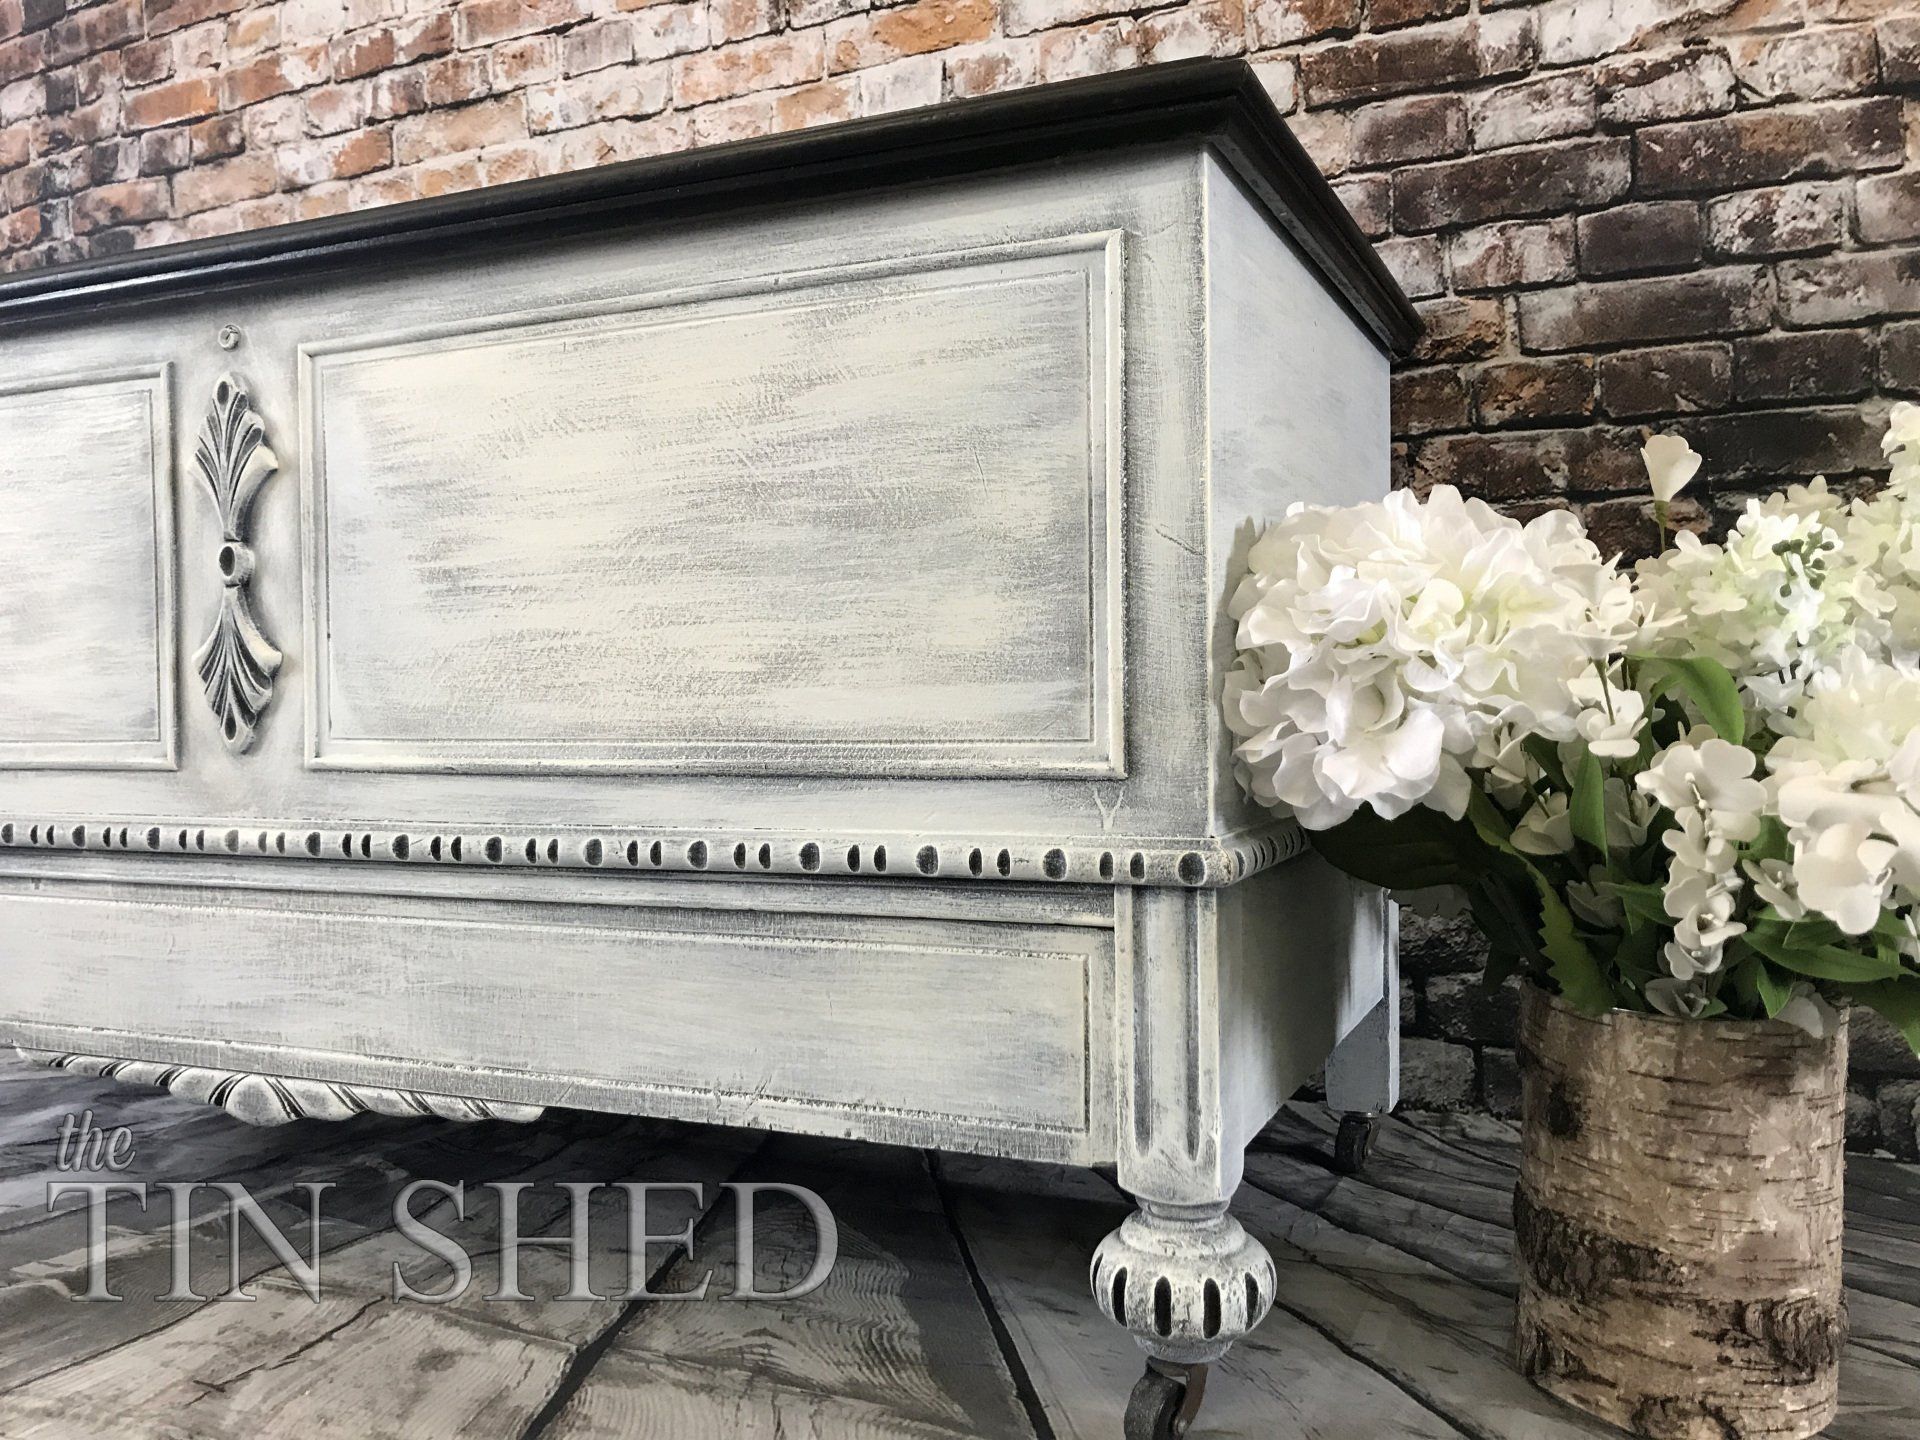
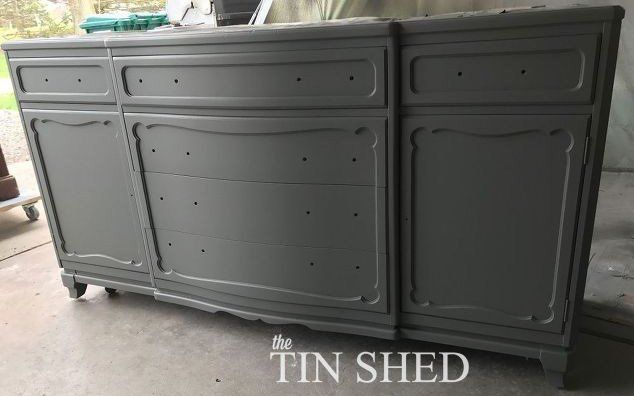
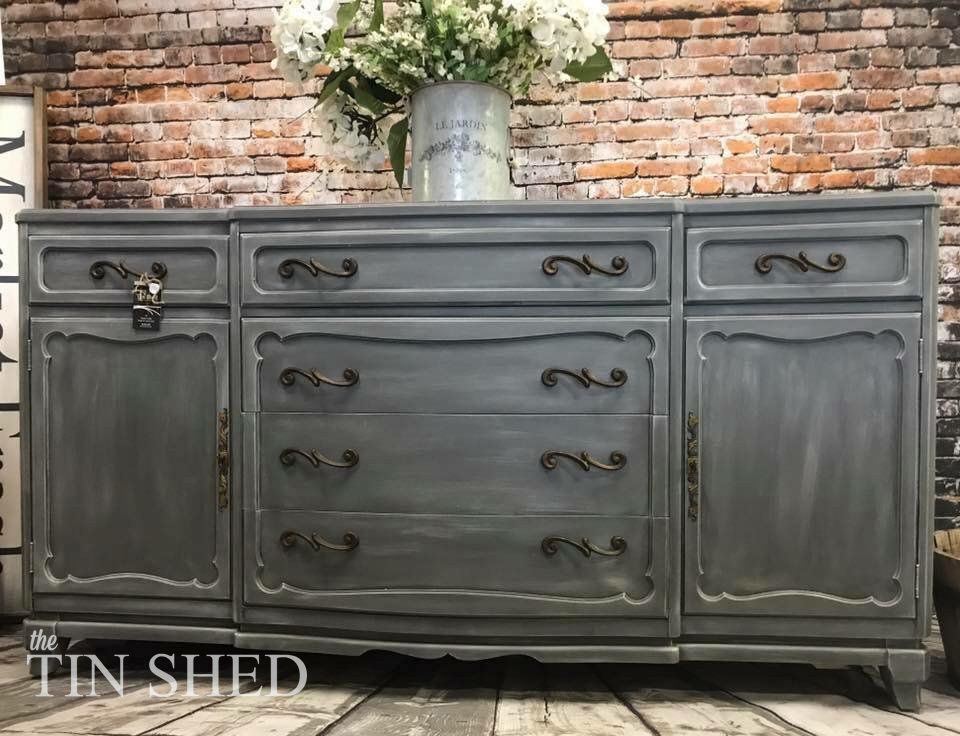
The base color is the most perfect shade of charcoal gray. I had it color matched at the paint store to a swatch of fabric I had and then used it to mix up my own chalk paint. I sprayed on three coats and let it completely dry.
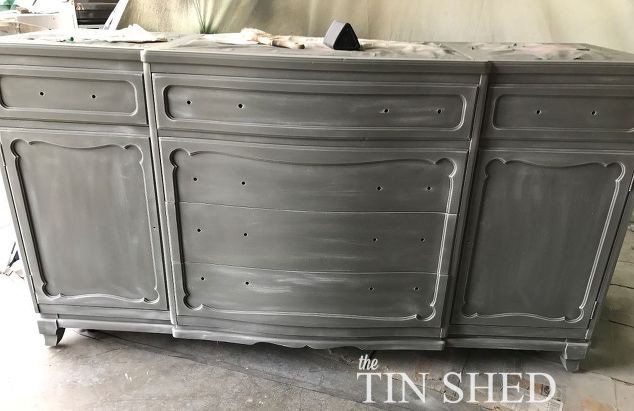
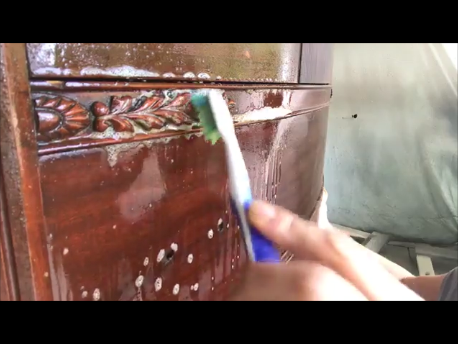
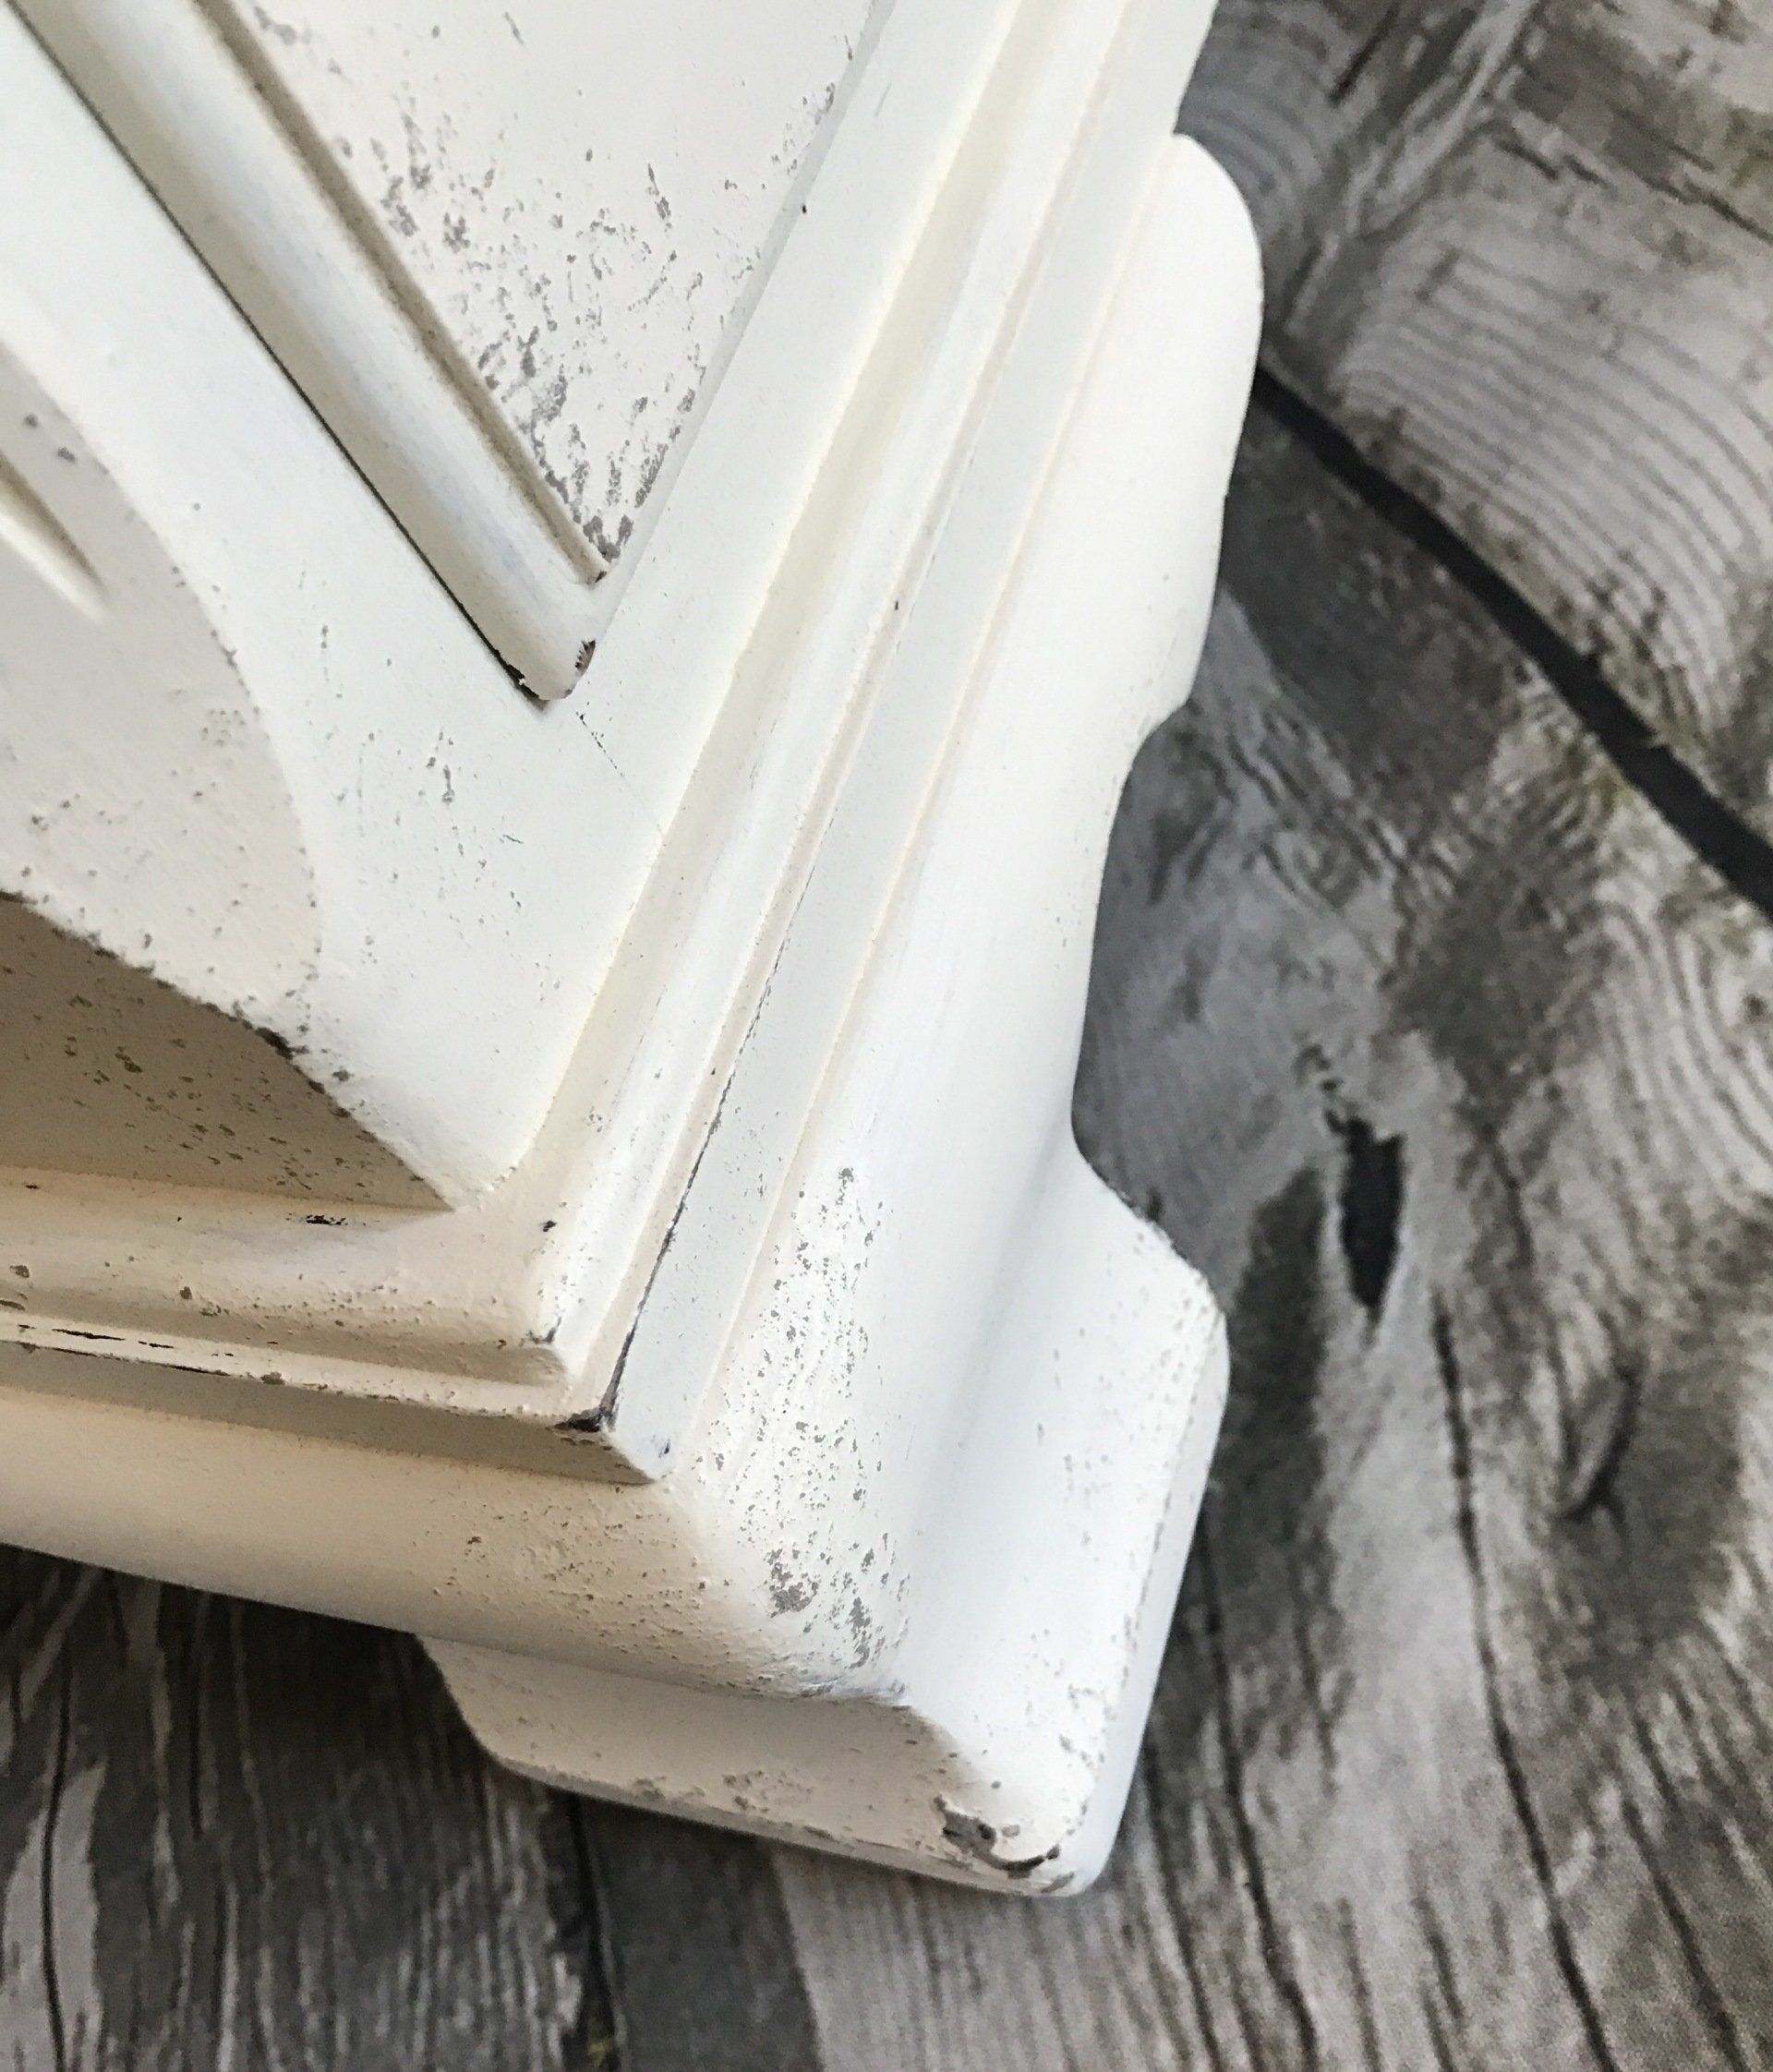
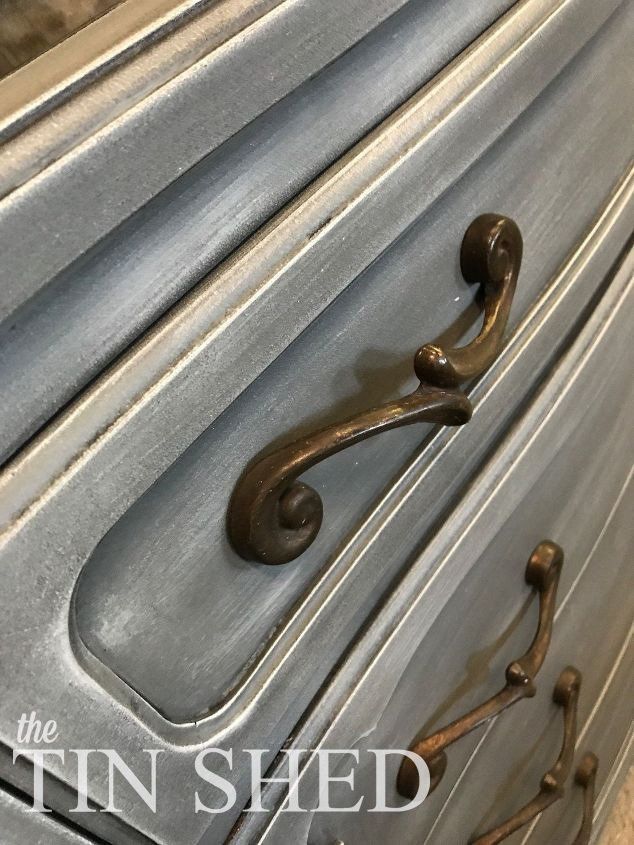
I used General finishes Antique White to dry brush over the charcoal gray (see dry brush technique here). I like to do very, very light dry brushing to start, you can always add more if you need to. I barely dip the tip of my brush into the paint and then I will wipe the brush onto an old cloth to remove any excess.
(This post may contain affiliate links for products I use and love)
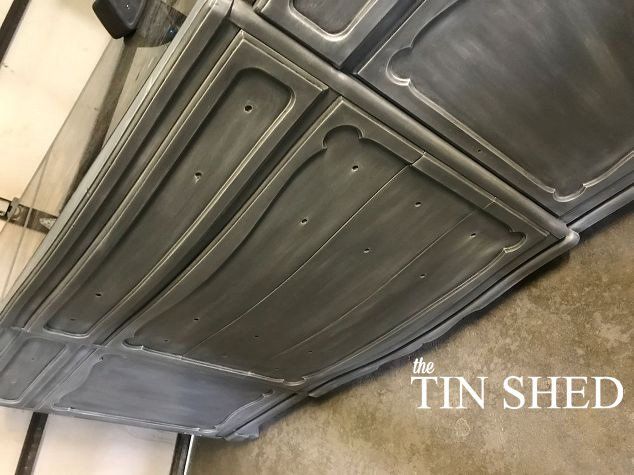
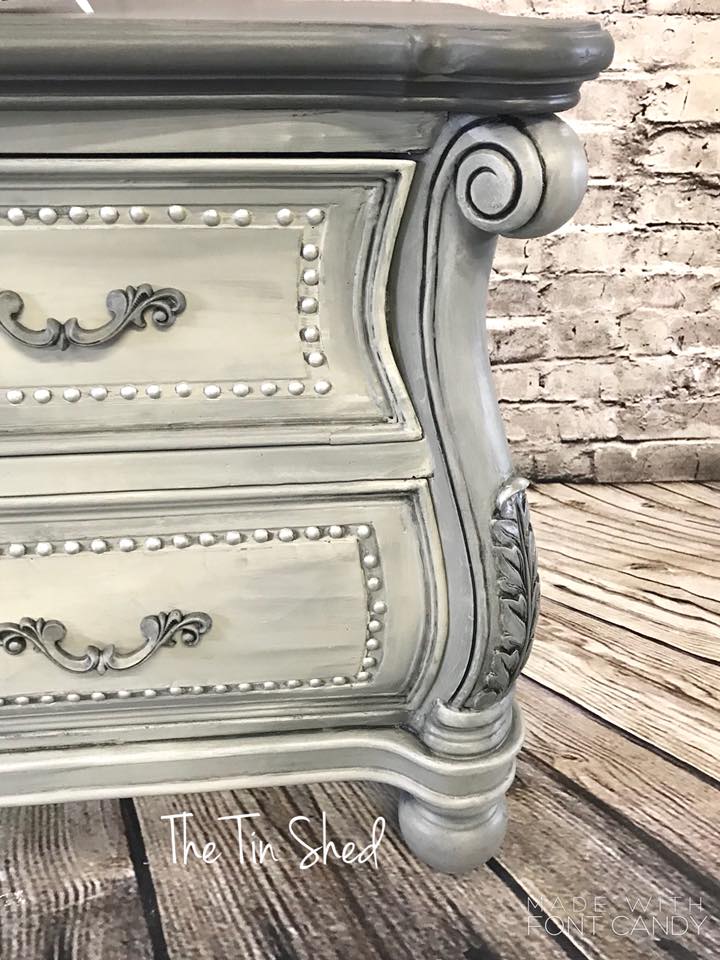
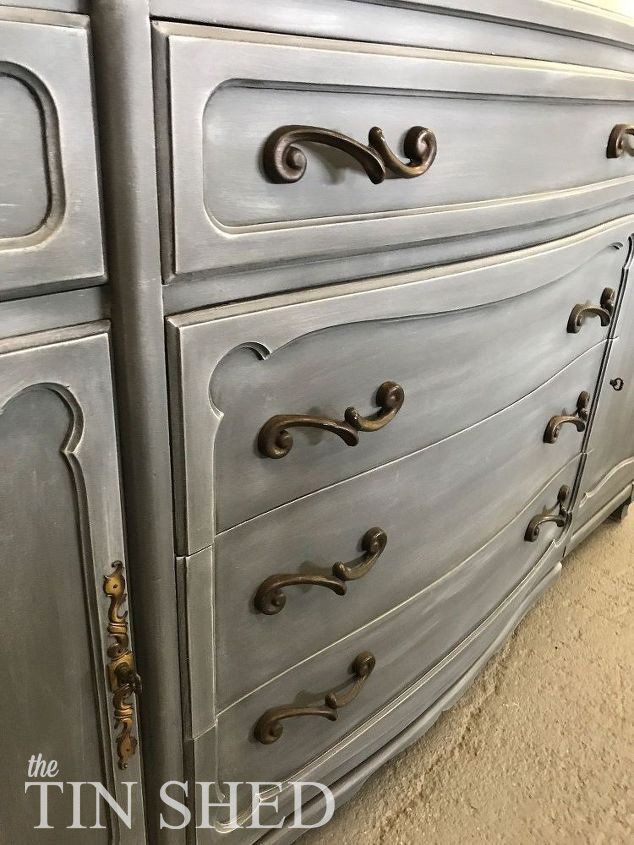
In this close up, you can see the variations in color that the base coat (charcoal gray), antique white dry brush, and the black glaze give you. It is one of my favorite techniques and color combos!
After everything dried, the entire piece was sanded smooth with 400 grit sandpaper, cleaned with a tack cloth and sealed with Polyvine Dead Flat, my ABSOLUTE favorite top coat. It is so easy to apply and gives you a smooth buttery finish with just an ever so slight sheen. It almost makes a piece glow! It's a MUST in my opinion.
Let me know what you think about this make over! Would you try dry brushing and glazing?
Happy painting!
Tammy