Shading & Blending Colors
- By Tammy Fiddie
- •
- 23 May, 2019
- •
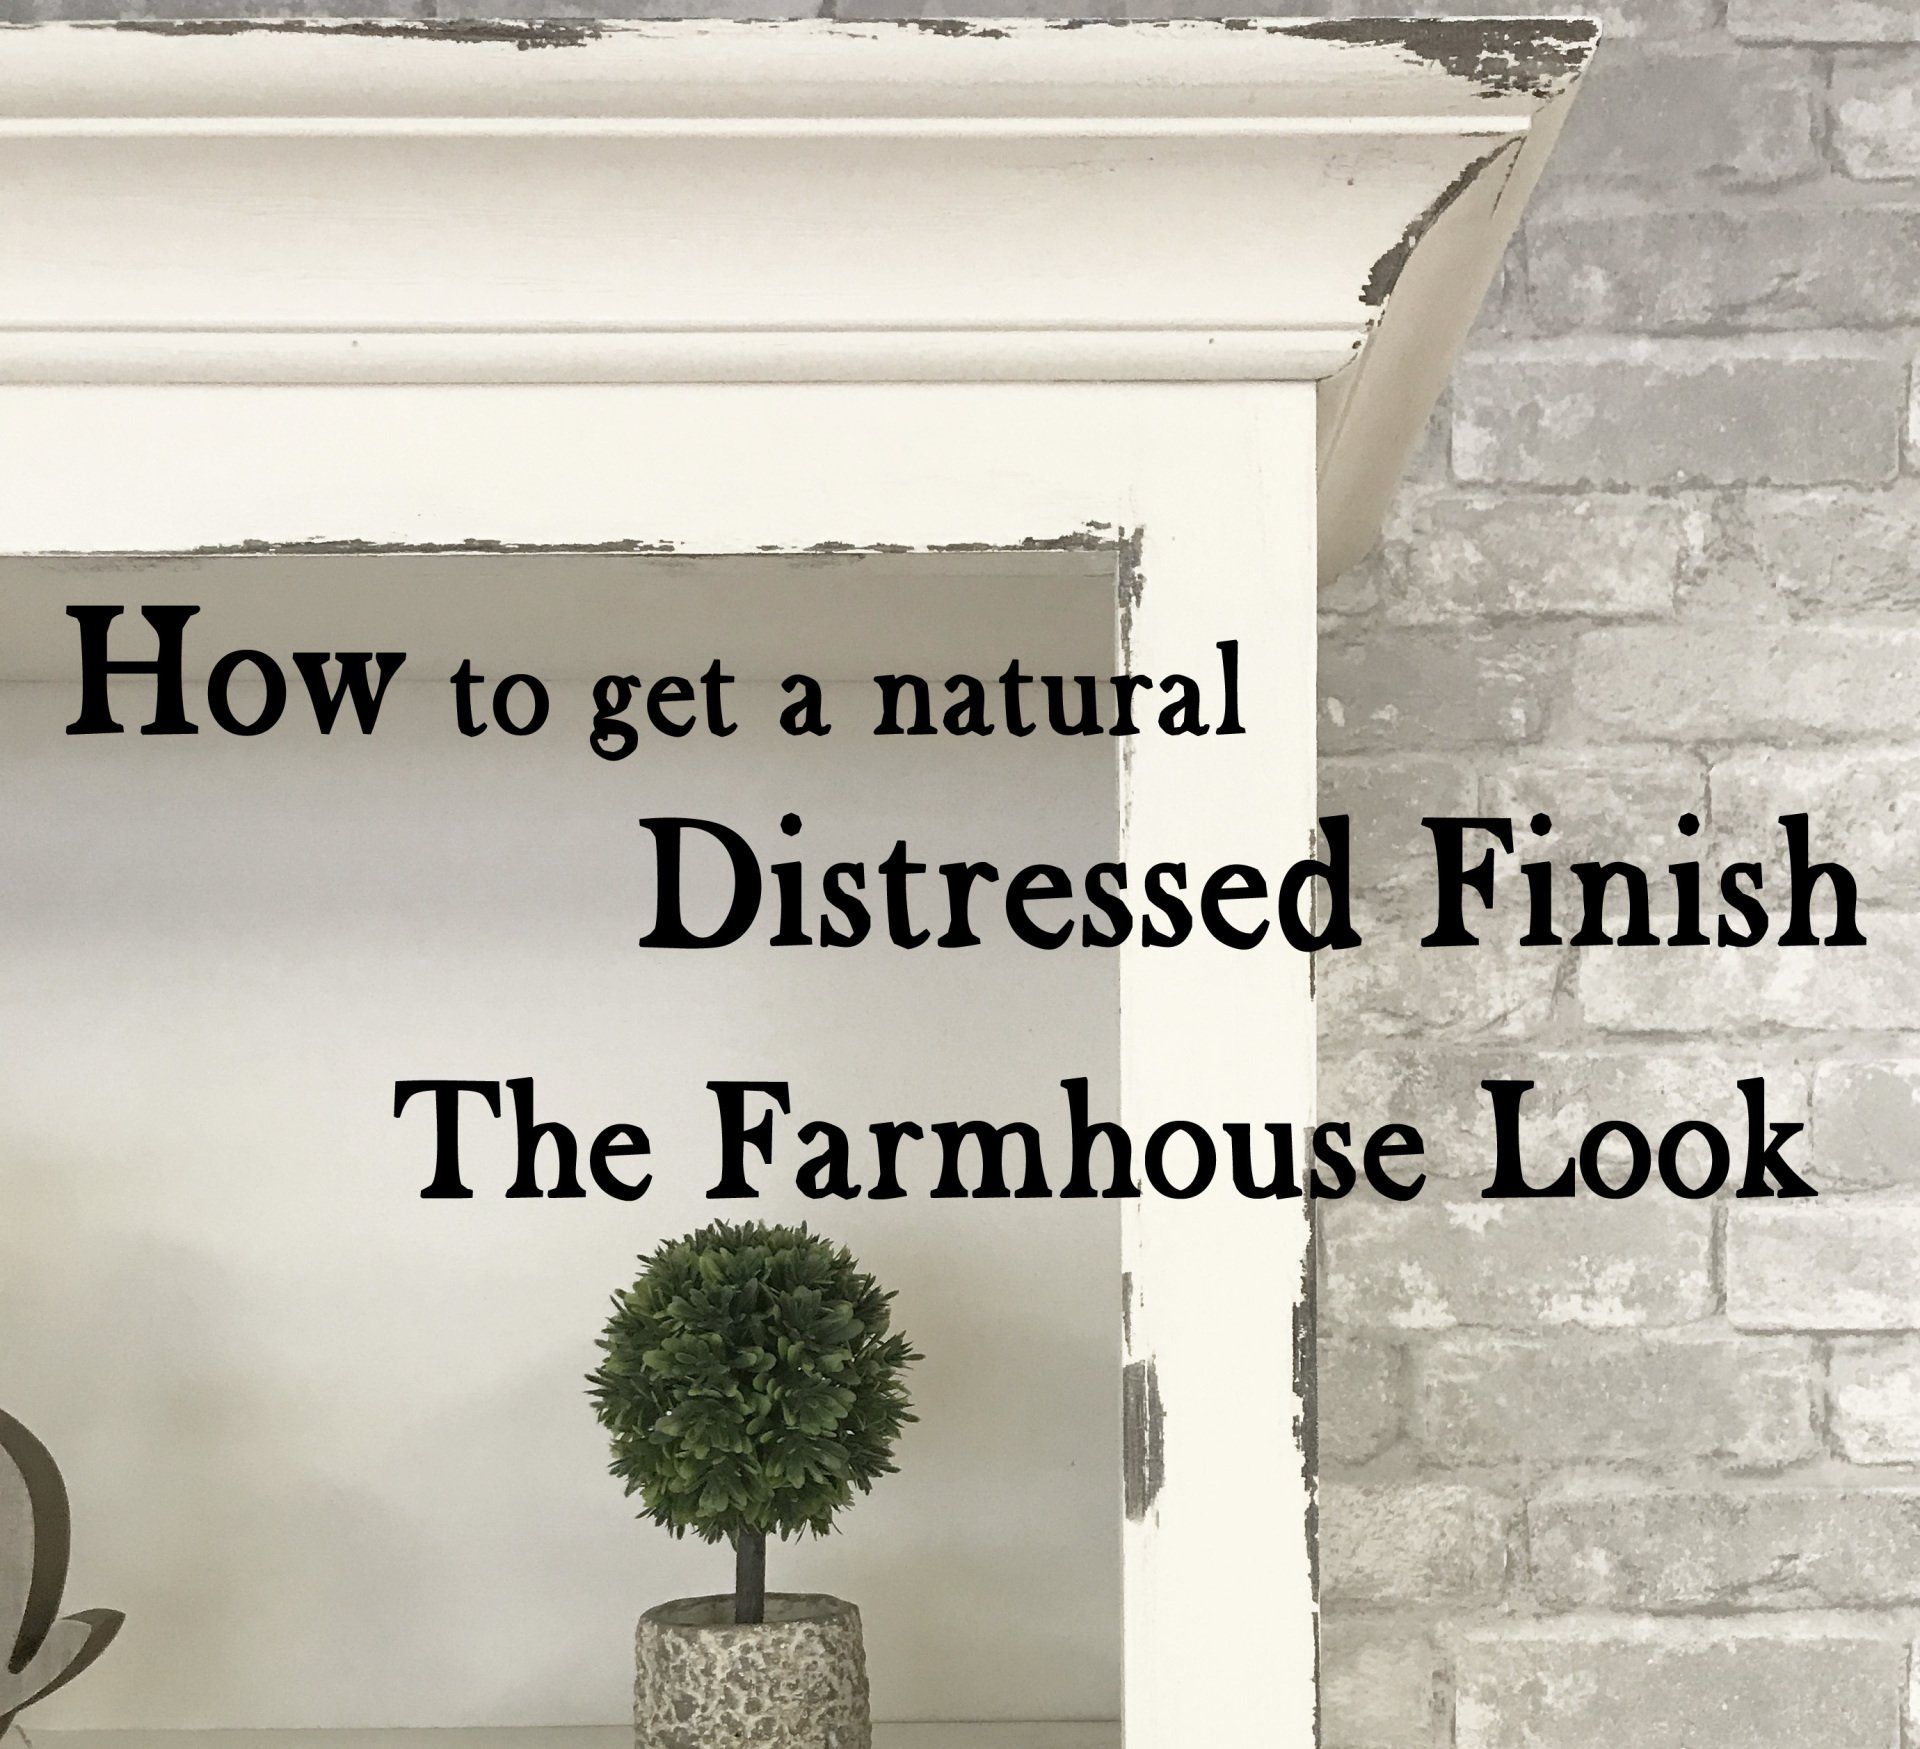
Two-color blending technique for painted furniture
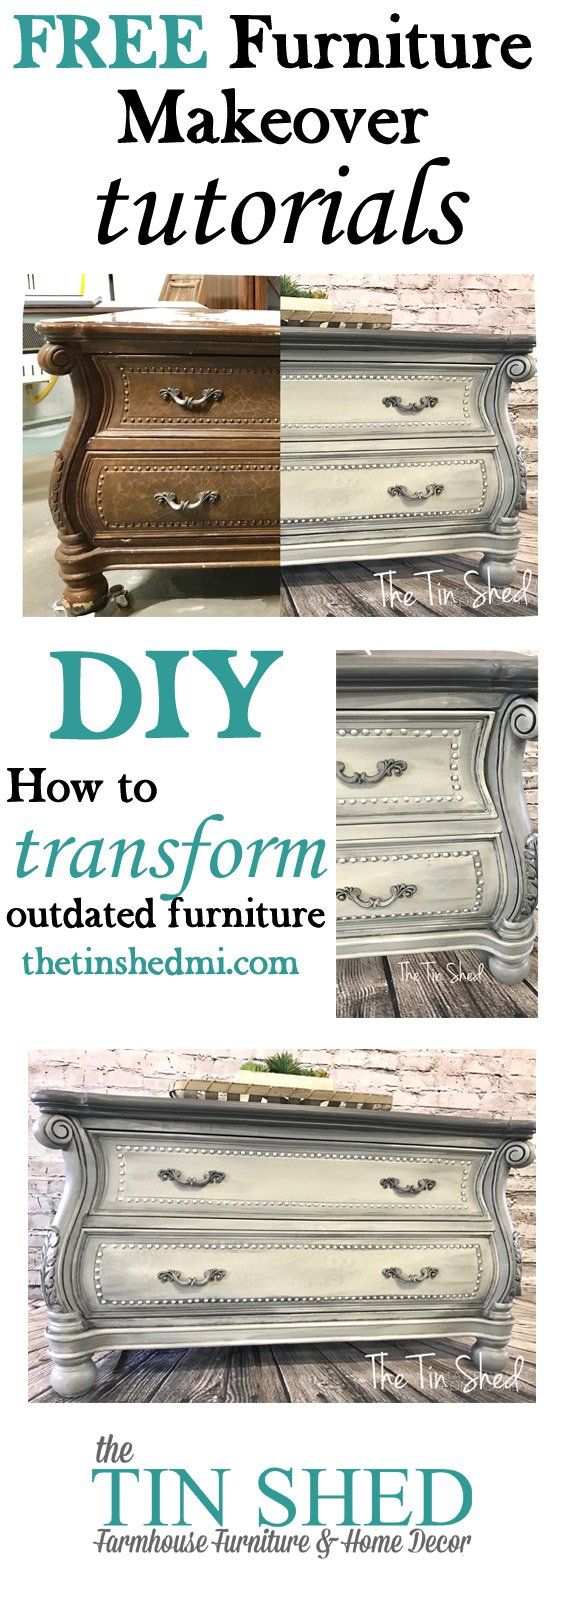
This was such a fun makeover! ....and I think it's my favorite piece to date.
Sometimes I buy a piece of furniture and know it's a cool piece, but I don't always know right away what I'm going to do to it. Believe it or not, this was a two piece armoire! I knew I didn't want to use the top piece, so I offered it up on one of my local Facebook sites for free and continued with this diamond in the rough.
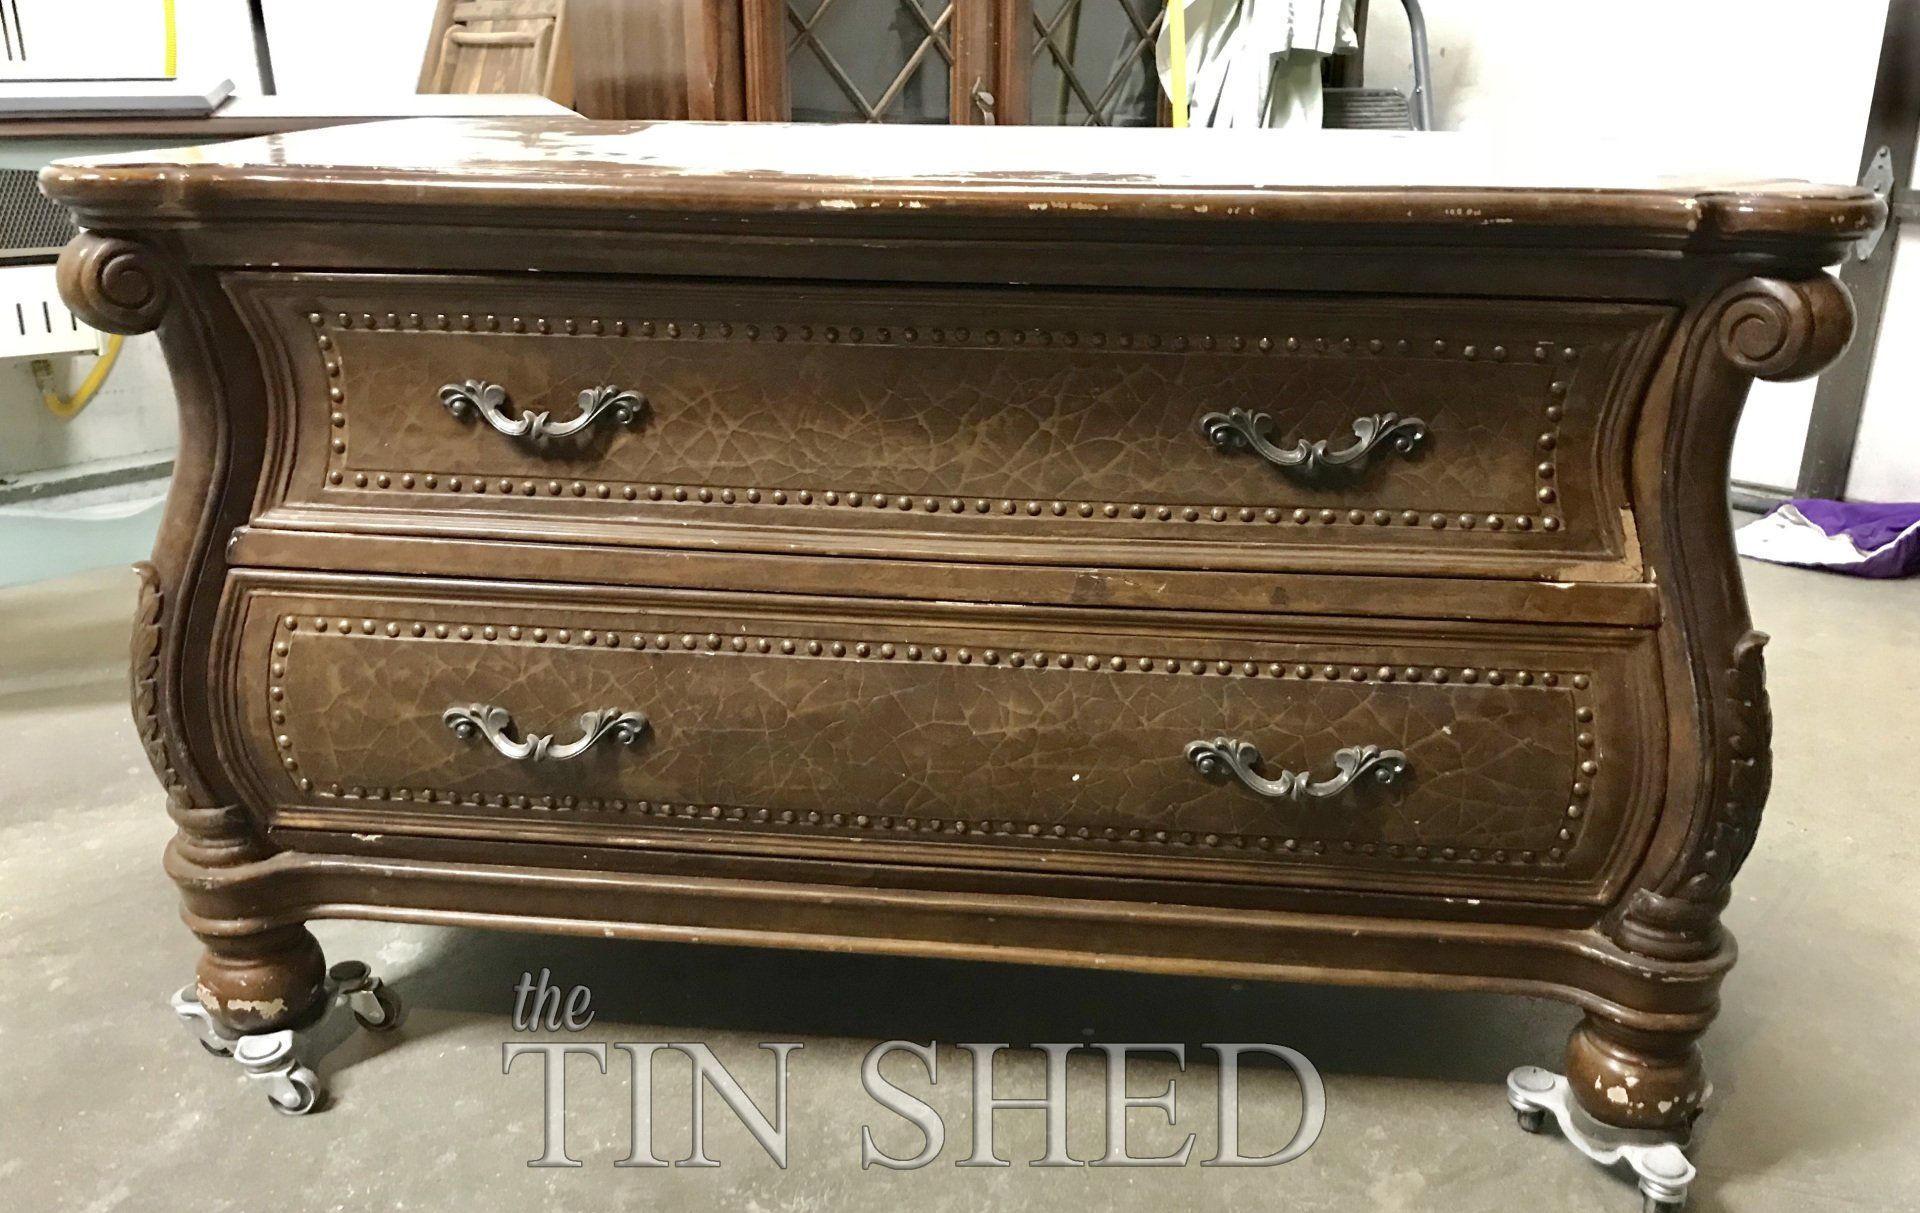
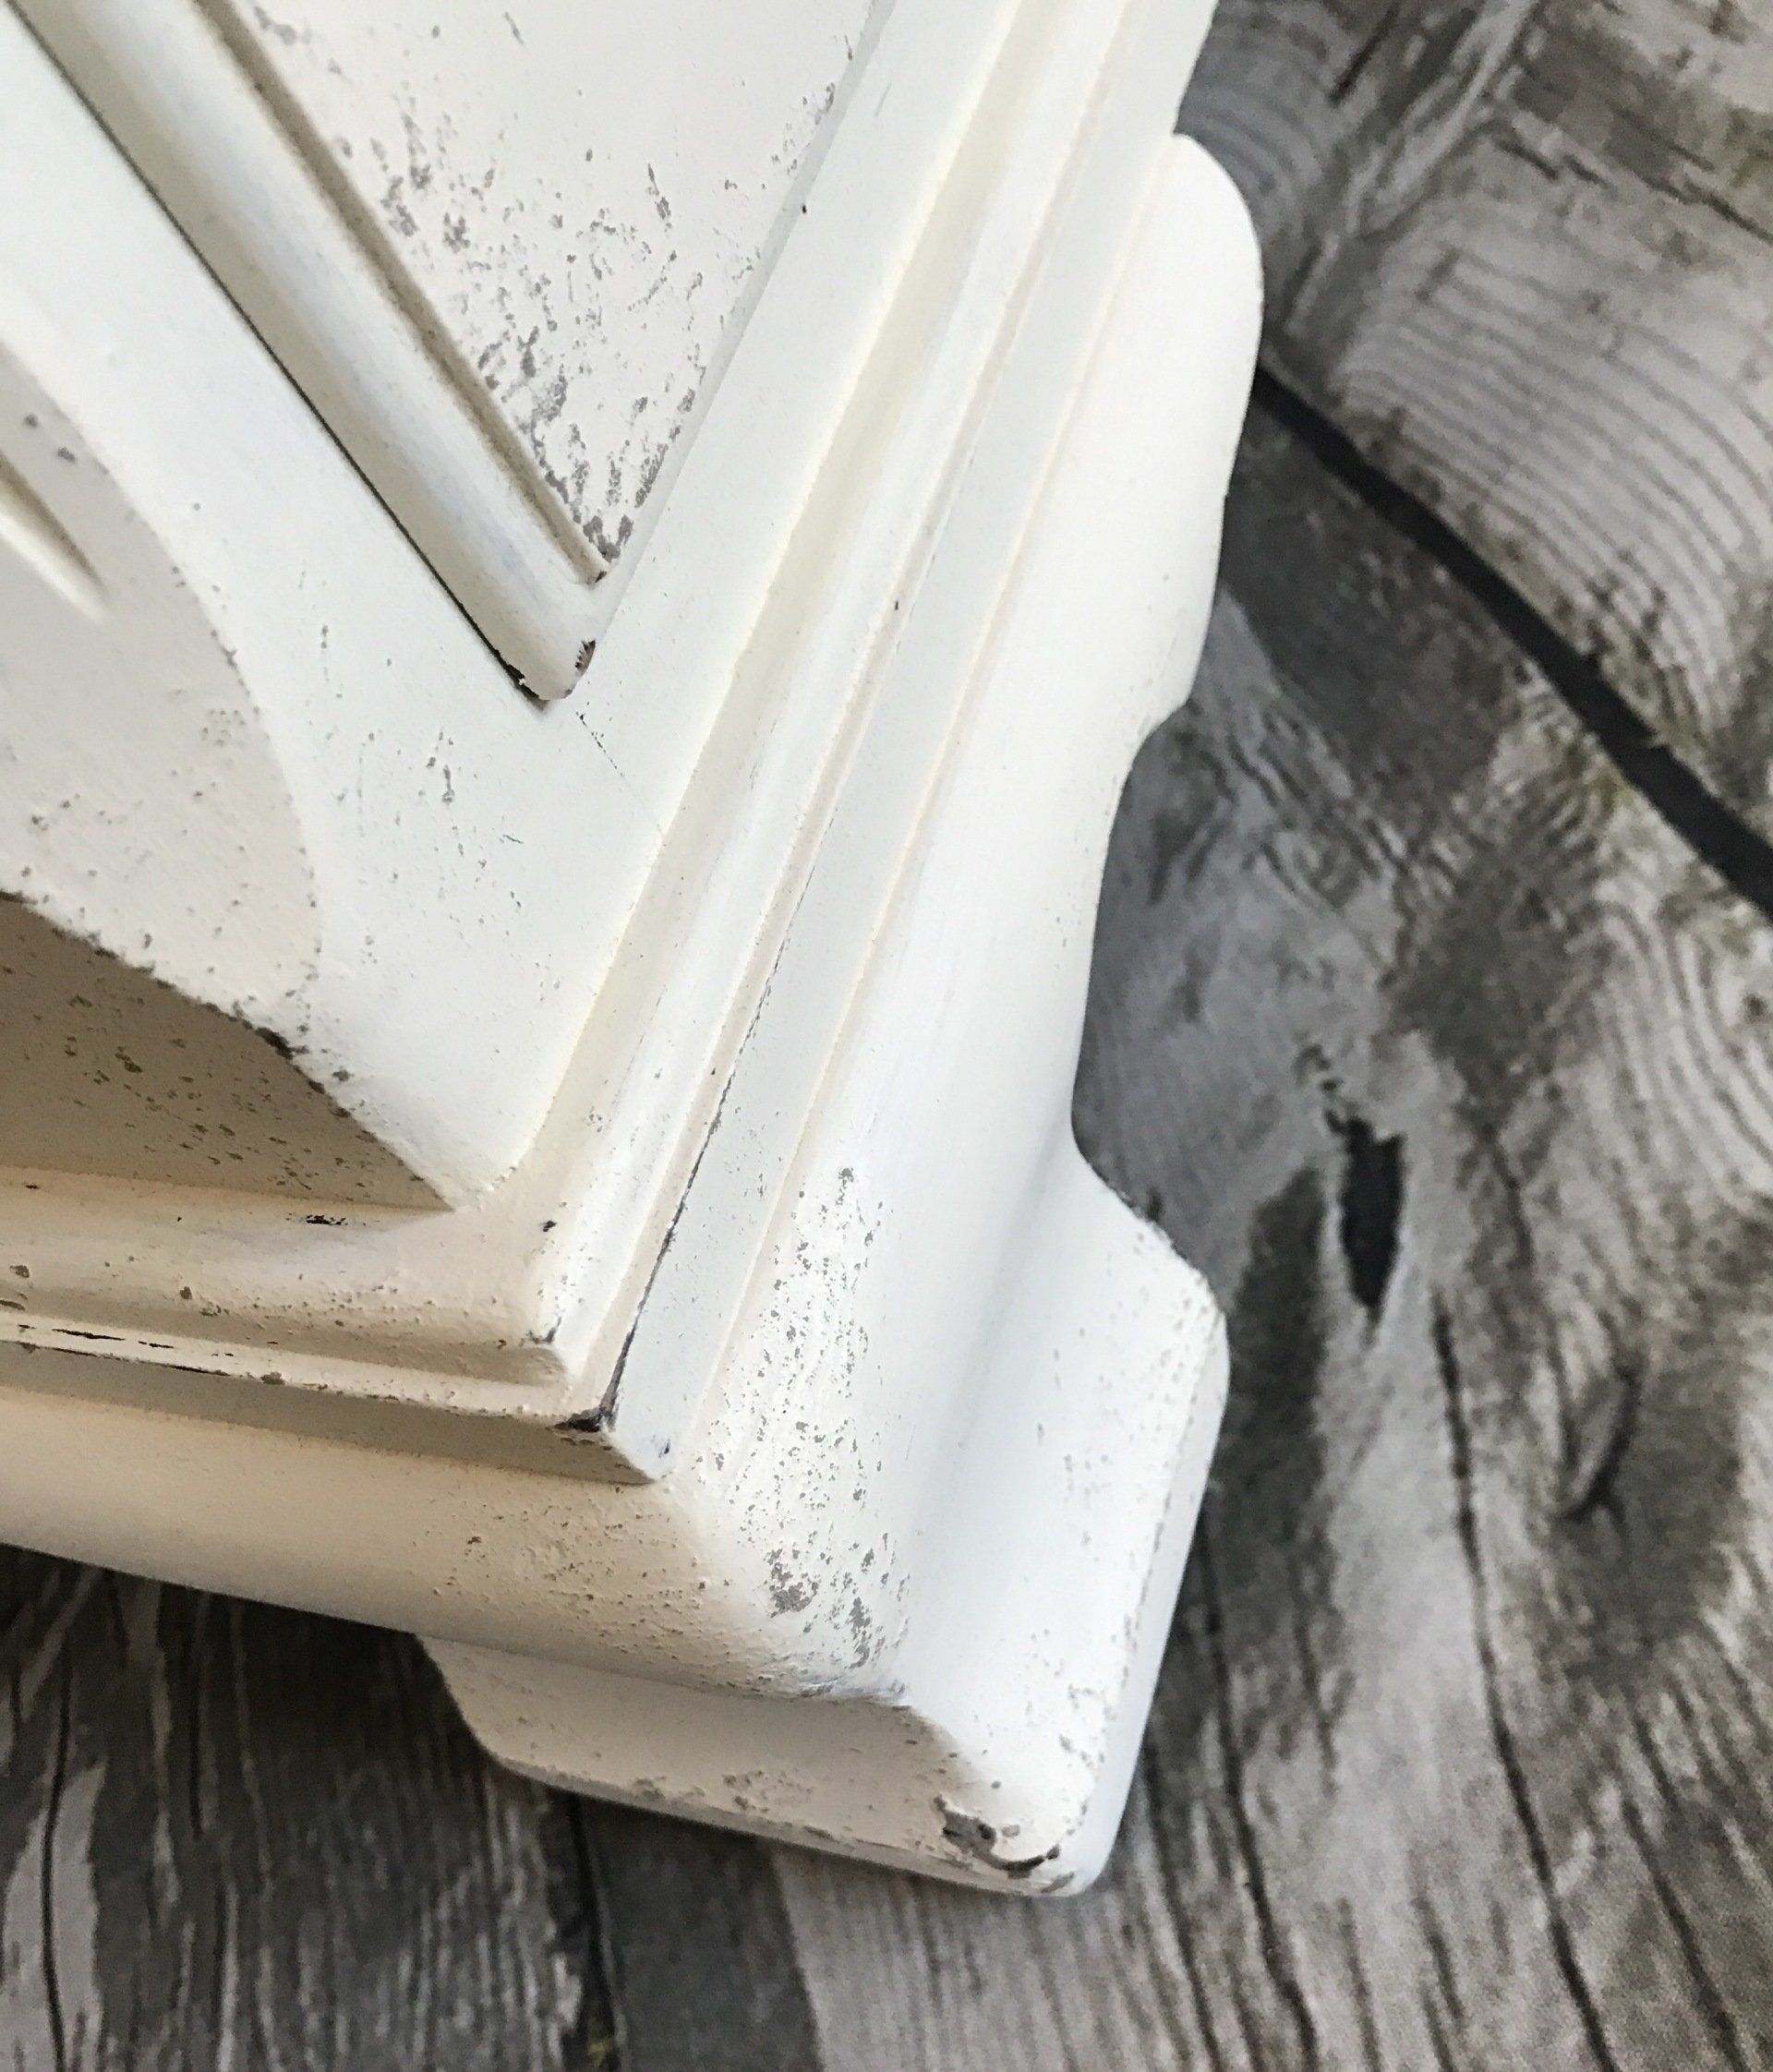
It was a little beat up, and needed a little TLC before I started prepping for paint (see those steps here). I had to rebuild a couple of spots on the trim molding and use some wood filler to smooth out the top because it was cracked and chipping in spots.
At this time, I still don't have a clear idea of what I want to do to this awesome piece. I'm almost feeling a bit of creative block! (Insert wide-eyed, oh crap emoji...LOL)
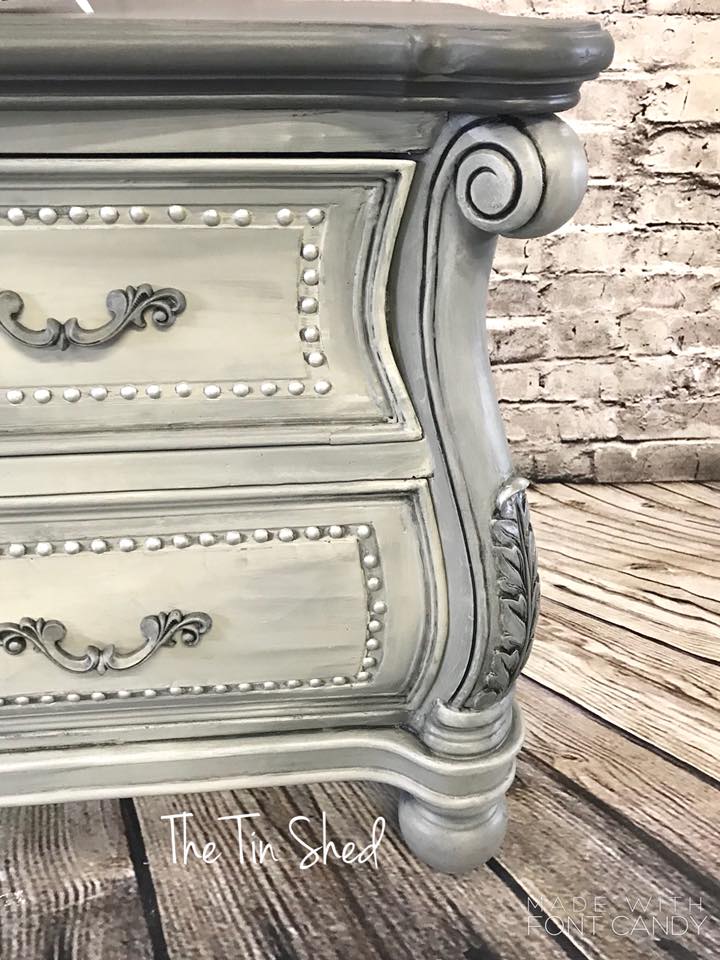
I finally decided I wanted to use General Finishes Queenstown Gray Milk Paint blended with GF Limestone Chalk Style Paint, and from there I just started painting, not quite sure where I was going with it.
TIP: I always work with the drawers in place when I'm doing a technique like this.
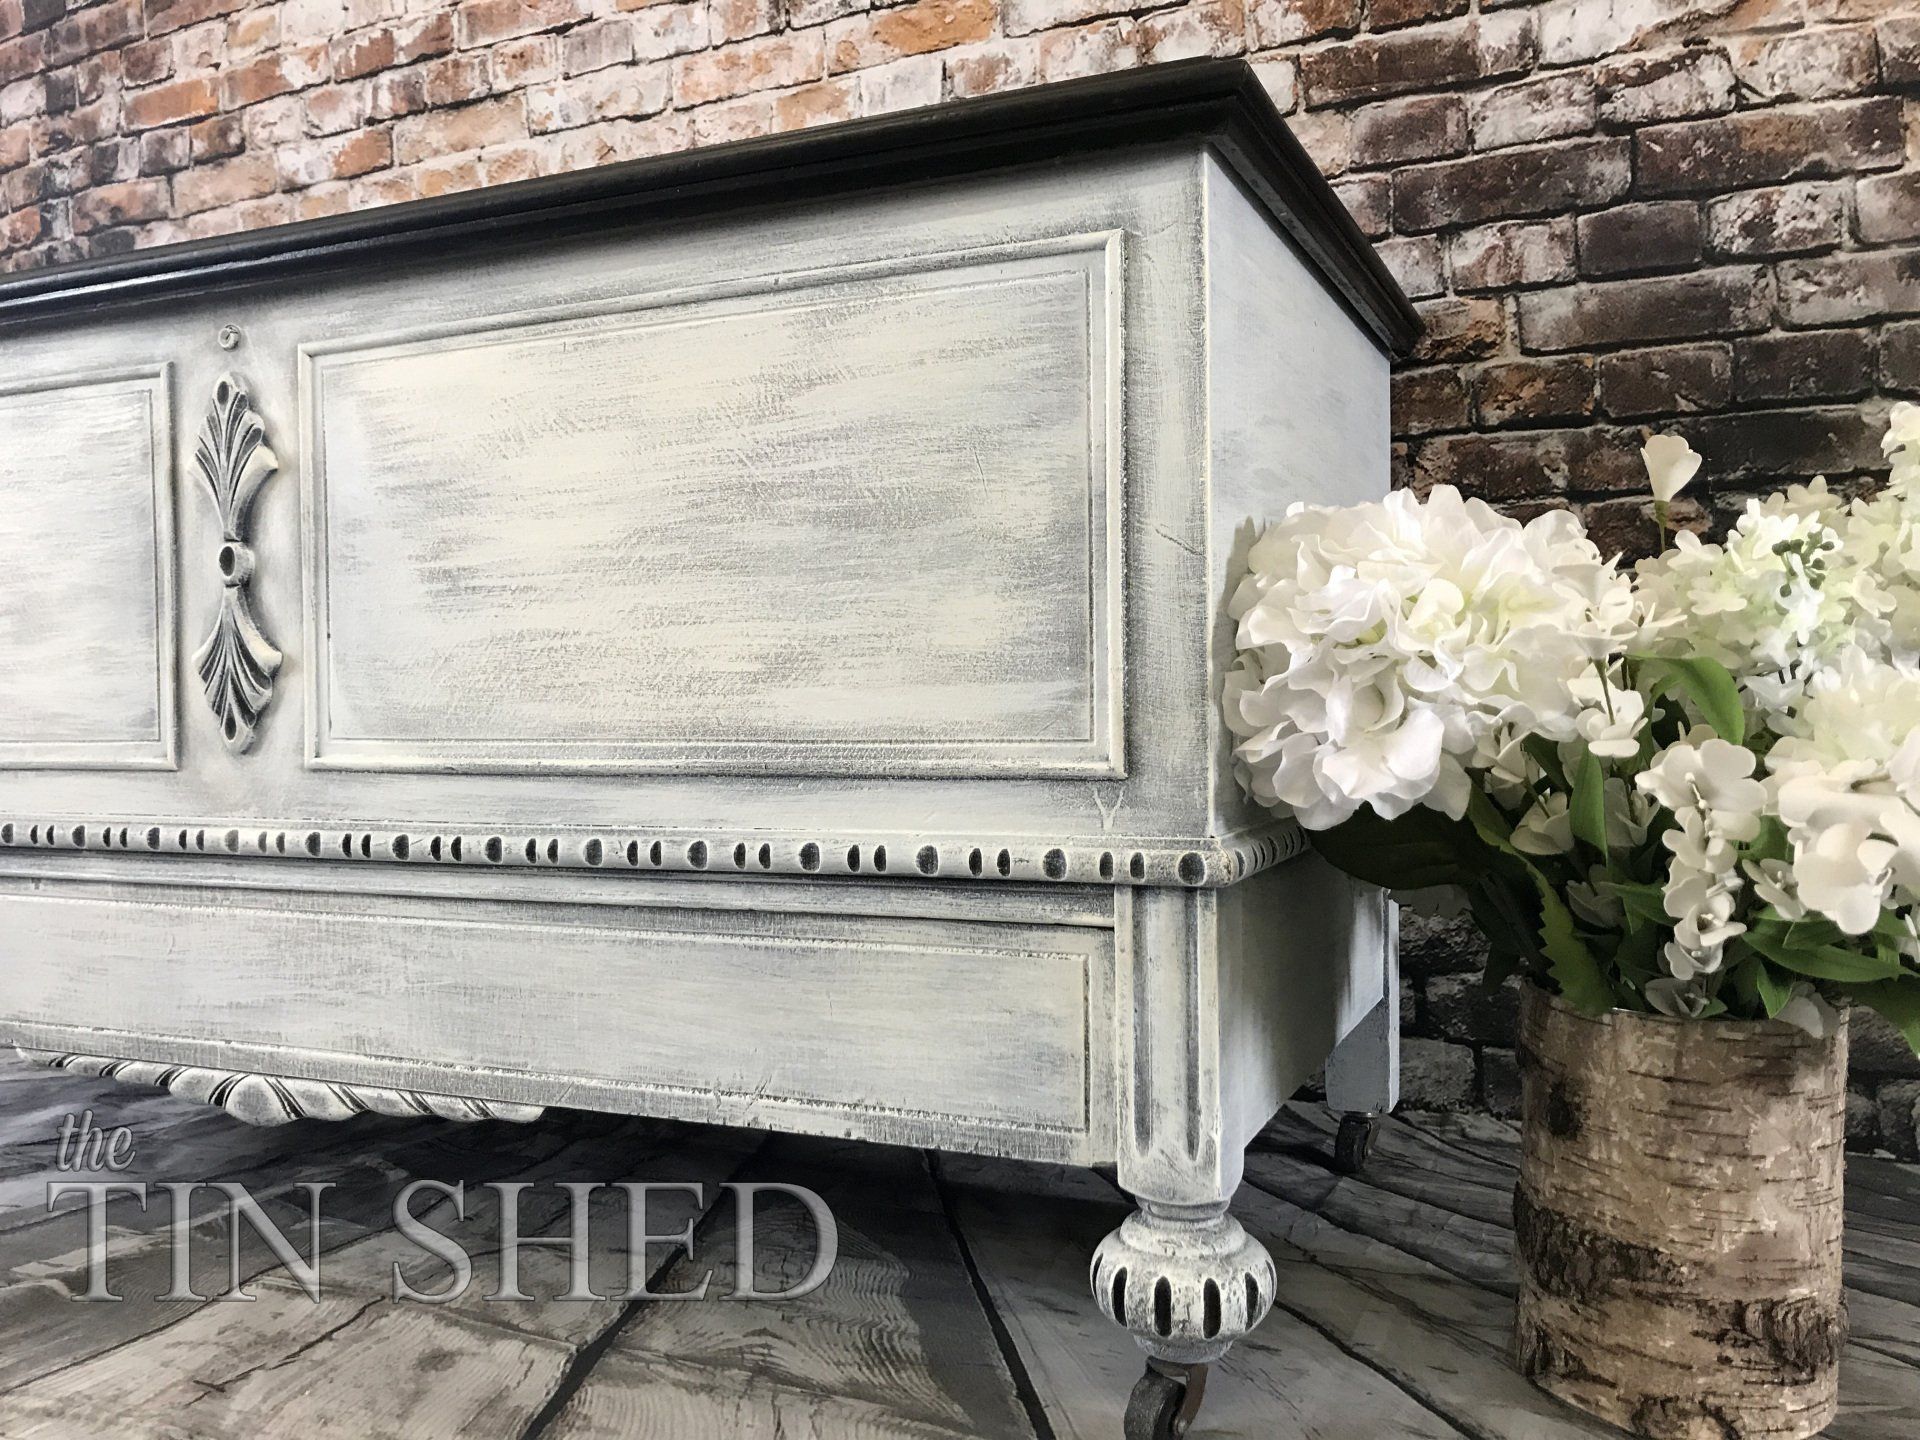
I did a base coat of Limestone and let that dry. Before I started adding Queenstown, the darker of the two colors, I stood back and decided where I wanted the darker areas to be and where I wanted the lightest areas to be. Working in small sections (like the top drawer area), I added some of the Queenstown around the edges of the drawer, a little heavier in the corners. When you are doing this it is ok to get paint on the body of the piece too. You don't have to precisely paint just the drawer. This is why I do this technique with the drawers in so the blending is consistent over the entire piece and not slightly different on the drawers like it would be if you painted them separately. While the Queenstown is still wet, I add a small amount of Limestone to my brush and blend/drag the Queenstown in towards the center of the drawer area, creating a darker to lighter effect.
This technique is pretty forgiving. If you get it too light you just add a little more Queenstown. Or if you get it too dark you add a little more Limestone. Jump in and give it a try! It's just paint! :)
TIP: I use the same brush for both colors.
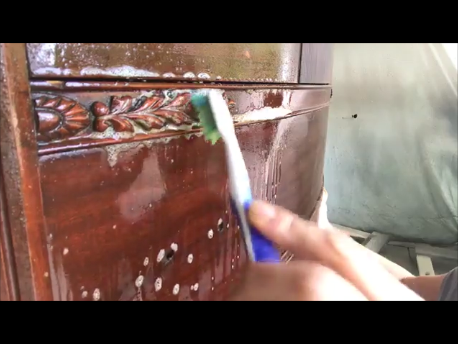
I wanted to add some glaze to the details to create some depth and make them stand out more. Because I used a chalk style paint, I needed to seal the piece before I added glaze because chalk type paint is very porous and would really suck up the glaze and be hard to wipe away. I used Polyvine Dead Flat to seal the body of this piece. It is one of my all time favorite top coats for the body of pieces. It is a little pricey, but it goes a long way and is totally worth the cost.
TIP: I always let the top coat dry for a few hours or over night before I glaze.
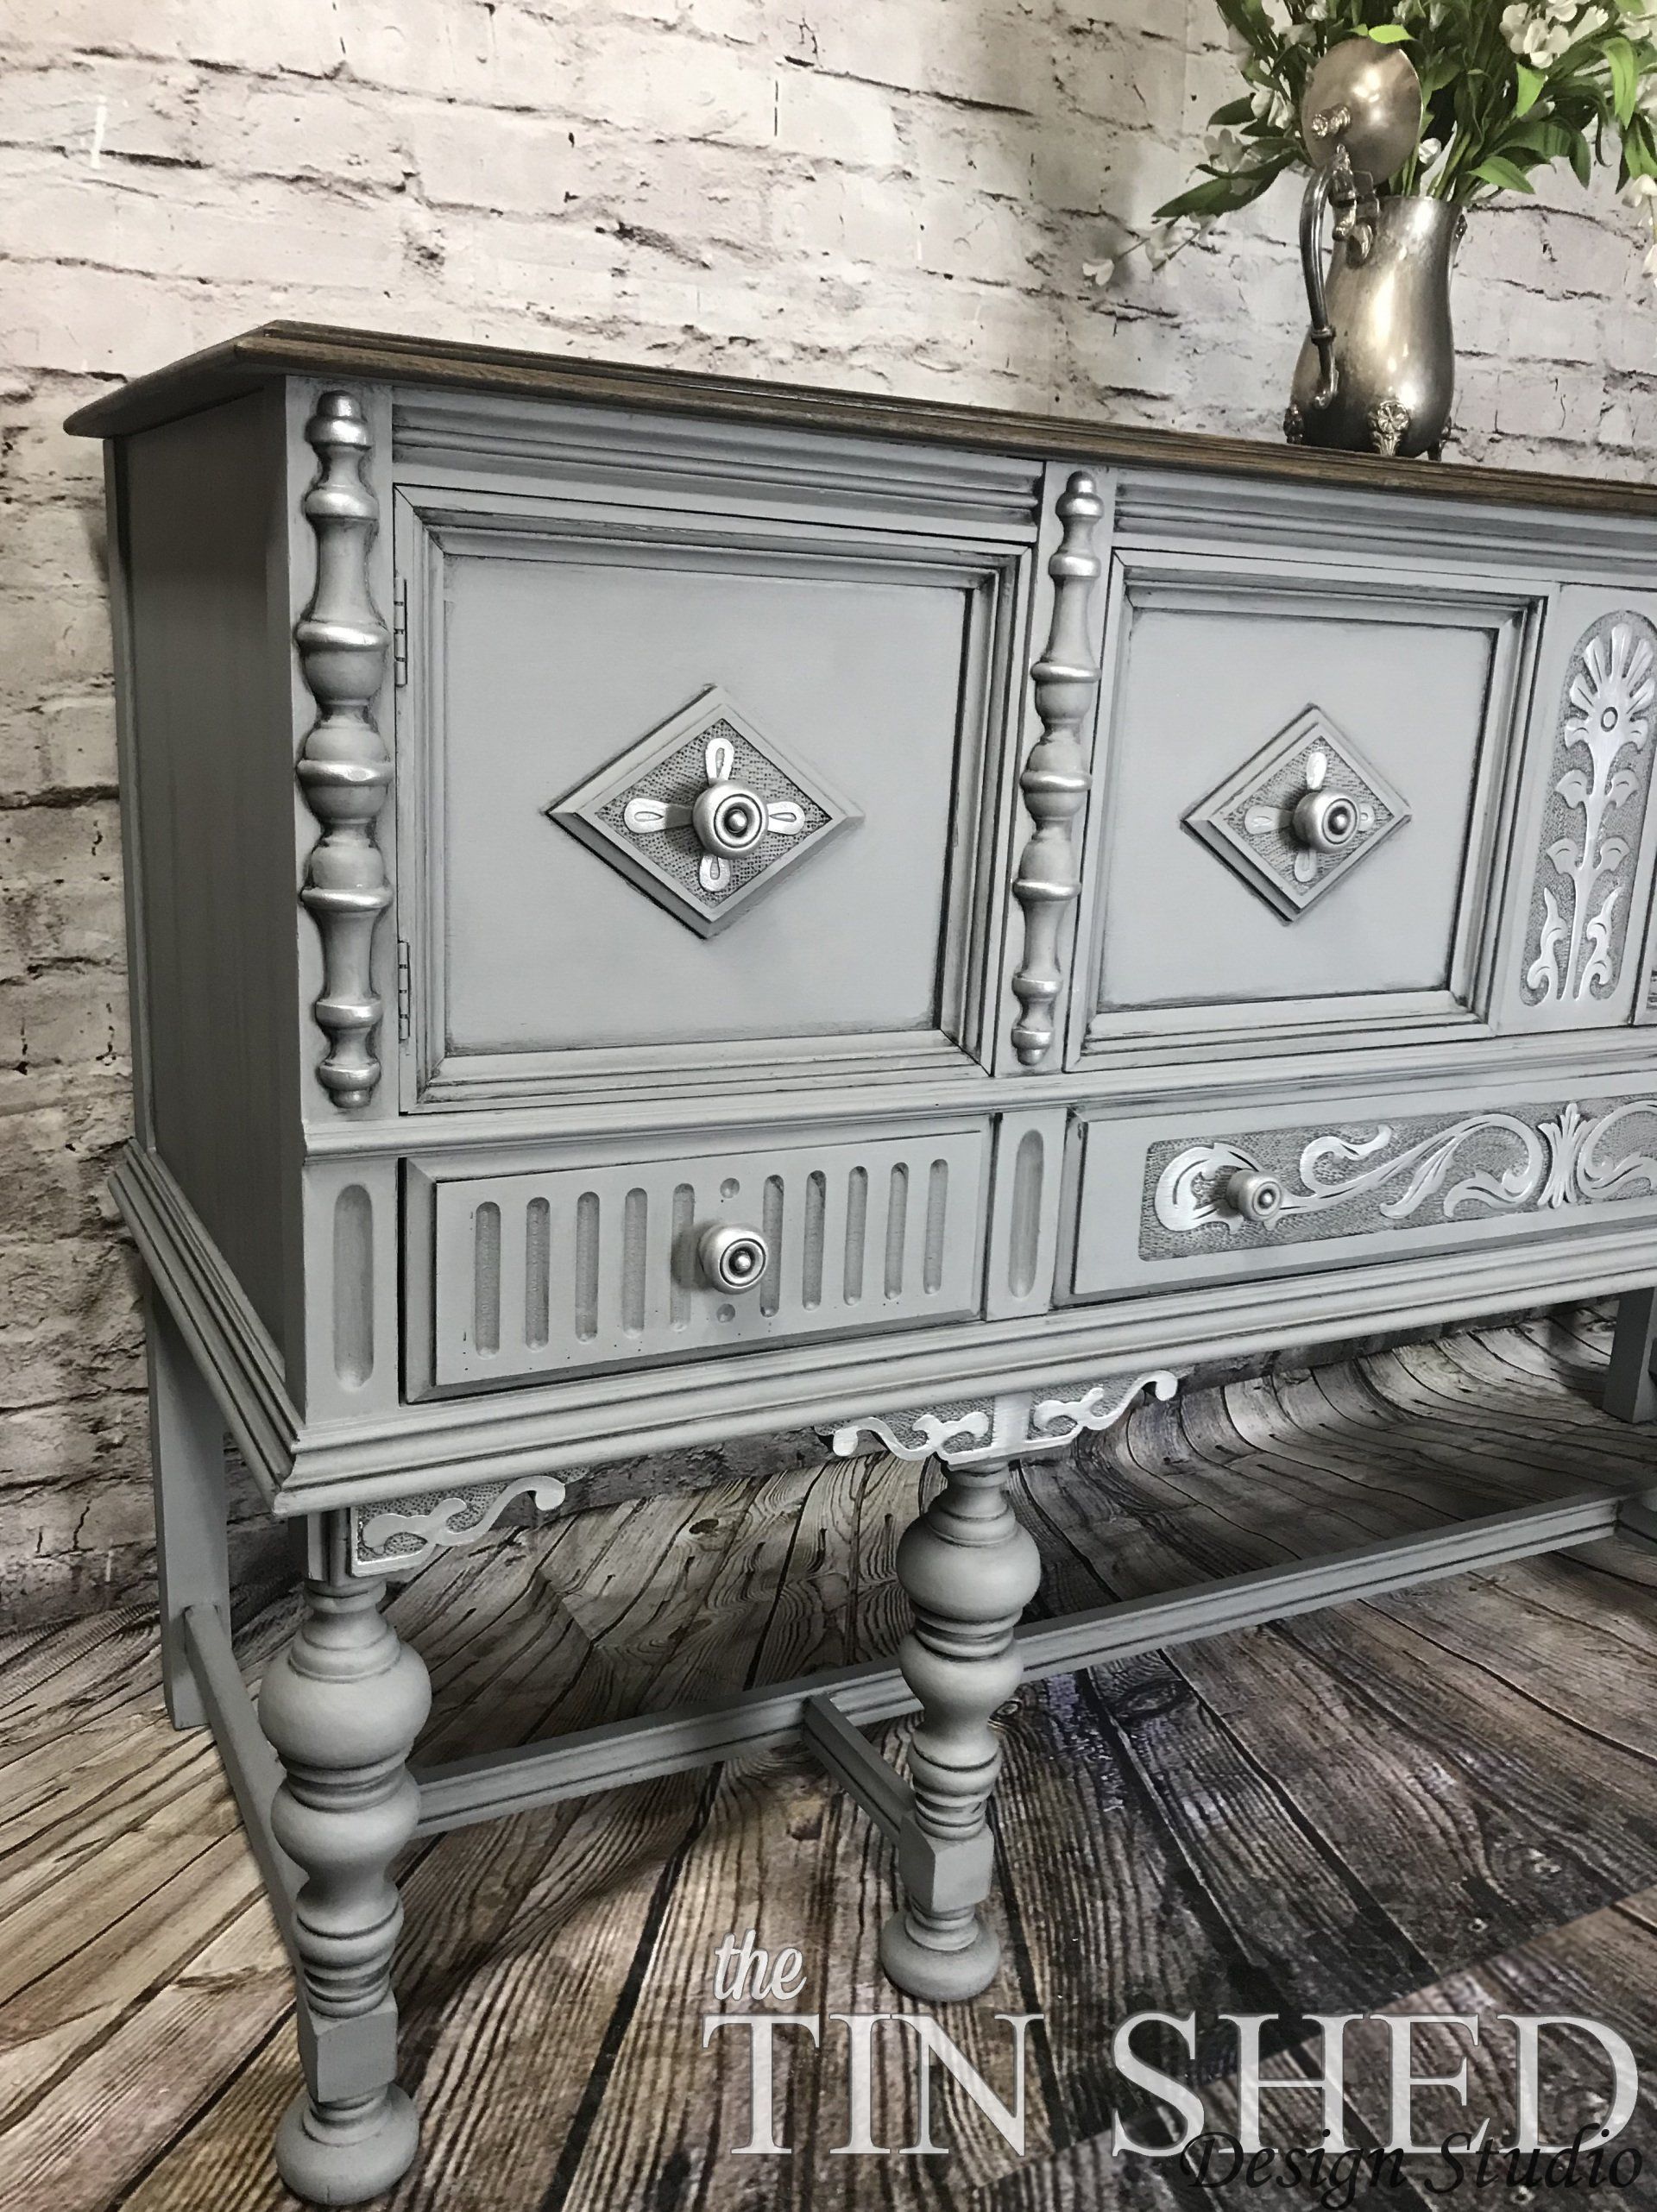
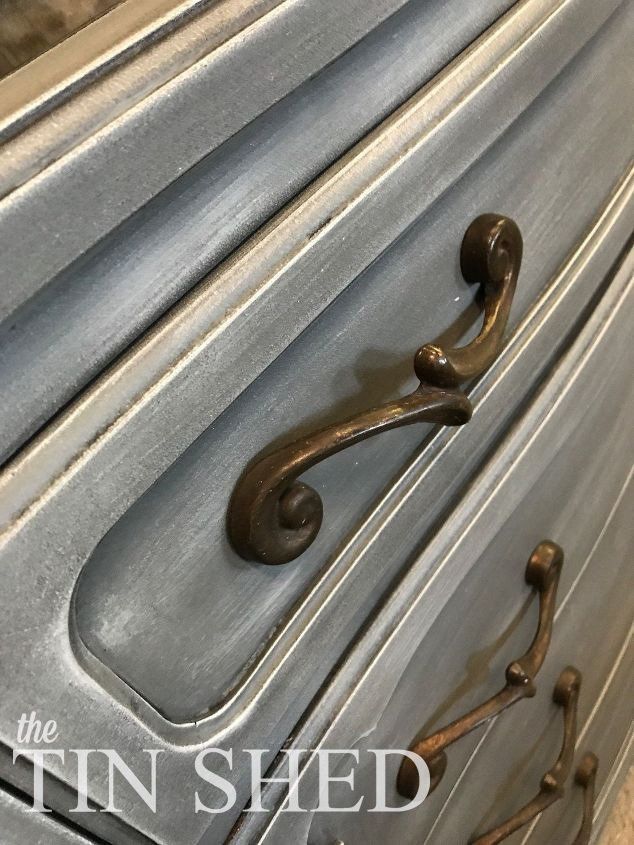
I added GF Pitch Black Glaze to the detailed crevices with a small artist brush and wiped it back with a damp cloth in places I didn't want it to be. Glaze makes such a HUGE difference in a piece! To me, a piece looks "flat" without some kind of detail glazing or shading. This is what it looked like before the glazing.
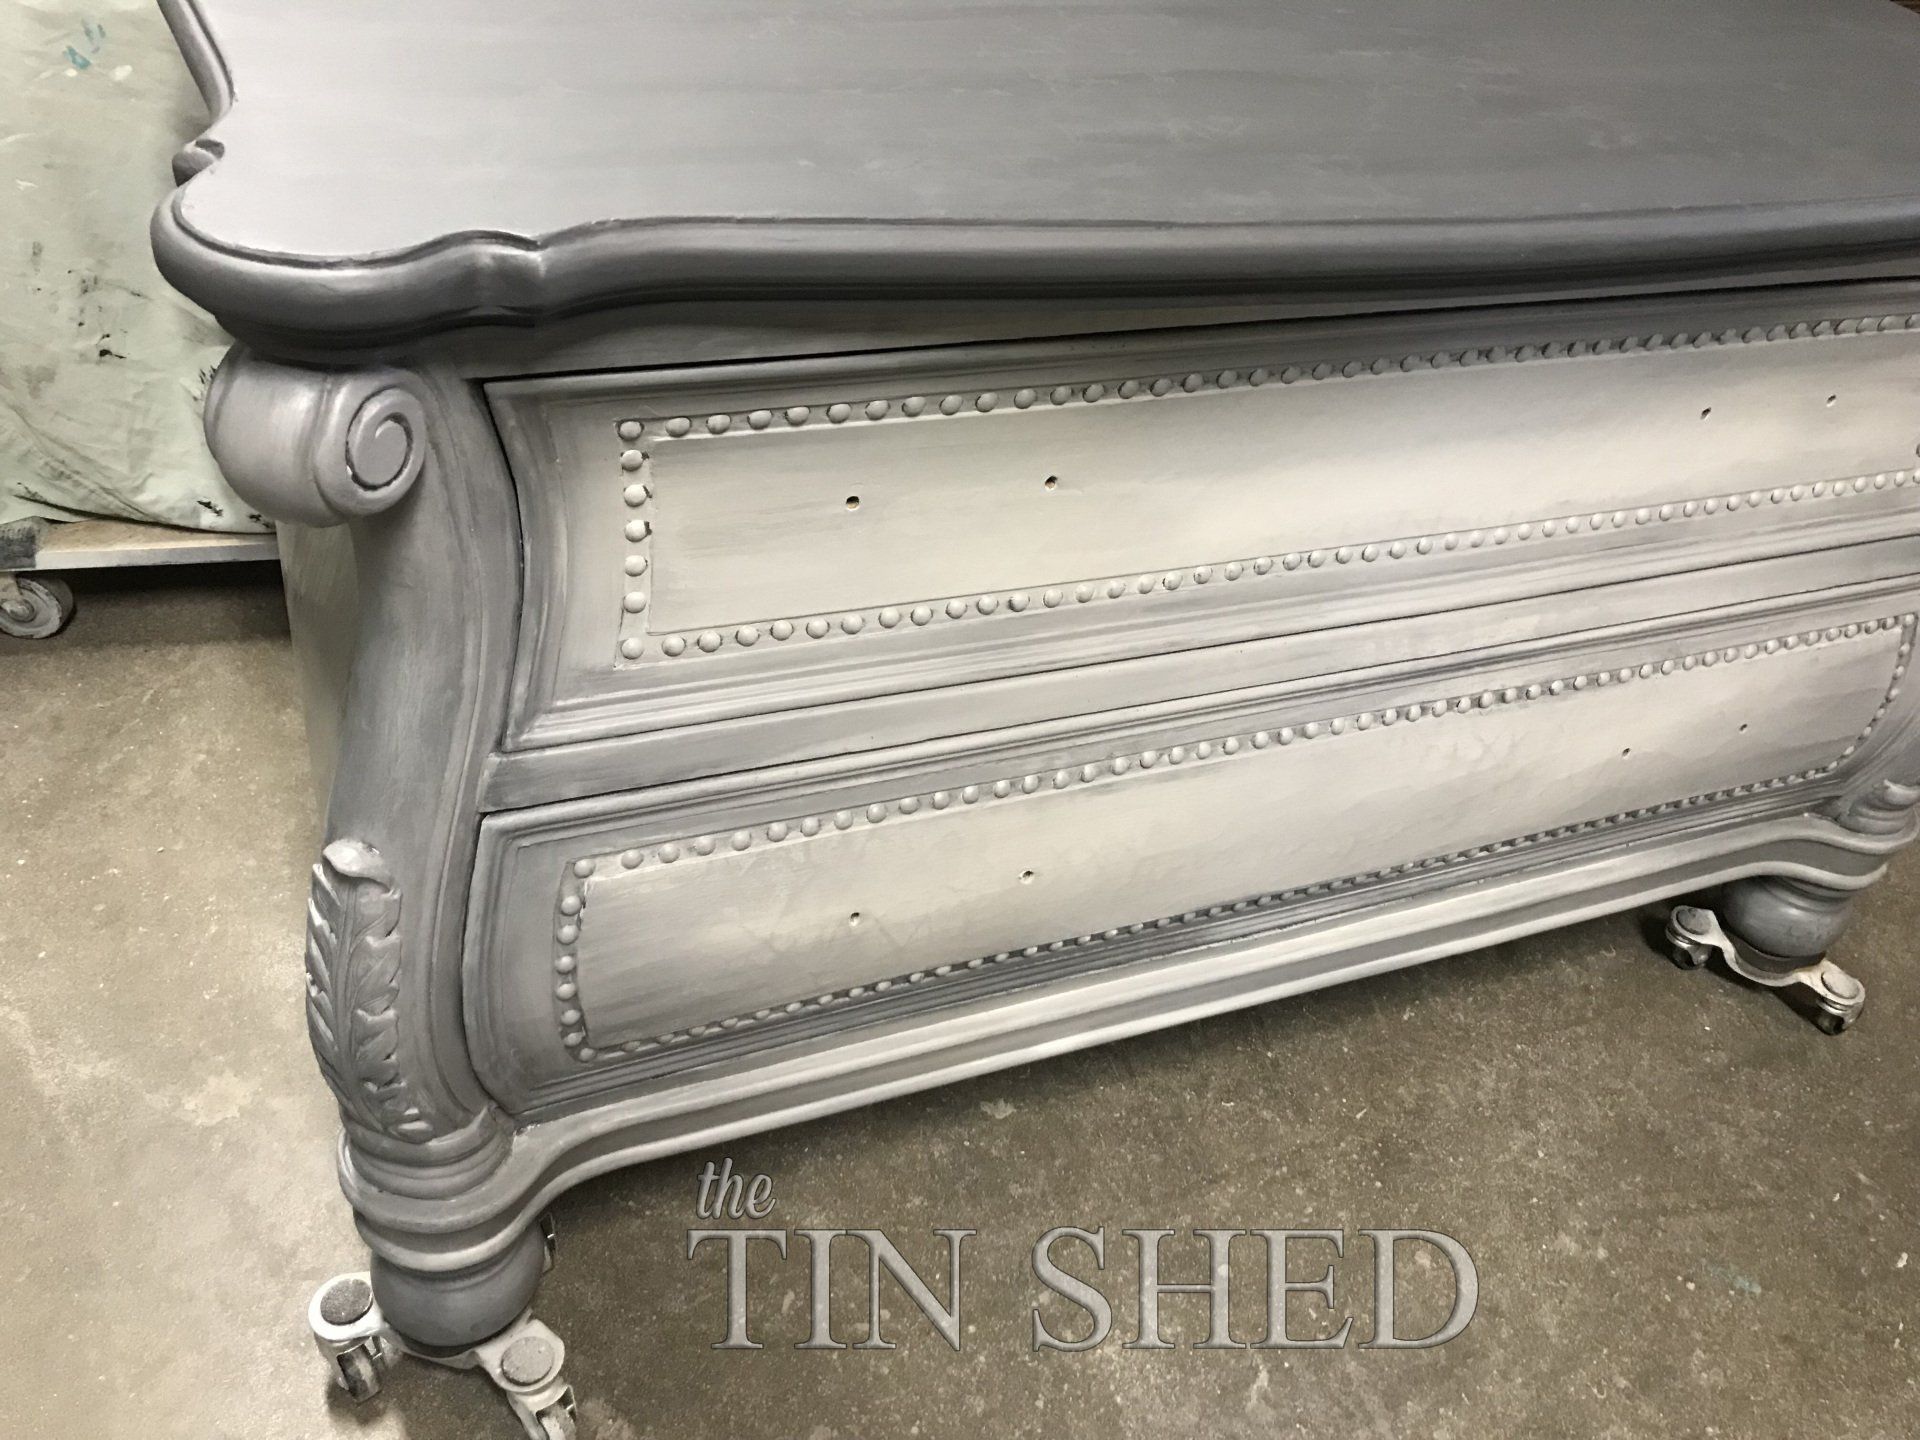
The details are just kind of "flat" and don't pop out.
As you can see from this pic, I painted the top in straight Queenstown. I think it added just the right amount of contrast to stand out from the body and it was sealed with General Finishes High Performance Top Coat in Flat.
I knew I wanted to add some metallic details to this piece to make it extra special. I used a product called Rub N Buff in silver leaf on the nail heads, leaf detail and hardware. A little goes a looooong way with this stuff! I used a small artist brush to just touch the top of the details to add a worn metallic look.
I am SO happy with how this piece turned out! And this was one of those pieces that I struggled for inspiration on. Sometimes the best things come out of just going for it not thinking too much.....It's only paint, right? LOL!
Let me know what you think of this technique and how this piece turned out!
Thanks for taking the time to read along.
Happy painting,
Tammy