How To Properly Prep Furniture
- By Tammy Fiddie
- •
- 23 May, 2019
- •
Prep is a must when refinishing furniture!
I get asked questions all the time about how to prep furniture that you are going to paint. This might be a slightly controversial topic, because a lot of the chalk type paint lines market their products as "no prep".
I am here to tell you, that is simply not true! Well, let me expand on that a bit....
You sure can dip your brush into any paint can and start painting straight away on any piece of furniture, absolutely! You CAN create a beautiful masterpiece that took you hours or even days to complete, without ever doing any prep.....just don't ever touch it or use it in daily life! LOL
The truth is, if you want a lasting finish, you MUST take the time to prep your piece properly. What is that saying about a good foundation?
Let's imagine this for a moment....You are a customer in search of a beautiful cabinet to use as a media center/console table. You have searched endlessly online and in all of the cool shops around town. You FINALLY find the one that is the perfect color, style and size. You are in love! You are so excited to finally find the perfect piece to finish your room. You get it home, set it up and stand back and admire how perfect it is. It's a piece of art!
A couple of weeks go by and you start noticing a scratch here and a nick there. And you still haven't even let the kids go anywhere near it because it's your perfect piece of art! Then, after a few more weeks of REAL life you start to realize you've spent all this money on your perfect piece of art that doesn't look so perfect anymore. If it looks like this after a few weeks, what is it going to look like in a few months?
Imagine the disappointment as the customer. Imagine the phone call you might/SHOULD get from the customer if you painted it. I don't know about you, but I would be mortified! This could all be avoided {disappointment} {mortified} with the proper prep! As a small business owner, all you have is your name and reputation! Enough said....
Cleaning
Let's start with getting all of the gook off...click on the picture below to watch a video of me cleaning this chest of drawers. I don't care what type of paint you are using, it will not adhere well to gook and grime!
Don't mind my akwardness (is that a word?) in the video.
I'm not that comfortable in front of the camera...yet! LOL
I will add a list of supplies at the end of this post for you.
I always start with Windex. I spray it on and scrub off all of the dirt, grime and build-up. I use an old toothbrush and/or Q-Tips to get into the detailed areas. After I get the majority of the gook off, I use a 50/50 mix of warm water and everyday white vinegar, and wipe the piece down again.
You will be SHOCKED at just how dirty some pieces are!
Scuff Sanding
Next, I use 220 grit sand paper to "scuff sand" the entire piece (I like the ultra flexible sandpaper for this). Scuff sanding is basically just roughing up the surface a bit and knocking down any remaining shine. This gives the piece a little tooth, as they say, so the paint will adhere better.
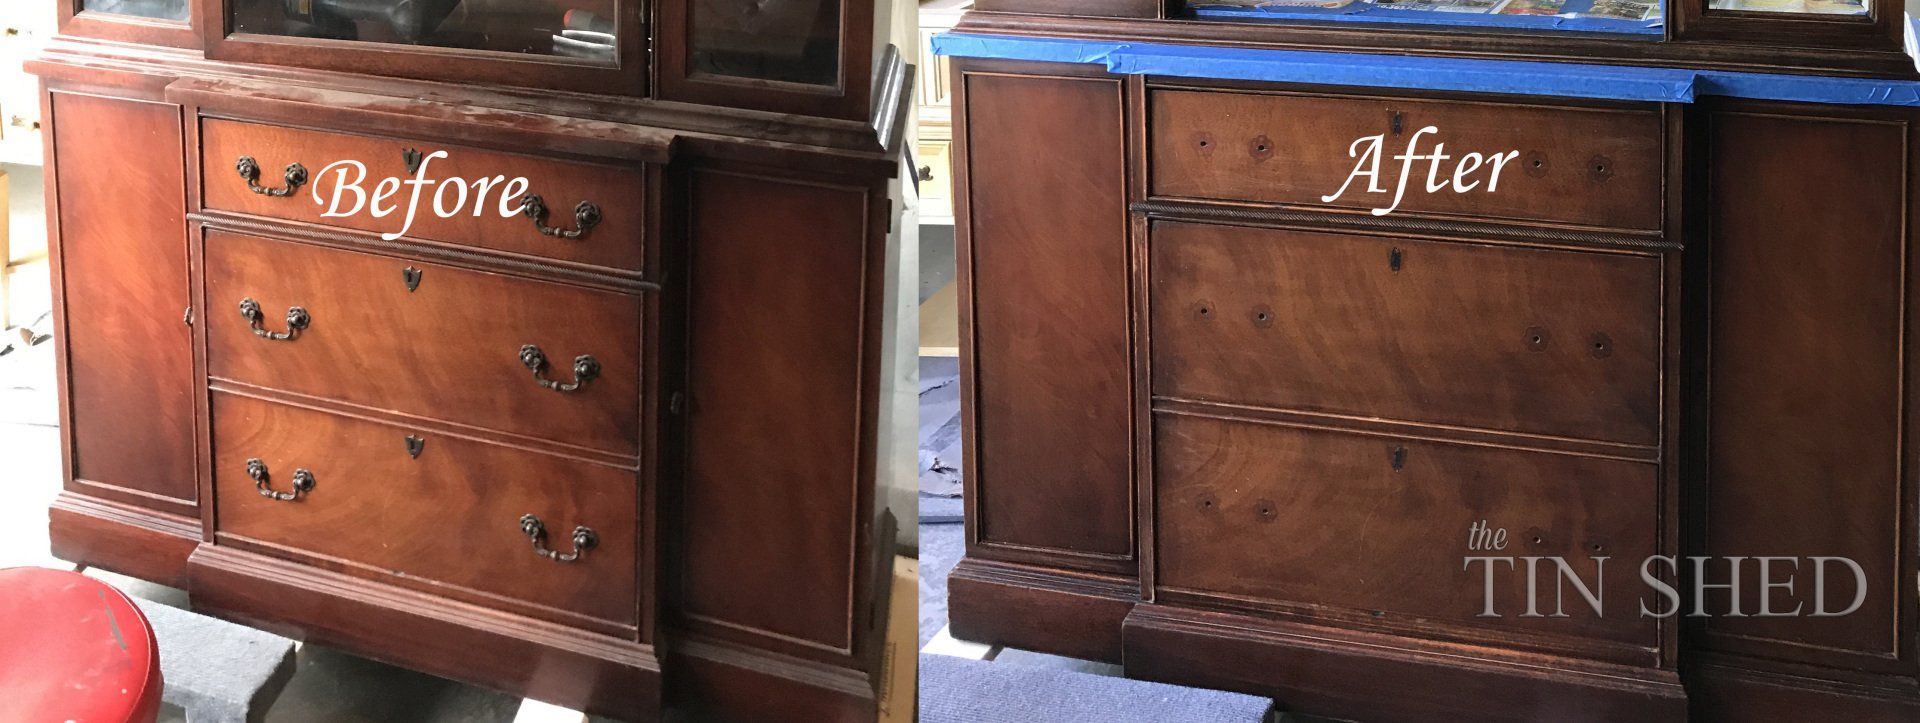
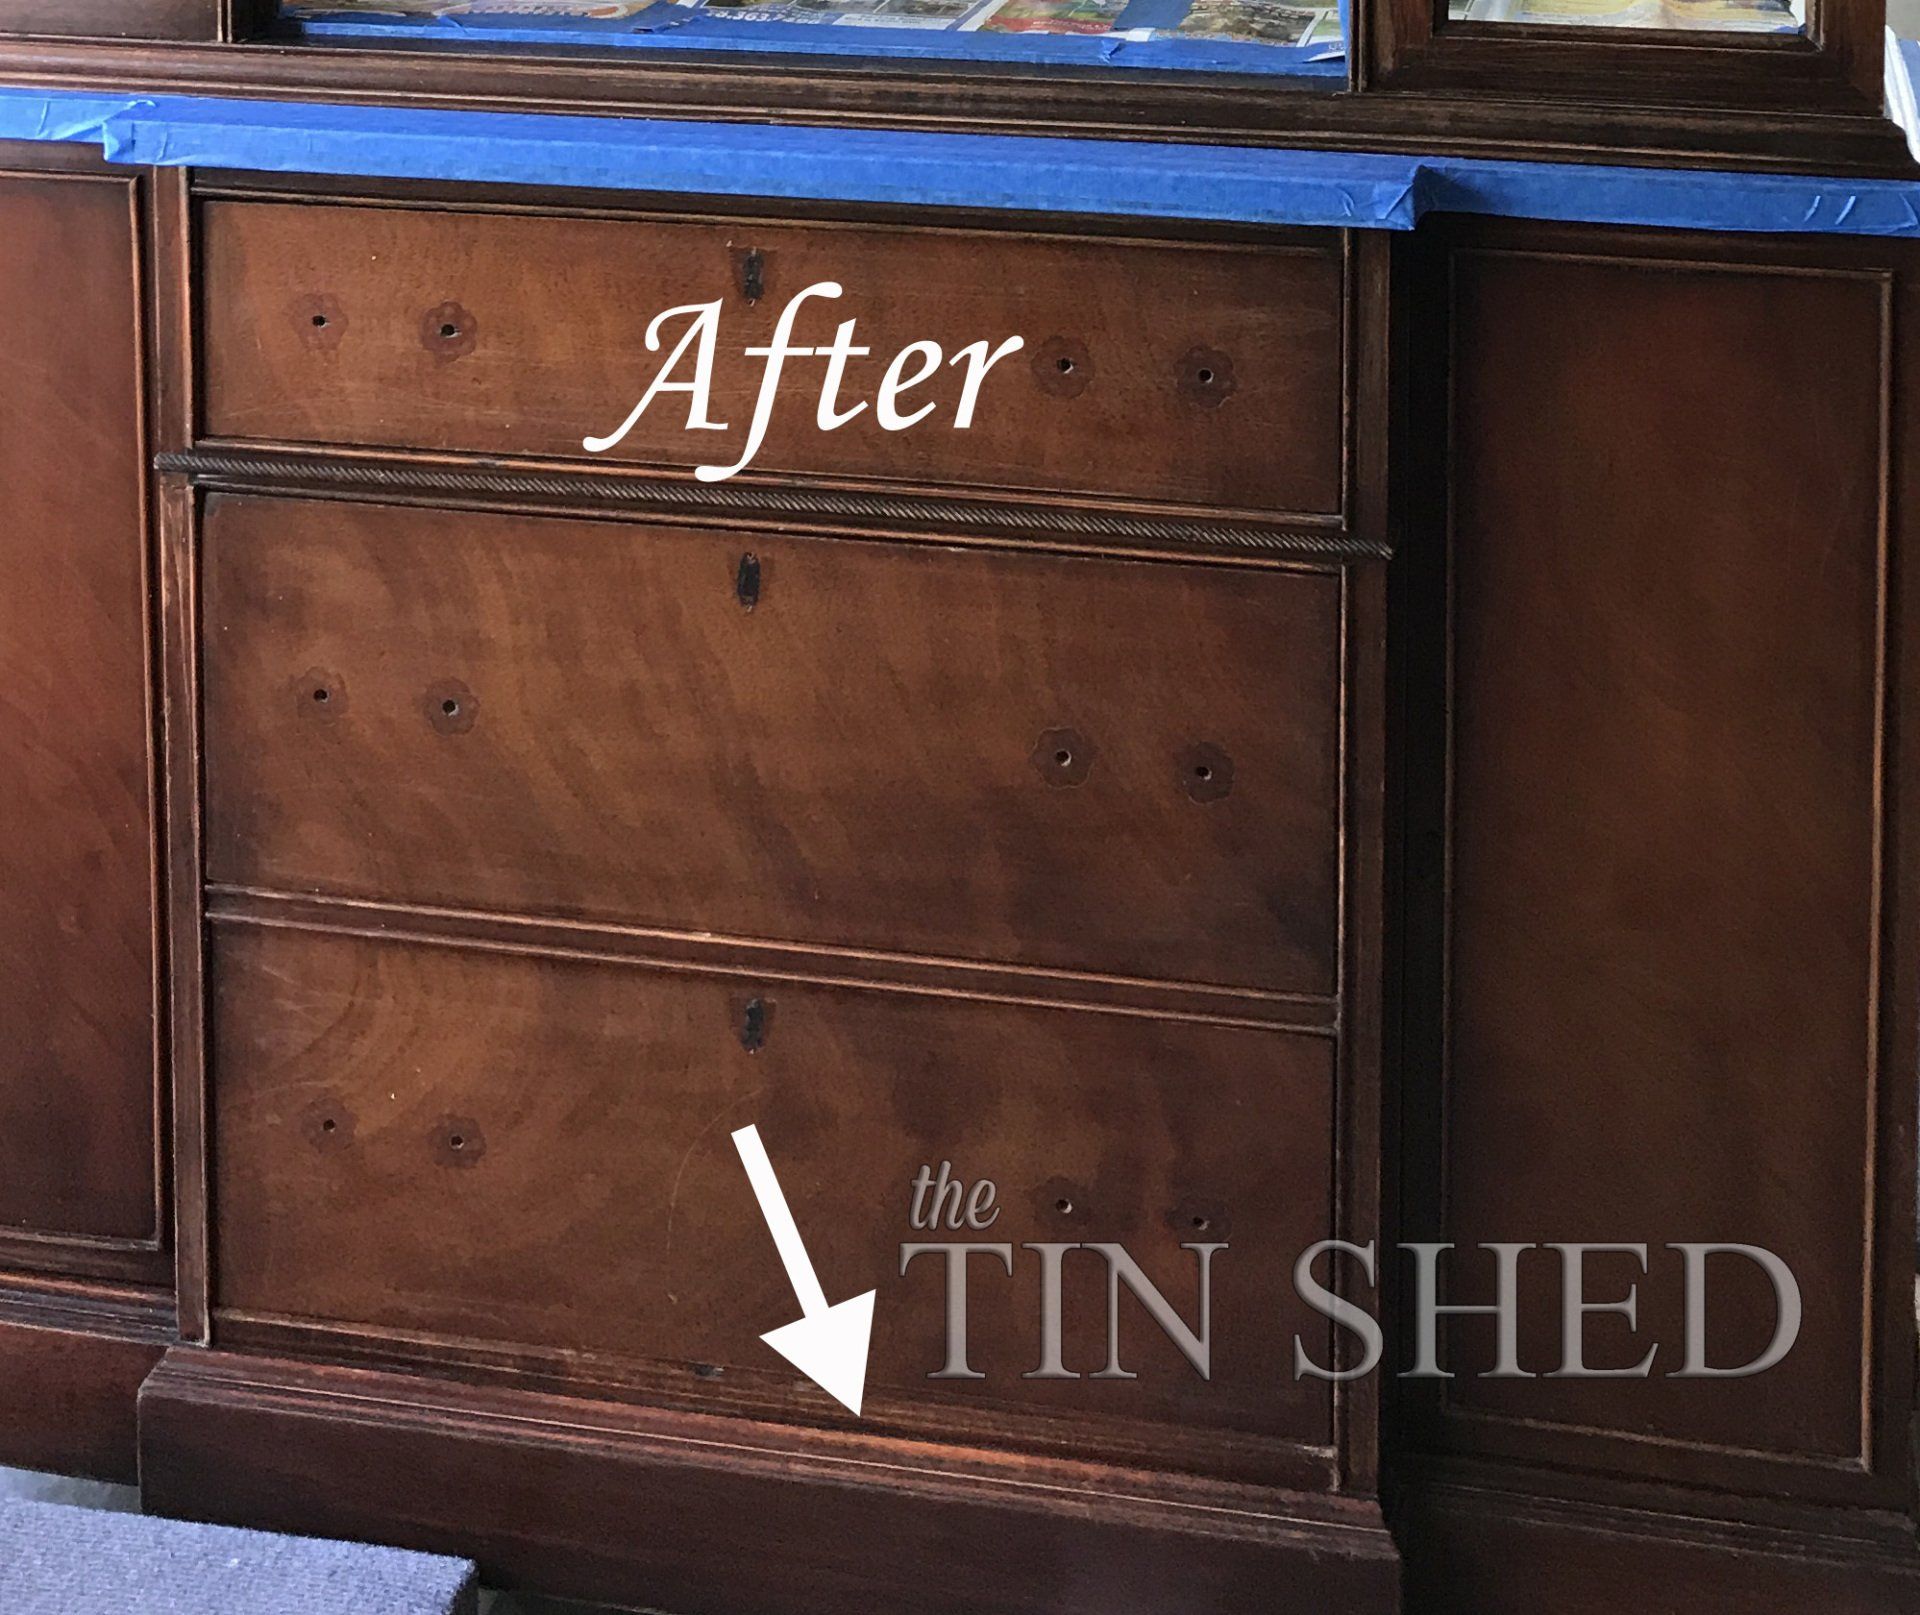
You can see in the before and after pics below, the difference in the appearance after cleaning and scuff sanding.
After scuff sanding, wipe the entire piece down again with a tack cloth to remove all of the dust.
Now, we could stop here with prep and jump right into painting, BUT.....
Let's address bleed through
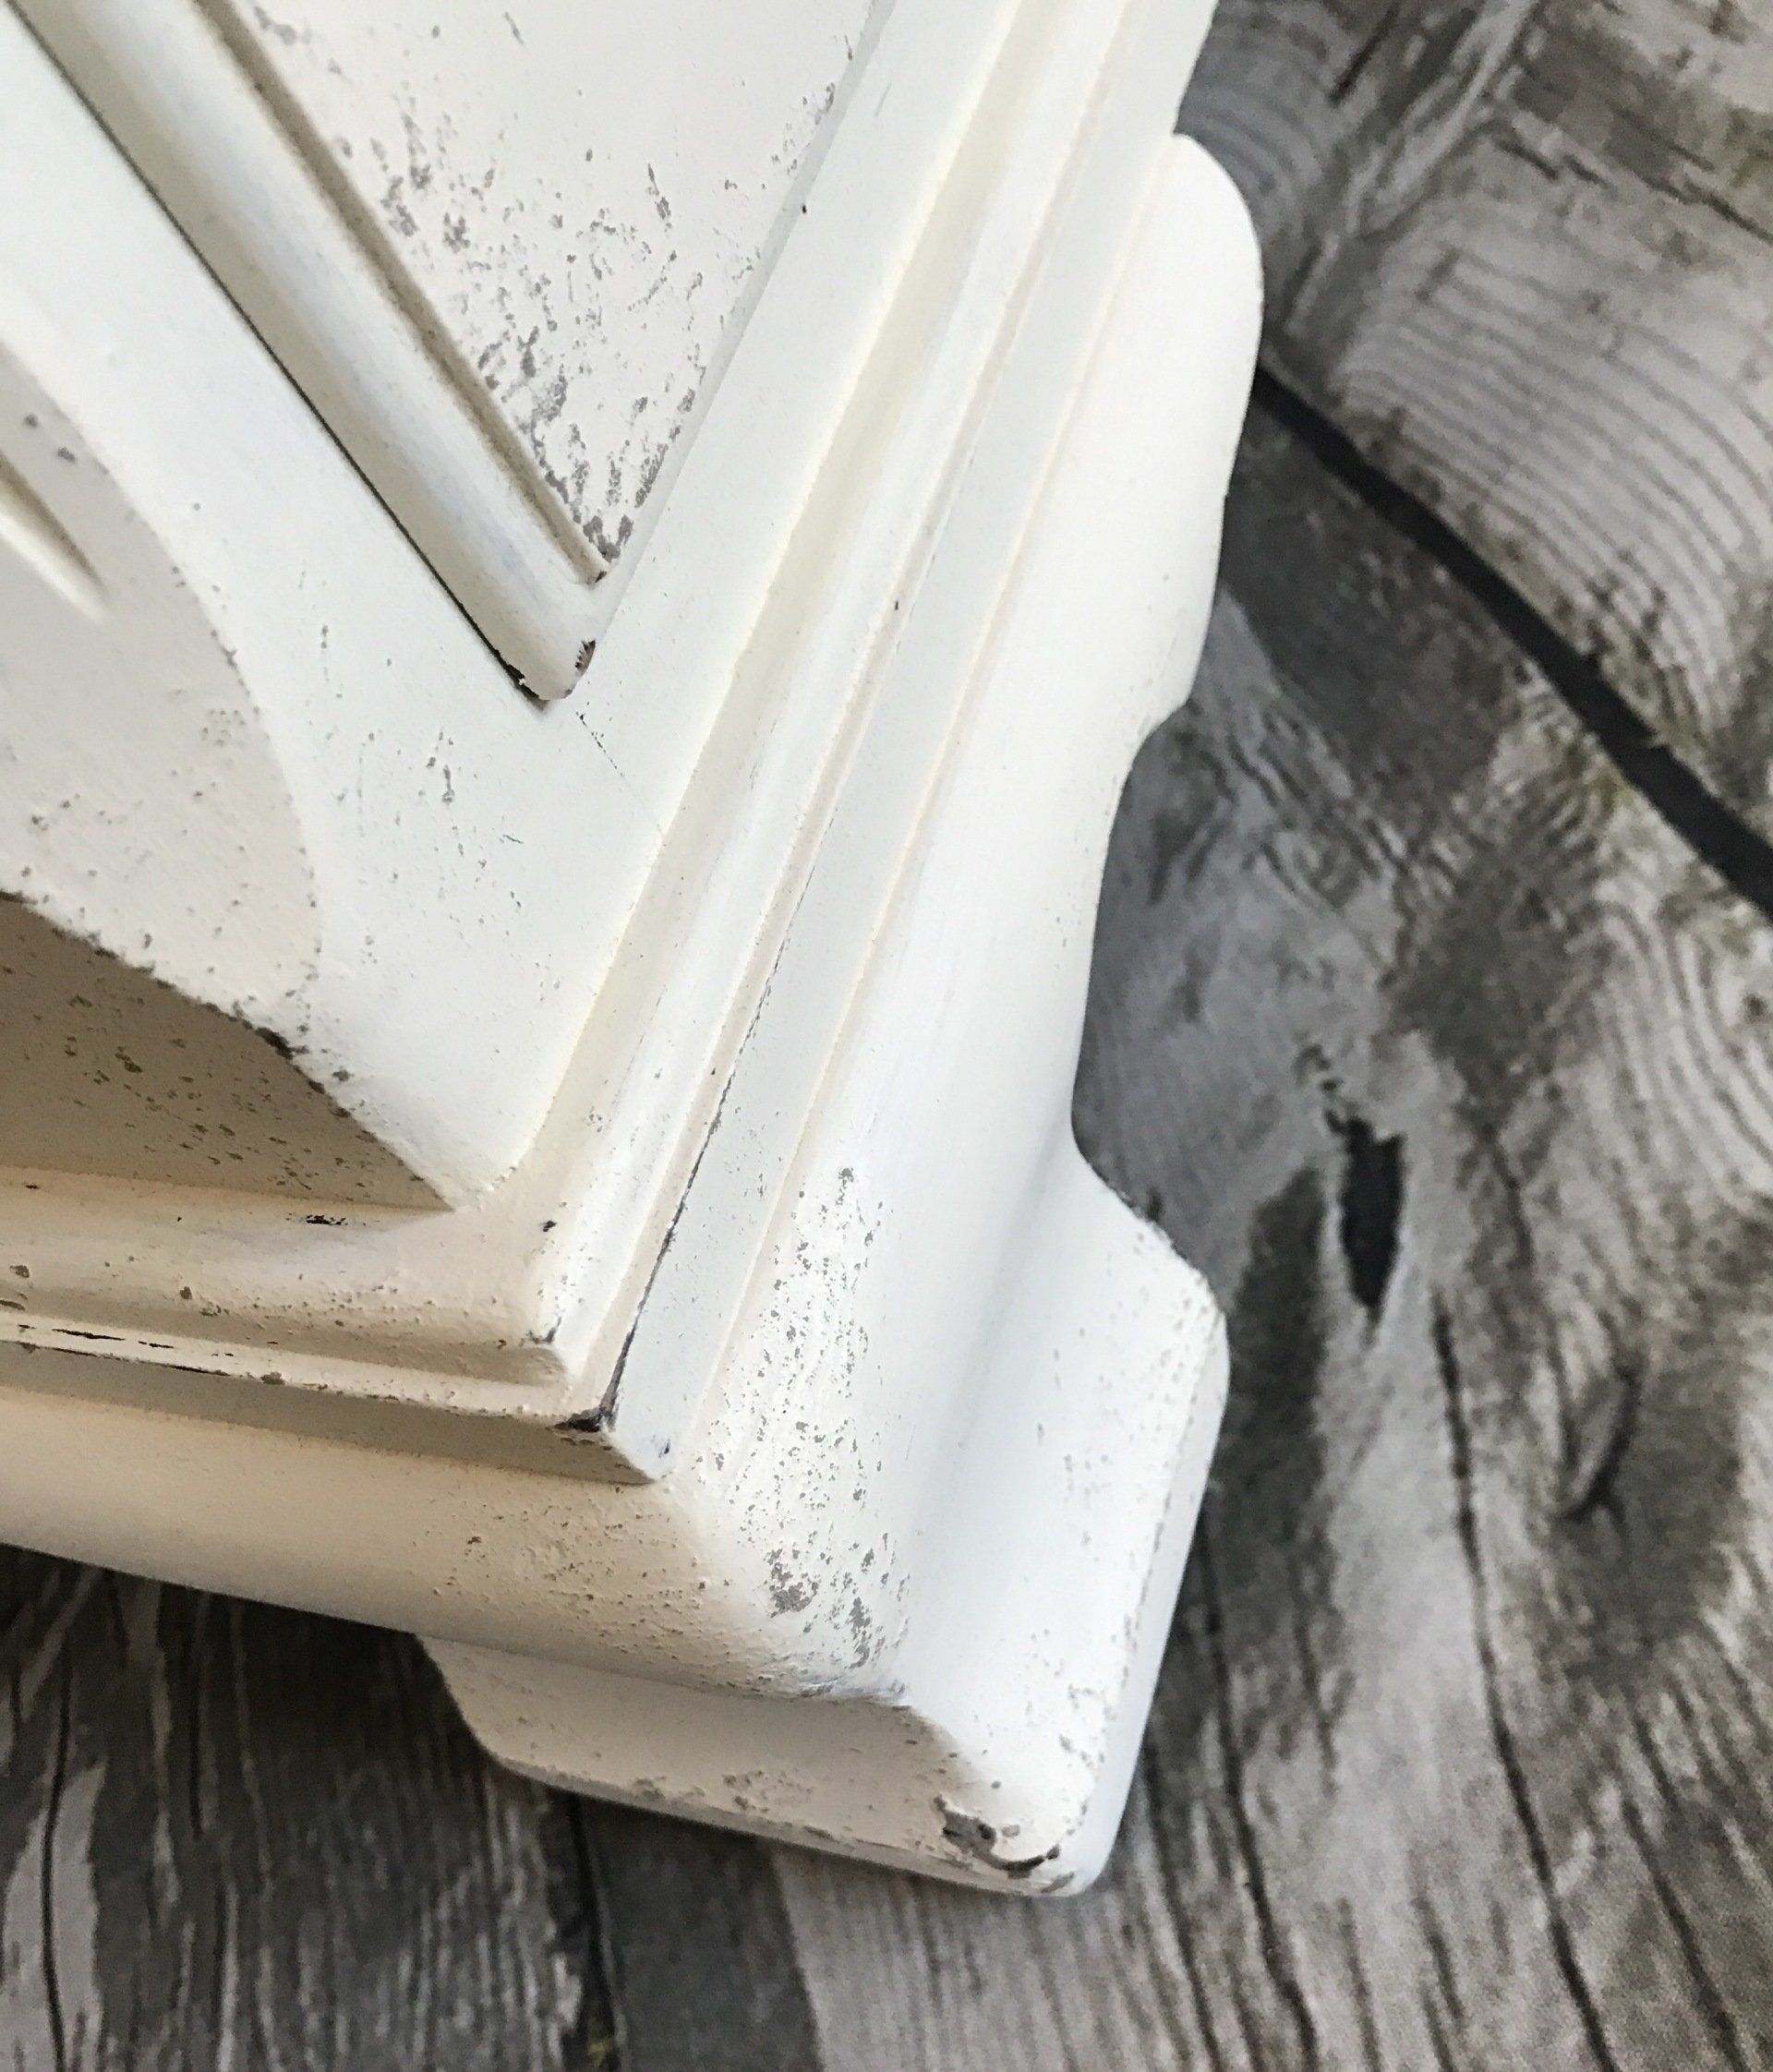
Most water base topcoats dry clear. Yellowing can be caused by the top coat activating the tannins in the wood or dyes in a pre-existing finish, causing bleed through. This is often most prevalent in the sculpted details of furniture, where the top coat can collect, intensifying the color change. Another cause could be a previous finish that contained aniline dyes, which cast a pinkish bleed through on your project. This is a classic problem with the 1930/40's mahogany pieces.
Can you see where the finish has really worn off on the bottom trim detail in this pic? I know this spot will ABSOLUTELY bleed through pink.
I have learned my lesson with bleed through! I have had to start over too many times, so now I prime almost every piece I paint. I have even had a lighter colored maple piece bleed through on me before, so now I just don't take the chance!
These are my go-to tools to prime almost any piece. The Zinsser BIN shellac-based primer works well to block any stains and bleed through and it cleans up easily with 50/50 water and household ammonia. I like to spray my primers to save time and to get nice, even coverage, and the HomeRight sprayer is easy to use and does a great job. But don't worry, if you don't have a sprayer, you can always use a foam brush to apply the primer, you will just need to do more coats to get full and complete coverage.
Don't mind my {well used} workshop bench covered in paint! #RealLife

When I prime a piece, I go for full and complete coverage. I don't want to take any chance on bleed through. After I spray the primer on and it's completely dry (usually 45 minute), I lightly sand with 400 grit sandpaper to smooth out any over-spray and then wipe down with a tack cloth to remove the dust.
Full coverage primer
I know this sounds like a lot of work {and it is}, but it is better than having to start over because of bleed through, or worse yet, having an unhappy, disappointed customer. And if you are painting a piece for yourself, don't take the easy way out and waste all of your hard work, time and money!
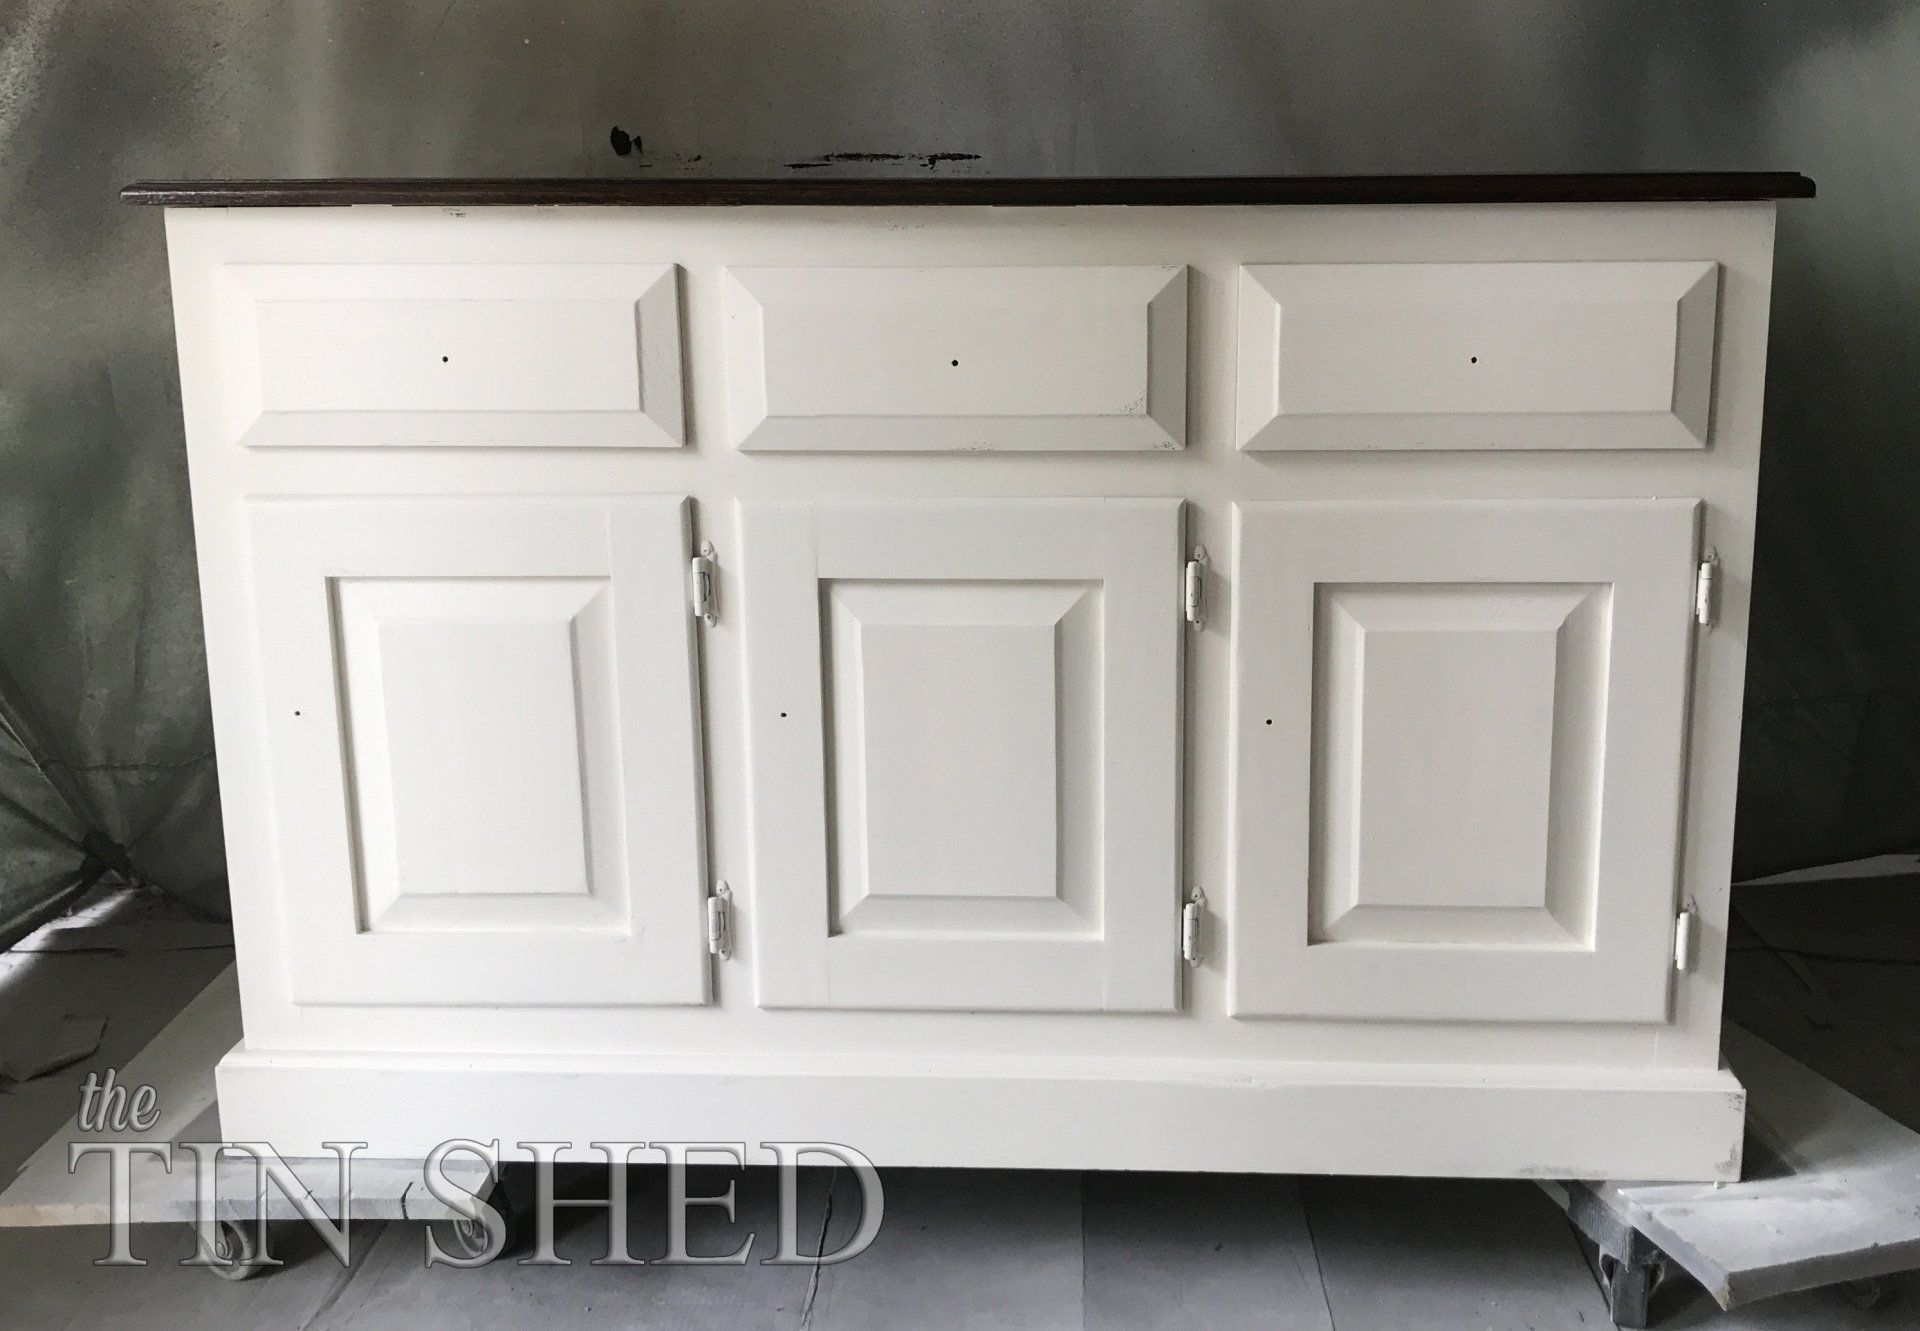
NOW YOUR PIECE IS READY FOR PAINT!
Supply List to properly prep your furniture for paint
Windex
Old towels/cloths
Old toothbrush
Q-Tips
White vinegar
Zinsser BIN Shellac-Based Primer
Ammonia
-OR- Foam brush
Respirator for spraying
Thanks for hanging out with me for a bit. Hopefully I gave you some good information and you can apply some of it to your next painting project!
Please feel free to give me some feedback or ask questions. I will be happy to help in anyway I can.
I would be honored if you shared with your friends on Facebook or PIN on Pinterest!
Happy painting!
Tammy
This post may contain affiliate links to help you find the products easier.